
Getting your yard ready before installation day is the part most homeowners underestimate. Wright’s Shed Co. has been building custom sheds on-site since 1997 across Utah, Nebraska, Idaho, and Iowa, and the installs that go smoothest are the ones where the site is ready when our crew arrives. Site prep is not complicated, but skipping or rushing even one step can push your custom shed build timeline by days. This guide walks you through every step, in order, so you know exactly what to do before we show up with materials and tools.
Quick Answer: Most homeowners can prepare a standard shed site in one to three days. You need a clear, level area with easy equipment access, a chosen foundation type, and a local permit or HOA sign-off before our crew arrives. Getting these steps done ahead of time is the single biggest factor in a smooth, on-schedule installation day.
Why Site Prep Determines How Installation Day Goes
We build your shed directly on your property, not in a factory and not from a drop-off kit. That on-site method gives you a shed leveled and fitted to your specific ground, but it also means our crew depends on having a clear, accessible, and stable work area from the first hour. A sloped site, blocked access lane, or missing foundation adds time to a job that is designed to be completed in a day or two. Good site prep is also what protects your investment for the long term. A shed that sits on a properly prepared base drains water correctly, stays level, and holds its structure year after year. The steps below take most homeowners one to three days total, and you can work through most of them in parallel.
One more thing worth knowing before you start: our standard build uses pressure-treated bases, LP SmartSide engineered wood siding, and 2×4 framing set 16 inches on center. Each of those material choices is engineered for long-term outdoor performance, but they perform best when the site underneath it is prepared correctly. Think of site prep as the foundation for the foundation.
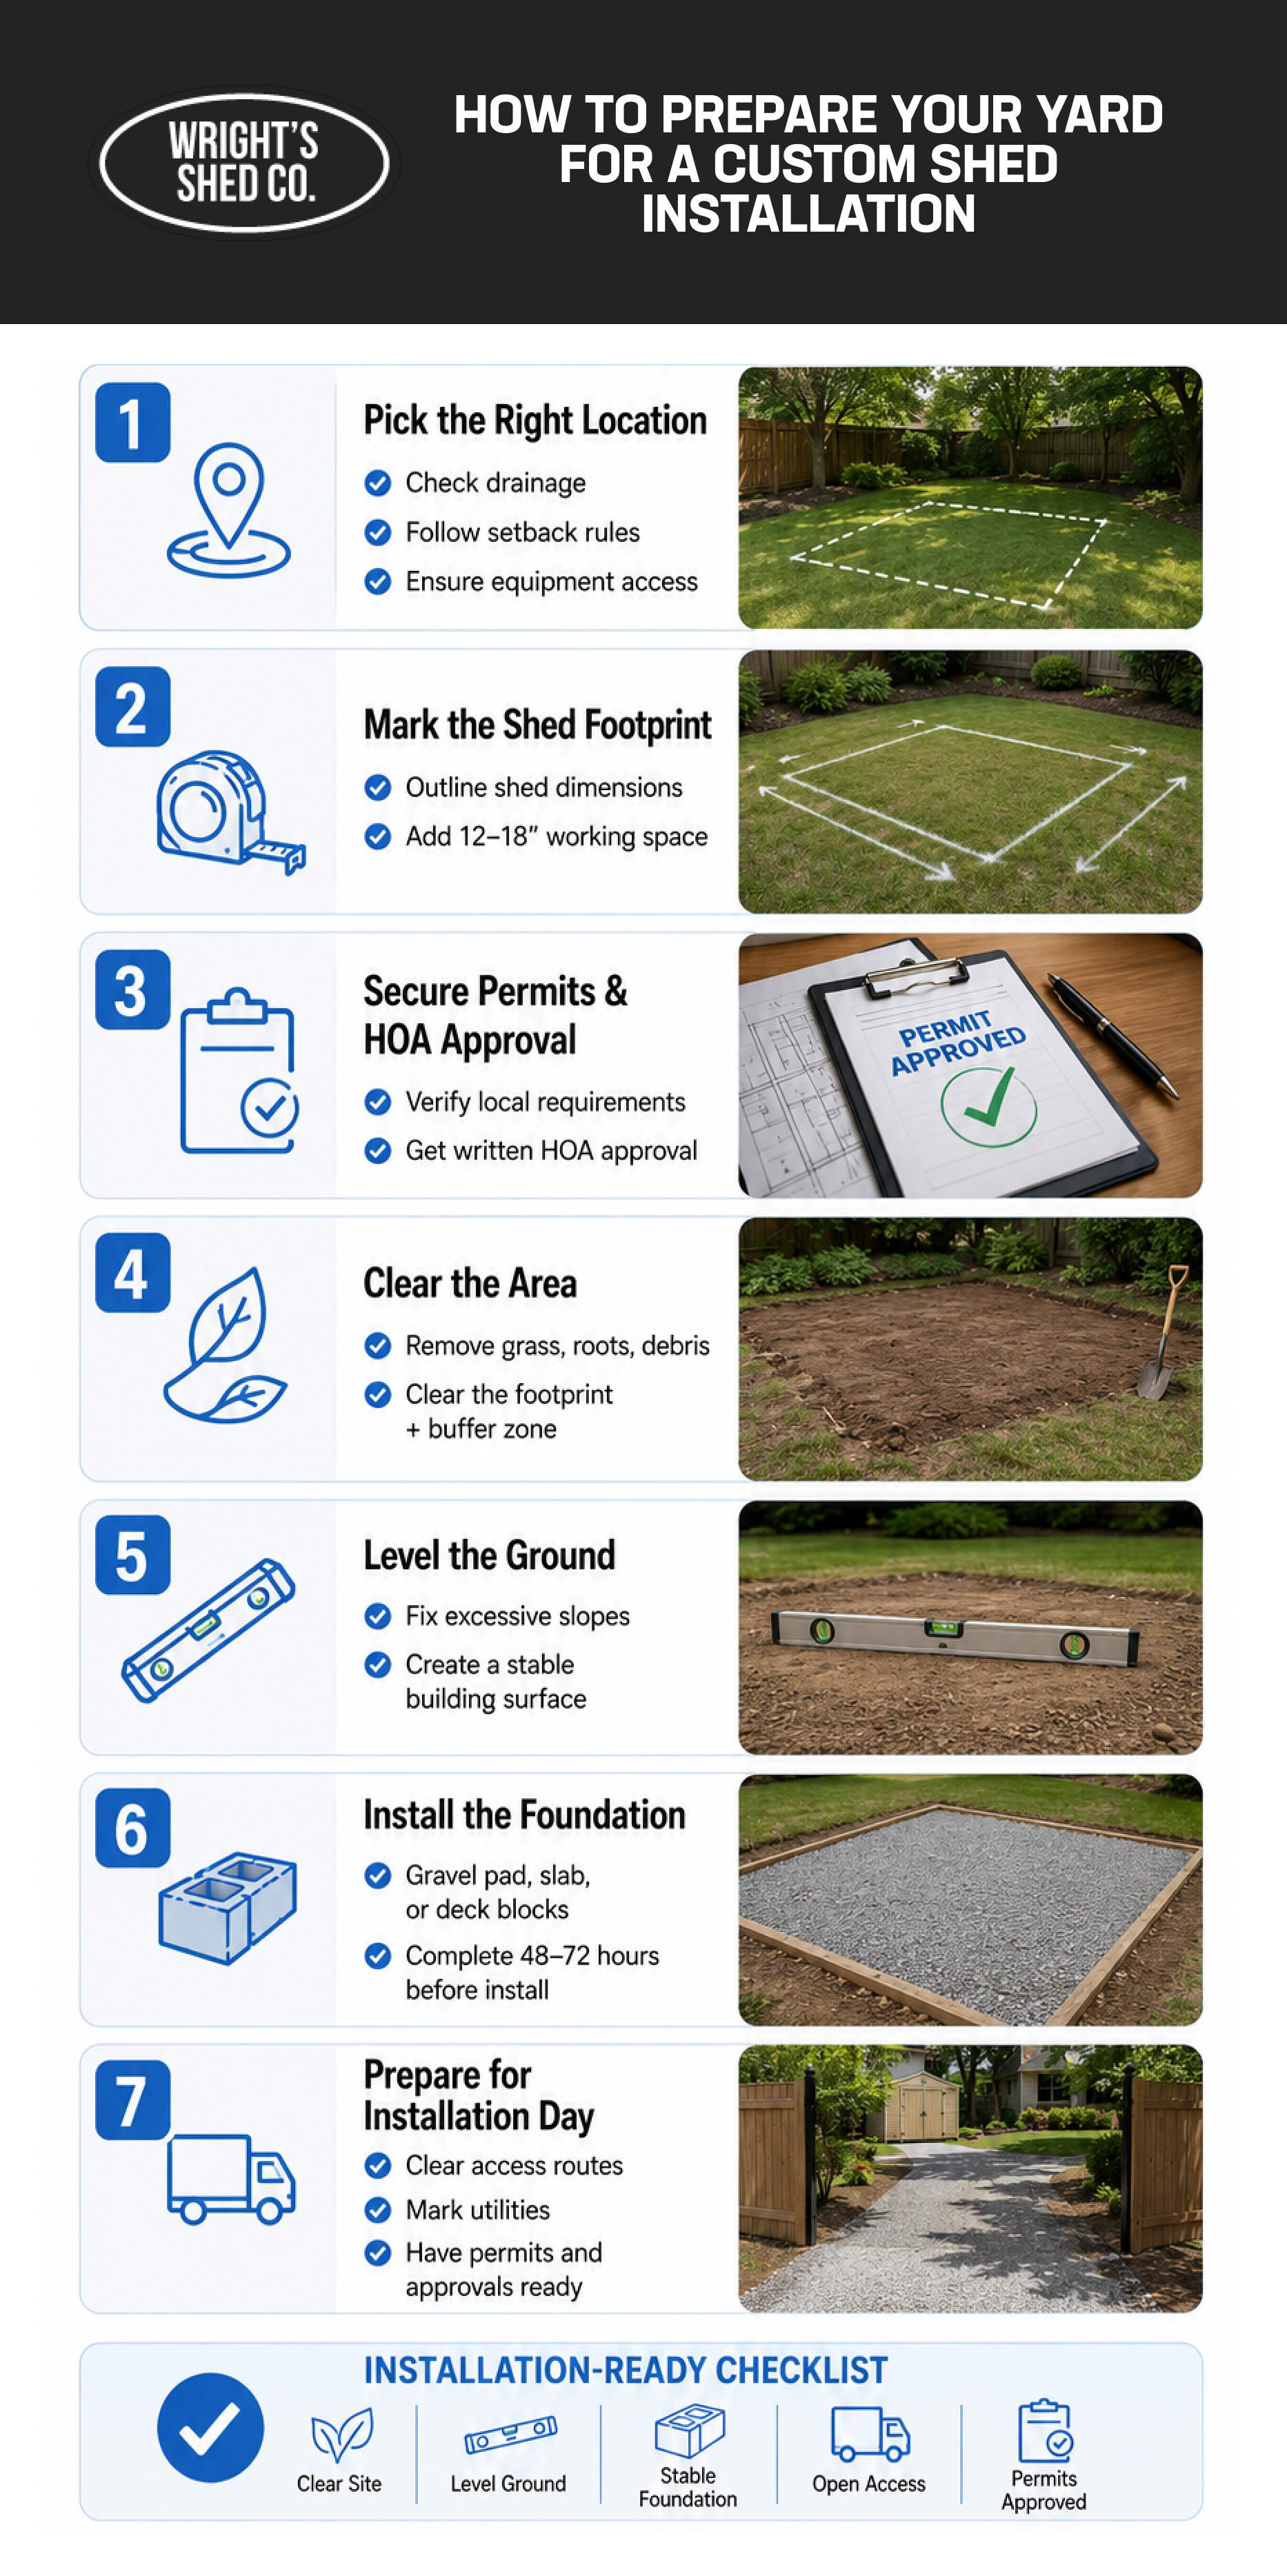
Step 1: Choose the Right Location Before You Break Ground
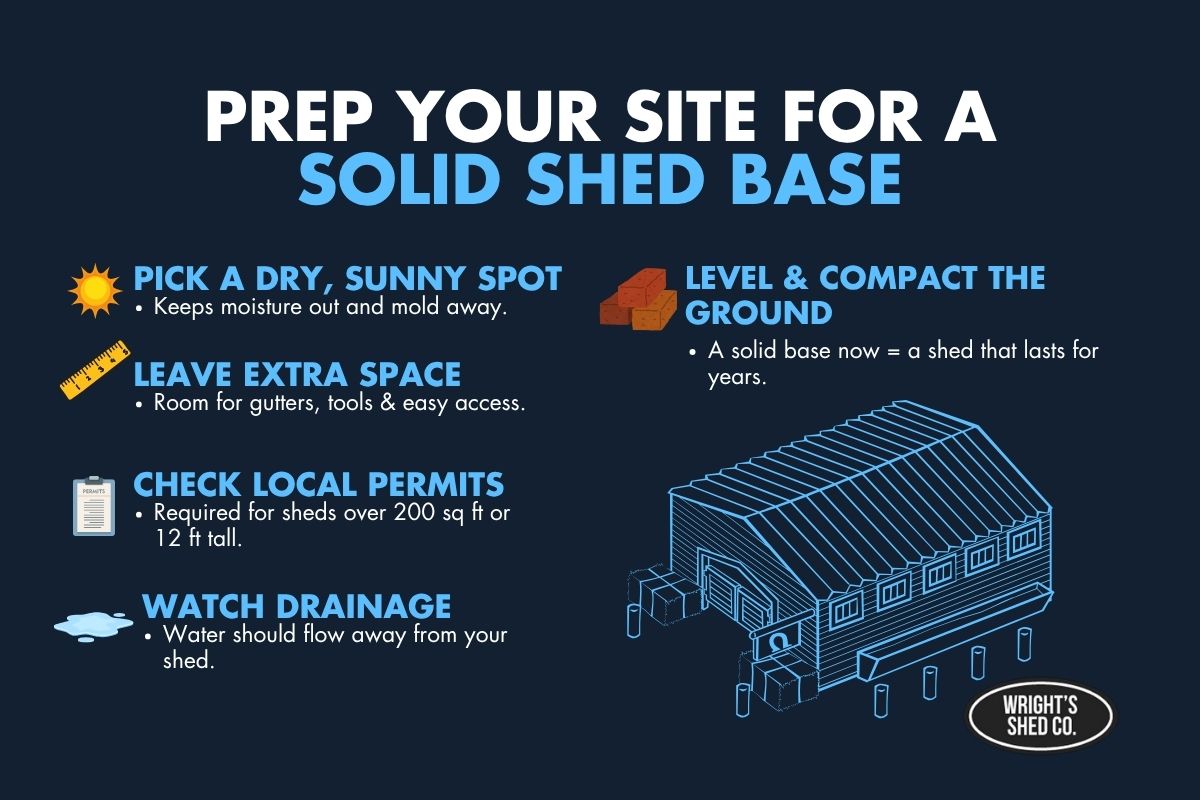
Picking the right spot saves you from redoing work later. Walk your yard and weigh four factors before you commit to a location.
Drainage. The ground around and under your shed needs to shed water, not pool it. Avoid the lowest point in your yard. A site with a slight natural grade away from the shed perimeter is ideal. The USDA Natural Resources Conservation Service provides guidance on how soil drainage and site conditions affect long-term ground stability and water movement. If your only option is low-lying ground, plan for a gravel pad or raised base to keep moisture away from the floor structure.
Sun and shade. A shed used as a workshop benefits from east-facing doors to catch morning light. A storage shed does fine in partial shade, and shade can actually reduce interior heat in summer. Think about what you will use the shed for before you decide which direction the doors face.
Setback distances. Most municipalities require a minimum distance from property lines, fences, and structures. These setback rules vary by city and county. Our team advises on local requirements during the quoting process. Do not assume a universal number; check with your local planning department or ask us when you request a quote.
Access to equipment and materials. Our crew arrives with a truck and trailer. The site needs a driveway or side-yard lane wide enough for that vehicle to get reasonably close to the build area. Tight fences, low overhead lines, or soft ground from recent rain can all create access problems. Walk the route from the street to your chosen spot and note anything that could block a loaded trailer.
How to Measure and Mark Your Custom Shed Footprint
Once you pick your location, mark the footprint on the ground before you do any clearing. Use stakes and a string line, or even marking paint, to outline the exact dimensions of your shed. Add at least 12 to 18 inches on all sides as a working buffer; our crew needs room to move materials, square up corners, and install siding. A clearly marked footprint prevents surprises when we arrive and saves time on layout.
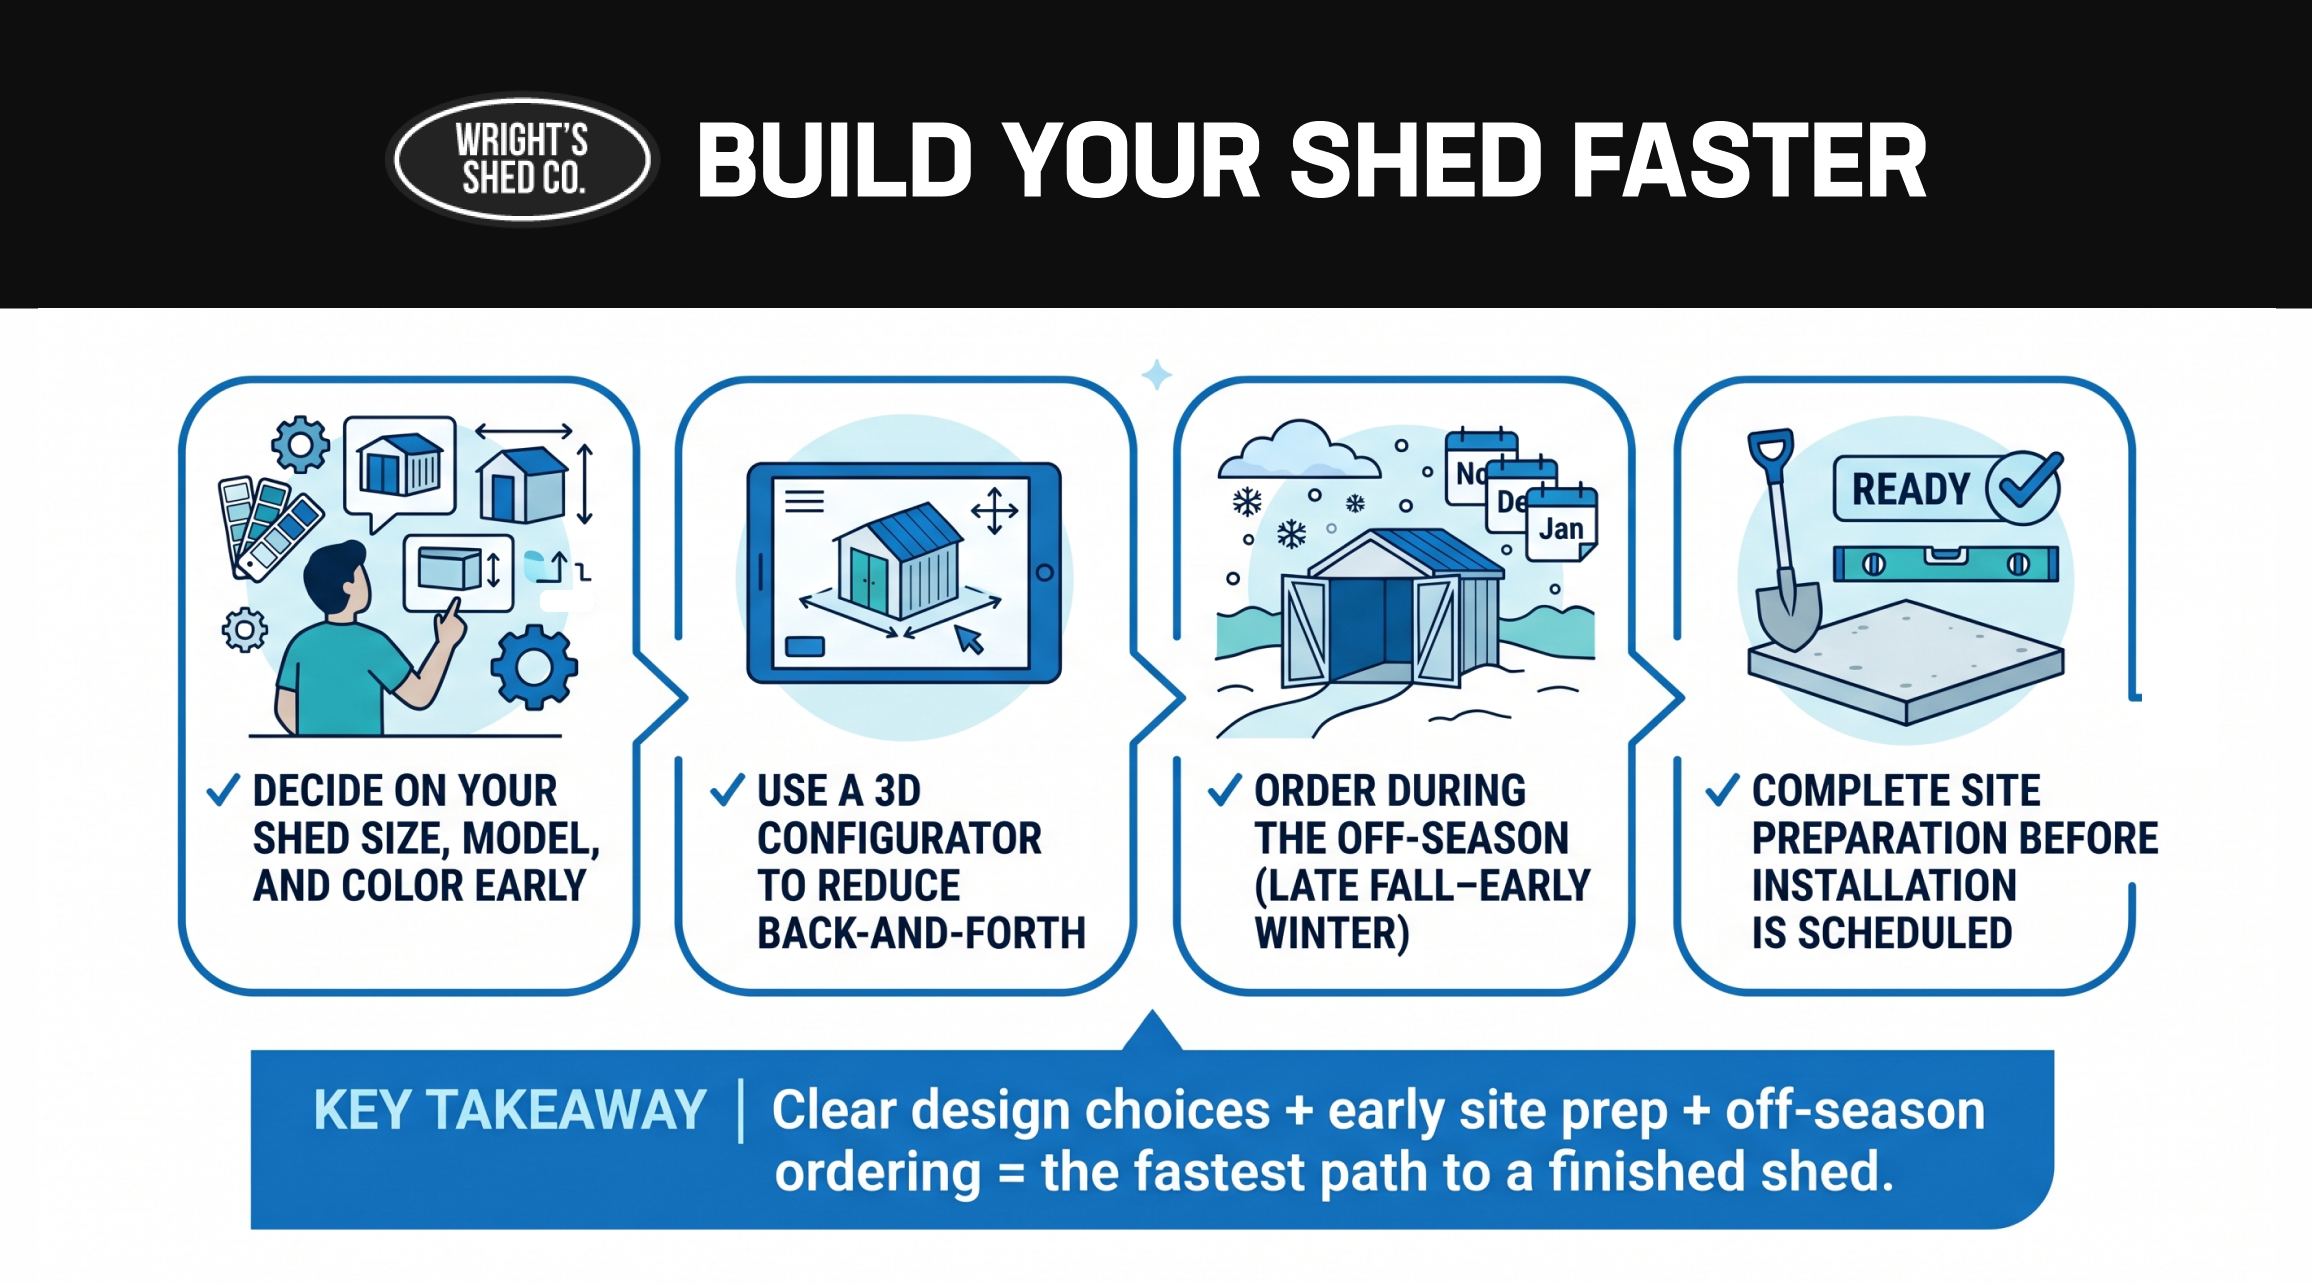
Not sure about the exact dimensions? Use our 3D shed designer to finalize your size before you break ground. You can also read through our delivered and installed sheds page for details on how on-site installation works from our end.
Steps 2 and 3: Permits, HOA Sign-Off, and Clearing the Area
Permit and HOA Requirements
Permit rules for sheds vary by city and county throughout Utah, Nebraska, Idaho, and Iowa. There is no single square-footage threshold that applies everywhere. Some municipalities require a permit for any permanent structure; others have exemptions for smaller outbuildings. Read our guide on shed permit requirements for a broader overview, and see our page on the largest shed without a permit for context on size thresholds in different jurisdictions. When in doubt, contact your local planning or building department before you order. A properly permitted shed can count toward your home’s appraised value; one built without a required permit can create complications at sale time.
If your property falls under HOA rules, get written approval before installation day. HOAs often have requirements for shed color, placement, roof pitch, and even siding material. Because our standard spec uses LP SmartSide siding and GAF Timberline architectural shingles, we typically meet or exceed most HOA material standards, but always confirm in writing with your association first.
Clearing the Area
Clear the full marked footprint plus the 12 to 18-inch buffer before installation day. Remove everything in that zone: sod, grass, weeds, roots, low-hanging branches, and any landscaping features that would be in the way. Roots are easy to overlook; even shallow ones from nearby trees can shift a gravel pad or heave concrete over time. If the area has mature trees within a few feet, probe for surface roots before you commit to that spot.
Dispose of cleared material before our crew arrives. A site cluttered with pulled sod and brush is harder and slower to work in. If you have large tree roots, stumps, or buried debris, flag that for your sales rep during the quoting process so our crew knows what to expect.
Step 4: Level the Ground (and How Much Slope Is Too Much)
A level site is the most important physical condition for a quality build. Our crew can work with minor variation, but a significant slope requires extra blocking and time, and if it is extreme enough, it can affect how the structure sits long-term.
As a general benchmark, a slope of up to 1 inch per 4 feet across the footprint is manageable with standard concrete deck blocks or additional blocking. A slope beyond that range is worth addressing before installation day. Measure your site with a long level or a line level and a string. If the high end to the low end across your shed footprint is more than a few inches, you have a few options.
Cut and fill. Dig down the high side and use that material to build up the low side, then compact both. This is the most durable long-term solution for moderate slopes.
Gravel base with stepped perimeter. A compacted gravel pad can be built up on the low end to create a level bearing surface without major earthmoving. This is the most common approach for Utah and Nebraska residential sites.
Pier system with blocking. For steeper sites, our crew can adjust pier heights during installation. Discuss this at quote time so we arrive with the right materials.
If you are not sure how much slope your site has, our team can assess it during the site visit that precedes installation. Read our guide on choosing the best shed foundation for more detail on how slope interacts with different foundation types.
Step 5: Choose and Install Your Foundation
Your foundation is not the shed floor; it is what the shed sits on. The right choice depends on your soil type, climate, local frost depth, and how you plan to use the shed. We use pressure-treated lumber for all base framing, which is rated for ground-contact applications, but the foundation beneath it still matters for long-term performance.
Gravel Pad vs. Concrete Slab vs. Deck Blocks: A Quick Comparison
| Foundation Type | Best For | DIY-Friendly? | Cost Range (approx.) | Notes |
| Compacted gravel pad | Most residential sheds | Yes | $1–$3 per sq. ft. | Excellent drainage; standard choice in UT and NE |
| Concrete slab | Heavy-use workshop or garage | Moderate | $4–$7 per sq. ft. | Permanent, helps with permit compliance in some areas |
| Concrete deck blocks | Smaller sheds on level or near-level ground | Yes | $50–$200 total | Fast to install; adjust height per block |
| Crushed limestone/road base | Areas with poor drainage | Yes | Similar to gravel pad ($1–$3 per sq. ft.) | Compacts well; used in many Nebraska installs |
| Treated wood skids | Temporary or moveable setups | Yes | Generally low cost; varies by lumber prices. | Not ideal for permanent permitted structures |
For gravel pads, the standard recommendation is 4 to 6 inches of compacted crushed gravel (3/4-inch clean or road base) extending at least 6 inches beyond the shed footprint on all sides. Compact in lifts, not all at once. If you are uncertain which option suits your site best, read our garden shed base preparation guide for step-by-step instructions on the most common residential approaches.
Have the foundation complete and fully cured (for concrete) before our installation crew arrives. Showing up to an uncured slab or a freshly raked gravel pad that has not been compacted will delay the job and may require rescheduling.
Steps 6 and 7: Confirm Equipment Access and What to Have Ready on Build Day
Our installation team drives a truck and trailer loaded with framing lumber, siding panels, roofing materials, and tools. Confirming vehicle access before installation day is not optional; it is one of the most common issues that create last-minute delays.
Check the access route. Walk from the street to your build site. Note the lane width at the narrowest point, the lowest overhead obstruction (power lines, tree branches), and whether the ground is firm enough to support a loaded trailer. Soft or waterlogged ground from recent rain can make a lane impassable even if it looks fine on foot. If the route is borderline, let your sales rep know at quote time.
Remove temporary obstructions. Basketball hoops, portable fire pits, patio furniture, children’s play equipment, and garden hoses in the route should all be moved before our crew arrives. Do not assume we will work around them.
Mark underground utilities. If any digging is involved in your site prep for a concrete footer, a deeper gravel base, or leveling work, call 811 (or your local equivalent) to have underground utilities marked before you dig. This applies even to shallow work. Utility strikes are a serious safety issue and a significant delay.
What Our Crew Needs From You on Installation Day
Showing up prepared makes the whole job faster. Here is what our crew expects to find when they arrive.
| Item | Status Needed | Notes |
| Site cleared and marked | Complete | No debris, vegetation, or obstructions in the footprint + buffer zone |
| Foundation installed and stable | Complete | Gravel compacted; concrete fully cured; blocks level |
| Permit posted (if required) | Complete or confirmed | Some inspectors require a permit to be visible on-site |
| HOA approval | In writing | Keep a copy on hand during installation |
| Access lane clear | Clear | Wide enough for truck and trailer; firm ground |
| Underground utilities marked | If any digging is done | Call 811 at least 2 business days before digging |
| Pet and child safety plan | In place | The build area is an active work zone with power tools and heavy materials |
| Water/power access nearby (optional) | Helpful | Not required; useful for long build days |
Our team handles the build from footprint to finished structure. Learn more about how our shed installation in Utah process works.
Common Site Prep Mistakes That Delay Installations
After building on-site since 1997, our crews have seen the same avoidable problems come up again and again. Here is what actually causes delays and how to sidestep each one.
Red Flags That Will Pause Your Installation
Foundation not complete. This is the most frequent cause of rescheduled installs. A gravel pad that was spread but not compacted, or a concrete slab poured the day before we arrive, cannot support a build. Plan at least 48 to 72 hours after final compaction or pour before installation day.
Utility lines not marked. If our crew shows up and there are unmarked utilities in the work zone, we stop and wait. Call 811 at least two business days before any ground disturbance. In most states, the 811 mark-out is free.
Access blocked on the installation morning. Vehicles parked across the driveway, gates locked without a key, or a neighbor’s materials blocking the lane are all real scenarios we have encountered. Communicate the installation day to everyone who might affect vehicle access.
Permit not pulled in advance. If your city requires a permit and it has not been issued before installation day, the build may need to stop depending on local inspector protocols. Permitting timelines vary; start the process well in advance.
Site leveling left too late. Leveling work, especially if it involves compacting or concrete, takes time to settle. Do not leave it for the day before. If your site has a significant slope, get in touch with us during the quoting process so we can plan the right foundation approach from the start.
Site Prep Timeline at a Glance
| Phase | Task | Typical Timeframe | Who Does It |
| 1 . Planning | Choose location; check setbacks; order permit application | 1 to 2 weeks before | Homeowner (we advise on requirements) |
| 2 . Permit / HOA | Submit permit; get HOA written approval | Varies by city, county, and HOA requirements | Homeowner |
| 3. Clearing | Remove vegetation, roots, debris; mark footprint | 1 to 2 days before install | Homeowner |
| 4. Leveling | Grade site; cut/fill or build up as needed | 2 to 5 days before install | Homeowner or contractor |
| 5. Foundation | Install gravel pad, concrete, or deck blocks | Complete 48 to 72 hrs before install | Homeowner or contractor |
| 6. Access prep | Clear lane; mark utilities; confirm gate codes | Day before install | Homeowner |
| 7. Installation day | We build your shed on-site | 1 to 3 days (most sheds 1 day) | Wright’s Shed Co. crew |
Frequently Asked Questions on How to Prepare Yard for Shed Installation
How far in advance should I start site prep?
Plan to have everything cleared, leveled, and the foundation in at least three to five days before your scheduled installation. That buffer accounts for concrete cure time, unexpected weather, or a permit that takes an extra day to process. If your site needs significant leveling or a concrete slab, start two to three weeks out.
Do I need to hire a contractor for site prep, or can I do it myself?
Most homeowners handle their own site prep for standard gravel pads and deck block foundations. If you are pouring concrete, leveling a steep slope, or dealing with significant drainage issues, hiring a landscaping or concrete contractor is usually worth the cost. The foundation is a one-time investment that protects a multi-year shed structure.
What if my yard has poor drainage or clay soil?
Clay soil retains water and can shift under load. For clay-heavy sites in Utah or Nebraska, we recommend a thicker gravel pad (6 inches or more) with a geotextile fabric layer underneath to prevent the gravel from migrating into the soil over time. In areas with standing water, you may also want to trench a simple French drain around the perimeter of the shed site before the foundation goes in. Let us know your soil conditions during the quote process so we can advise accordingly.
Can I place a shed on a slope?
Yes, within limits. Moderate slopes are manageable with the right foundation approach, typically a stepped gravel pad or adjustable deck blocks. For significant slopes, we may recommend pier footings or additional blocking, which we plan for during the quoting visit. Extreme slopes may require a retaining wall or grading work before we can install. We have built on varied terrain across Utah and Nebraska and can advise on your specific site.
Does Wright’s Shed Co. advise on permits?
Yes. Our sales team is familiar with permit requirements across our service areas and advises during the quoting process. Permit rules vary by city and county, so we do not publish universal thresholds; we address your specific jurisdiction when you contact us. See our page on “Do I need a permit for my shed?” for a general overview, and whether Wright’s pulls permits directly in all service areas, confirm with your sales rep.
What kind of foundation works best in Utah winters?
Utah’s freeze-thaw cycles can shift concrete footings that are not set below frost depth. For most residential shed sizes, a compacted crushed gravel pad is actually more frost-tolerant than a shallow concrete slab, because gravel drains freely rather than trapping water that expands when it freezes. If you choose concrete, discuss footer depth with a local contractor to make sure it meets frost-depth requirements for your county. Read our guide on choosing the right foundation for more details.
Ready to Get Started? Design Your Shed or Get a Free Quote
You have done your homework; now it is time to build. Wright’s Shed Co. has been delivering on-site custom shed installations since 1997, and on-site installation is included on every shed model we build. Our standard spec: LP SmartSide engineered wood siding, GAF Timberline architectural shingles, 2×4 framing at 16 inches on center, and pressure-treated bases, holds up to Utah and Nebraska winters without the upkeep of lower-grade materials. The Orchard model, our most popular, starts around $2,300 for a 6×6 in Utah (pricing labeled; on-site installation included; view full pricing).
Use our 3D designer to lock in your dimensions and see your shed before you order. Then we will take it from there, from design to delivery to a finished, level structure on your property. Design Your Shed to start building your custom configuration or get a free quote, and our team will reach out to discuss your site, your timeline, and what to expect on installation day. On-site installation included.