DIY Shed Kits
DIY Shed Kit
Everything you need to build your own shed.

Thank you for choosing to build your next shed using one of our Do-It-Yourself Shed Kits. Wright’s Shed Co. has taken the time to do much of the challenging work for you. We hope the page will serve as a helpful Shed Kit Guide. The actual instillation of the shed should be both cost effective and fairly easy for you. Below is a step-by-step photo guide.
DIY Shed Kit Instructions
What You’ll Need
What You’ll Receive
- Nails/Screws
-
Framing, Siding and Roofing Nail Guns
-
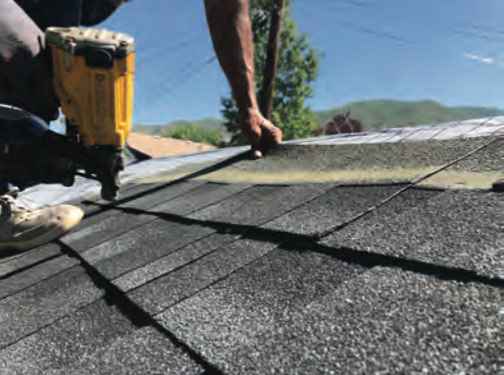
Shingles
-
Hammer
-
Roof Underlayment
-
Level
-
Drip Edge
-
Tape Measure
-
Paint
-
Circular or Reciprocating Saw
-
Pencil
-
Razor Blade or Box Cutter
-
Drill
-
Caulk
– Pre-Built and Pre-Sheeted 2×4 Walls with LP SmartSide Paneling
– Pre-Cut 2×6 Pressure Treated Wood Base
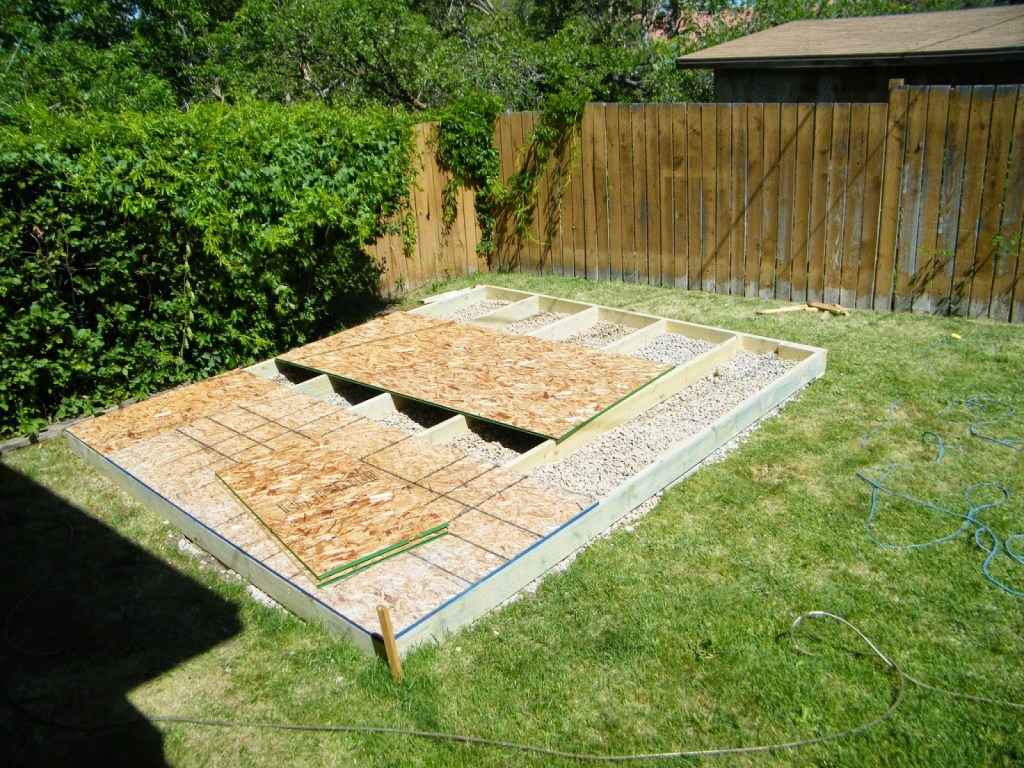
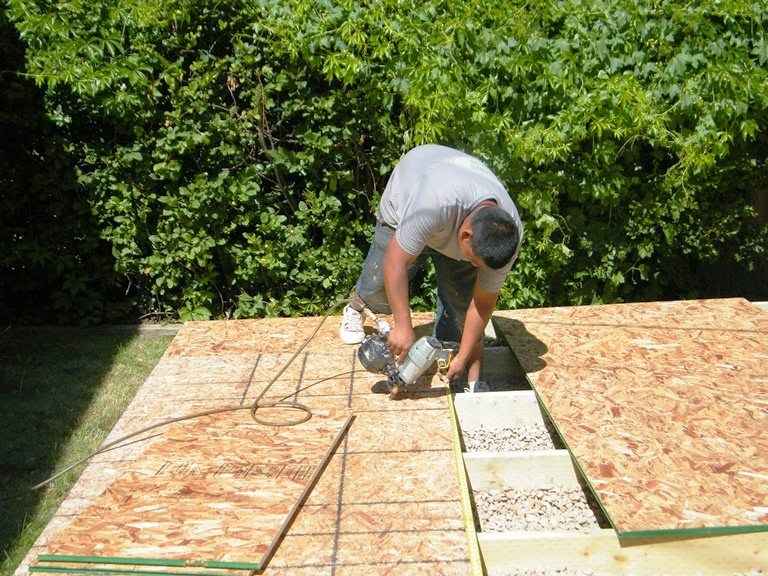
– Pre-Cut ¾” Tongue and Groove OSB Floor Sheathing
– Pre-Built Roof Trusses Joined Together with Steel Plates
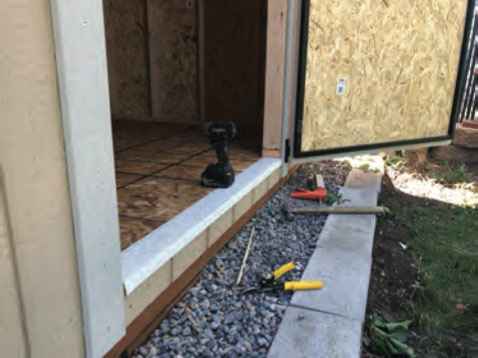
– Diamond Plate Metal Door Threshold
*If you don’t have access to nail guns, using a drill and screws will
work just fine
*Roofing Nail Gun: 15 degree 1” x .120 wire coiled nails
*Siding Nail Gun: 15 degree 2 1/4” x .092 wire coil full round head nails
*Framing Nail Gun: 21 degree 3” x .131 framing plastic strip gun nails

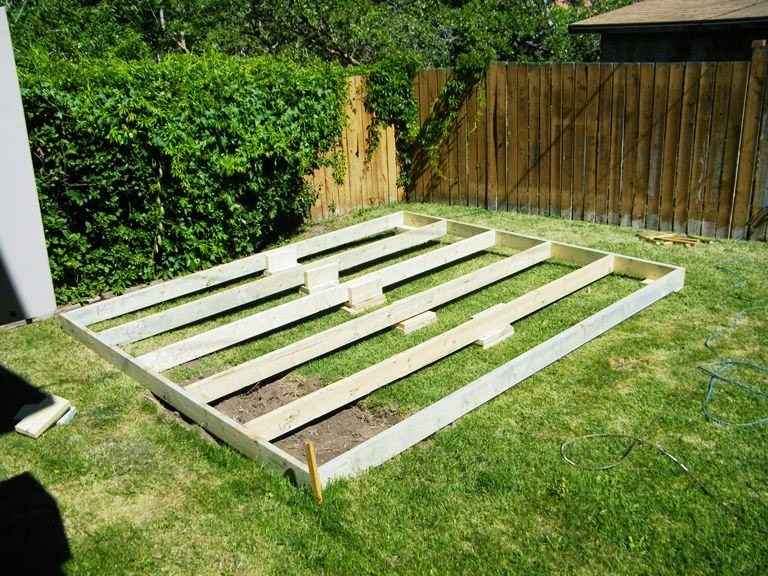
1. Begin by laying out each 2×6 as the base frame. Each 2×6 needs to spaced 2’ apart.

3. Check to make sure the base is level. If base is not level, you may need to add smaller 2×6’s under the base.

5. Finally, nail the OSB sheets to the 2×6’s (use a generous amount of nails)
2. Nail the frame together
")
4. For added support, nail smaller 2×6’s in the middle of each 2×6


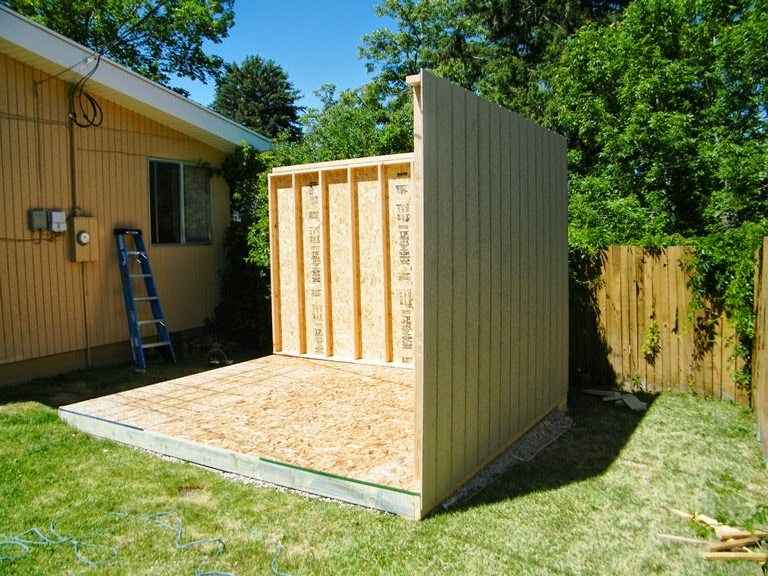
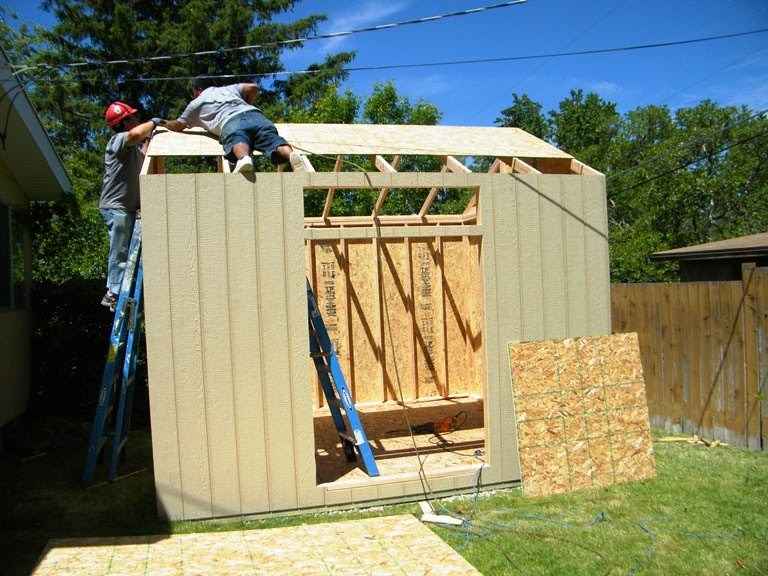
Installing The Walls
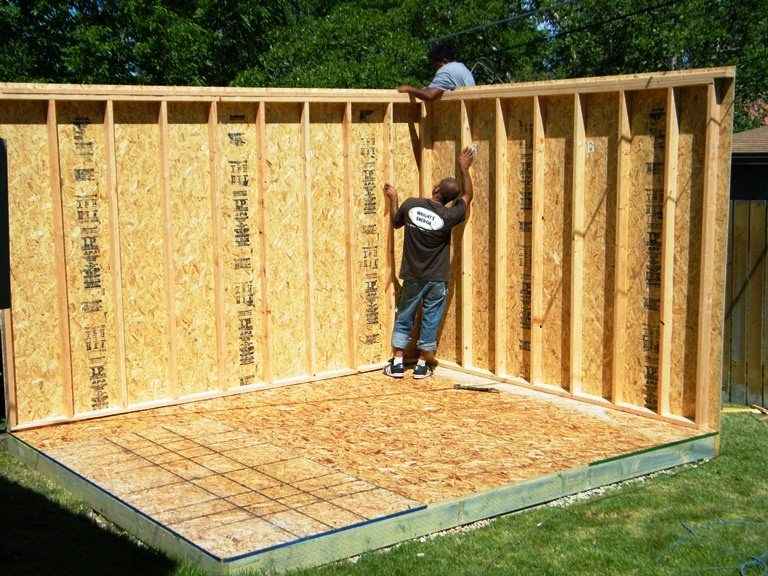
1. Start with one of the gables. Make sure the wall lines up evenly with the ends of the base.
2. Use a generous amount of nails to nail the wall to the floor. You will need to have someone hold this wall until another one is up.
3. Install the other walls.
Tip: It helps if you install the wall with the door opening after the second wall is up.
4. Use a generous amount of nails to nail up the sides of the walls (inside and outside) the bottom and on the top corners.
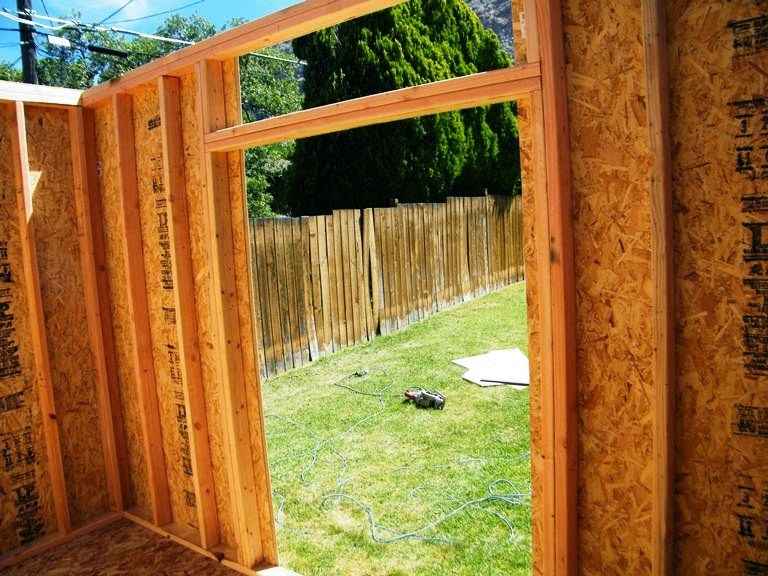
*Note: You will notice there is a 2×4 at the bottom of the door opening. You will need to cut it off.


*This is the 2×4 that needs to be cut.
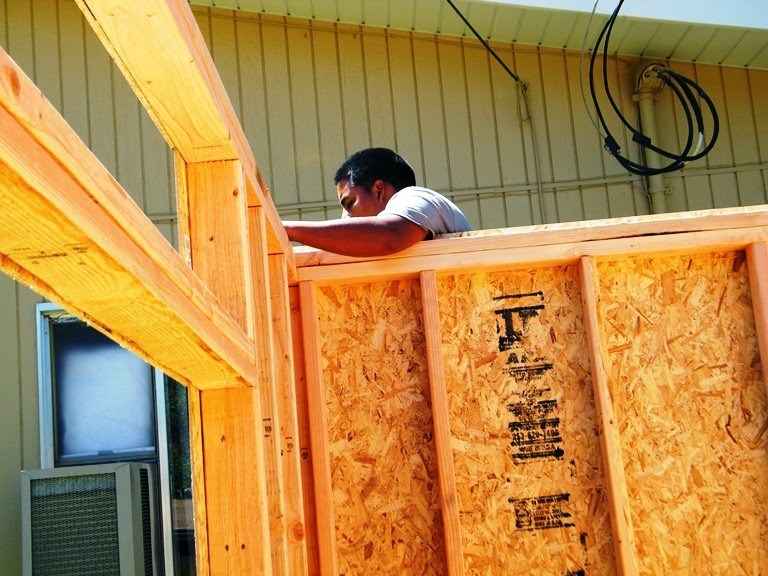
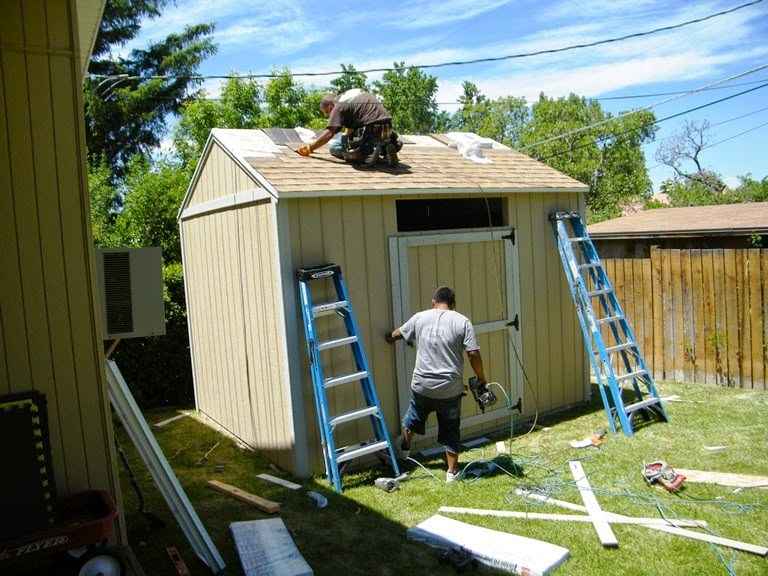
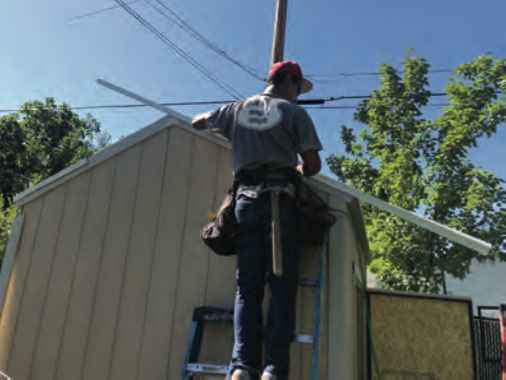
Installing The Roof
1. Trusses need to be spaced 2’ apart. Measure and mark.

3. Nail wall pieces to the trusses.

2. Nail trusses to the top of the wall.

4. Nail OSB sheets to the trusses. Start from the top with the large piece and work down. *If roof has overhang, make sure it is even on all sides prior to nailing.

The Overhang
1. For standard overhang, nail the sidewall overhang trim on the bottom part of the overhang.
*Standard overhang only hangs off the sidewalls.
2. For other overhang sizes, nail the pieces of trim with 2×4’s attached to them to the bottom part of the overhang.
3. Repeat process on all sides.


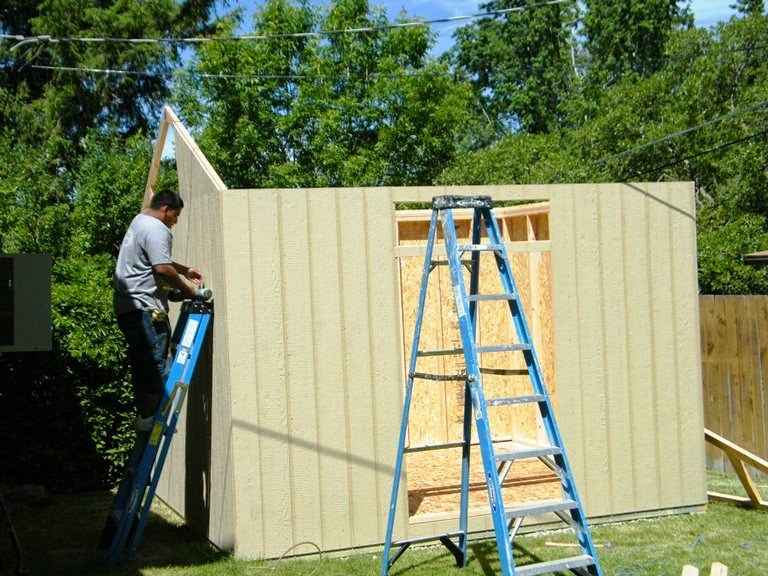
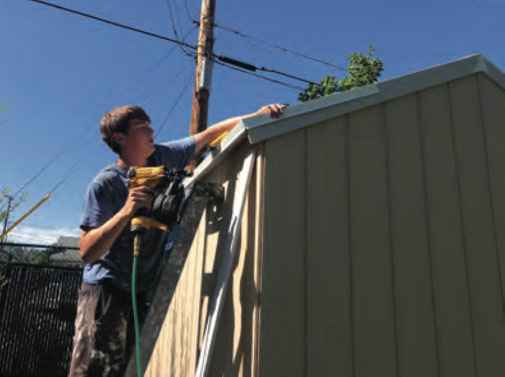
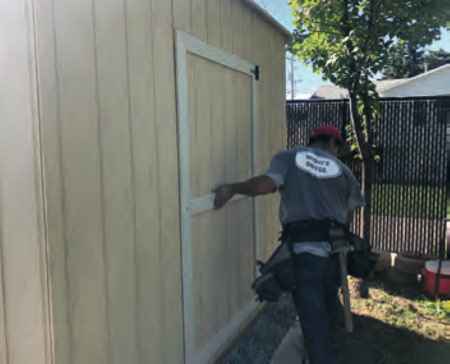
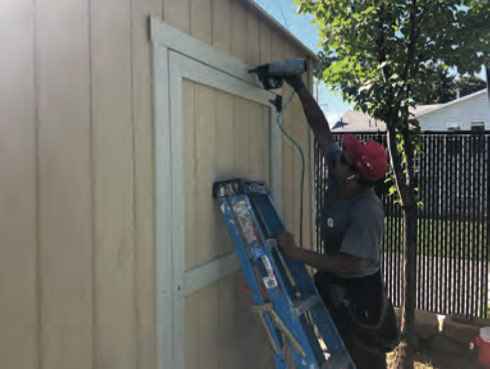
The Trim


1. Nail gable trim to the wall. If gable has overhang, nail trim to the 2×4’s. Cut off any excess.
2. If there is overhang on the sidewalls, nail trim to the 2×4’s.
3. Nail sidewall corner trim and gable corner trim to walls. *Gable corner trim will need to be cut to size
4. Nail Z-Bar trim to gables. If the door is on a gable, Z-Bar will only be on the back side.
5. Caulk any gaps between trim.
.
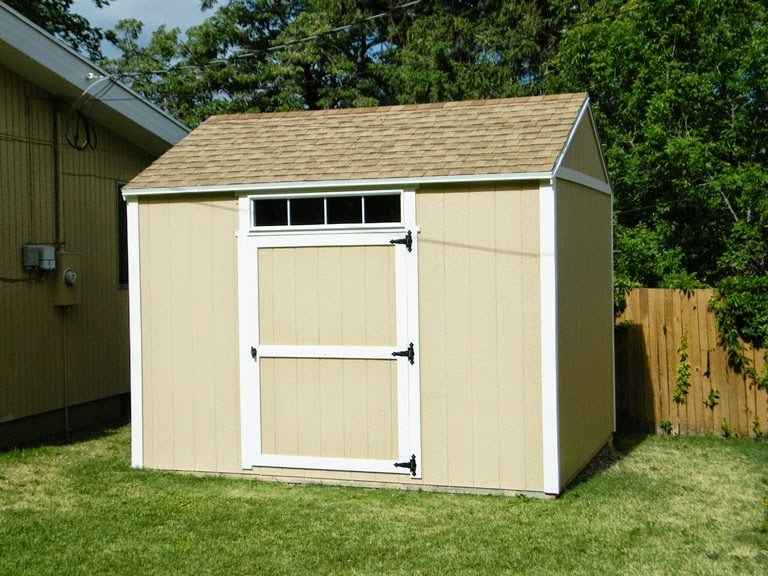
What comes with your shed kit?
A standard shed kid will include the following:
- 2×4 Framed & Sheeted Walls
- 4.5×6 Steel Framed Door (Fully Assembled & Ready to Hang)
- Pre-cut Trusses
- Flooring System that is cut and laid out
- Pre-cut Trim
** Shingles, Tar Paper, Nails, and Drip Edge are NOT included with the kit.
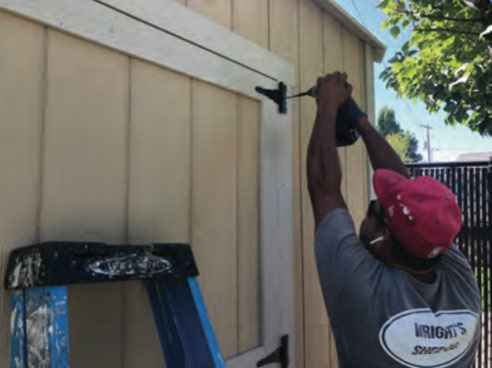
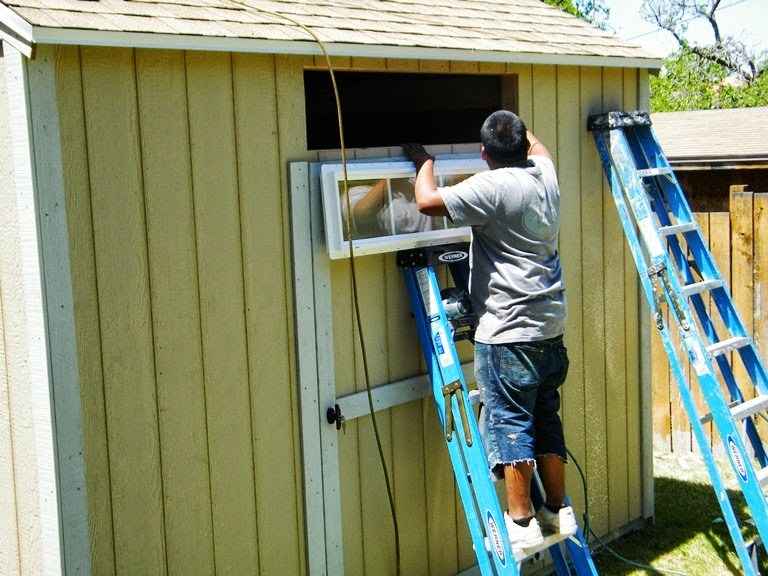
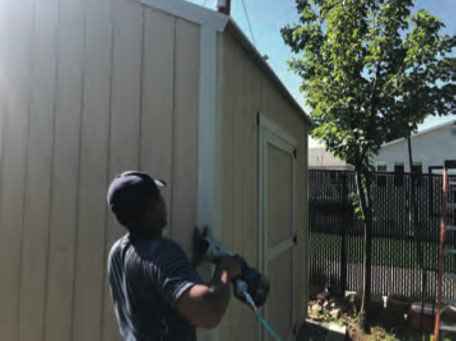
Watch the experts build!
Photo Guide


Need more information?
If you have questions on your current shed or if you would like us to provide you with more pricing information on a future shed fill out this form or give us a call today for a FREE estimate! 801-787-0475