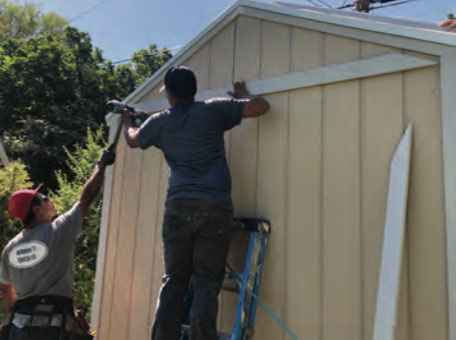
Why Understanding Shed Kits Matters for Your Storage Needs
What is a shed kit? A shed kit is a package containing pre-cut wood materials, hardware, and assembly instructions that allows you to build your own storage shed. The appeal is obvious: a shed-in-a-box arrives at your home, promising a weekend project that costs less than a custom build. You get extra storage and the satisfaction of building it yourself.
But here’s the reality we’ve seen after decades in the shed business: is a shed kit the right choice for your property, skill level, and long-term needs? Some homeowners love the challenge, while others find the timeline unrealistic and the result less durable than they hoped. A shed kit can be a great option, if you know exactly what you’re getting into.
This guide will walk you through everything: what comes in a shed kit, what doesn’t, how long assembly really takes, and how shed kits compare to custom on-site builds. We’ll share the pros and cons from our perspective as local shed experts who’ve helped thousands of Utah, Idaho, Iowa, and Nebraska homeowners find the right storage solution.
At Wright’s Shed Co., we’ve been building thousands of custom sheds and offering DIY shed kits since 1997, we’ve learned that understanding what is a shed kit, and what it’s not, is the first step to making a smart decision. Let’s unpack the box and see what’s really inside.
What is a Shed Kit?
So, what is a shed kit? It’s a package of pre-cut materials and instructions that lets you build your own storage shed. Instead of hiring a contractor, you get all the pieces delivered to your property, ready for you to assemble. Think of it like a large-scale furniture assembly project for your backyard. The kit provides the materials and guidance; you provide the labor, foundation, and a few weekends.
This DIY model is what makes shed kits appealing, as you trade your time for lower upfront costs. At Wright’s Shed Co., we’ve seen this work beautifully for homeowners who enjoy hands-on projects. We’ve also seen folks underestimate the effort involved. That’s why understanding what a shed kit truly requires is so important.
Most kits are either pre-cut or panelized. Pre-cut kits (like ours) come with individual lumber pieces cut to length, giving you a true sense of building. Panelized kits provide pre-assembled wall sections, which can speed up the process but offer less flexibility.
What’s Typically Included in a Wright’s Shed Co. Shed Kit?
When you order a shed kit from us, you’re getting more than just a pile of lumber. We’ve designed our kits to include everything for the structure itself:
- Pre-built and pre-sheeted walls: Each kit includes 2×4 framed and sheeted walls with LP SmartSide paneling for strength and durability.
- Pre-cut trusses and flooring system: Trusses and 2×6 pressure-treated floor bases are pre-cut and laid out for easy setup.
- Steel-framed door: Comes fully assembled, ready to hang, and includes a diamond plate metal threshold.
- Trim and OSB flooring: Pre-cut trim pieces and ¾” tongue and groove OSB floor sheathing are included.
- Detailed instructions: Each kit comes with an easy-to-follow installation guide and access to a how-to video on their website.
What’s Not Included in a Shed Kit?
Understanding what’s not in the box is just as important. These are standard elements you’ll need to plan for:
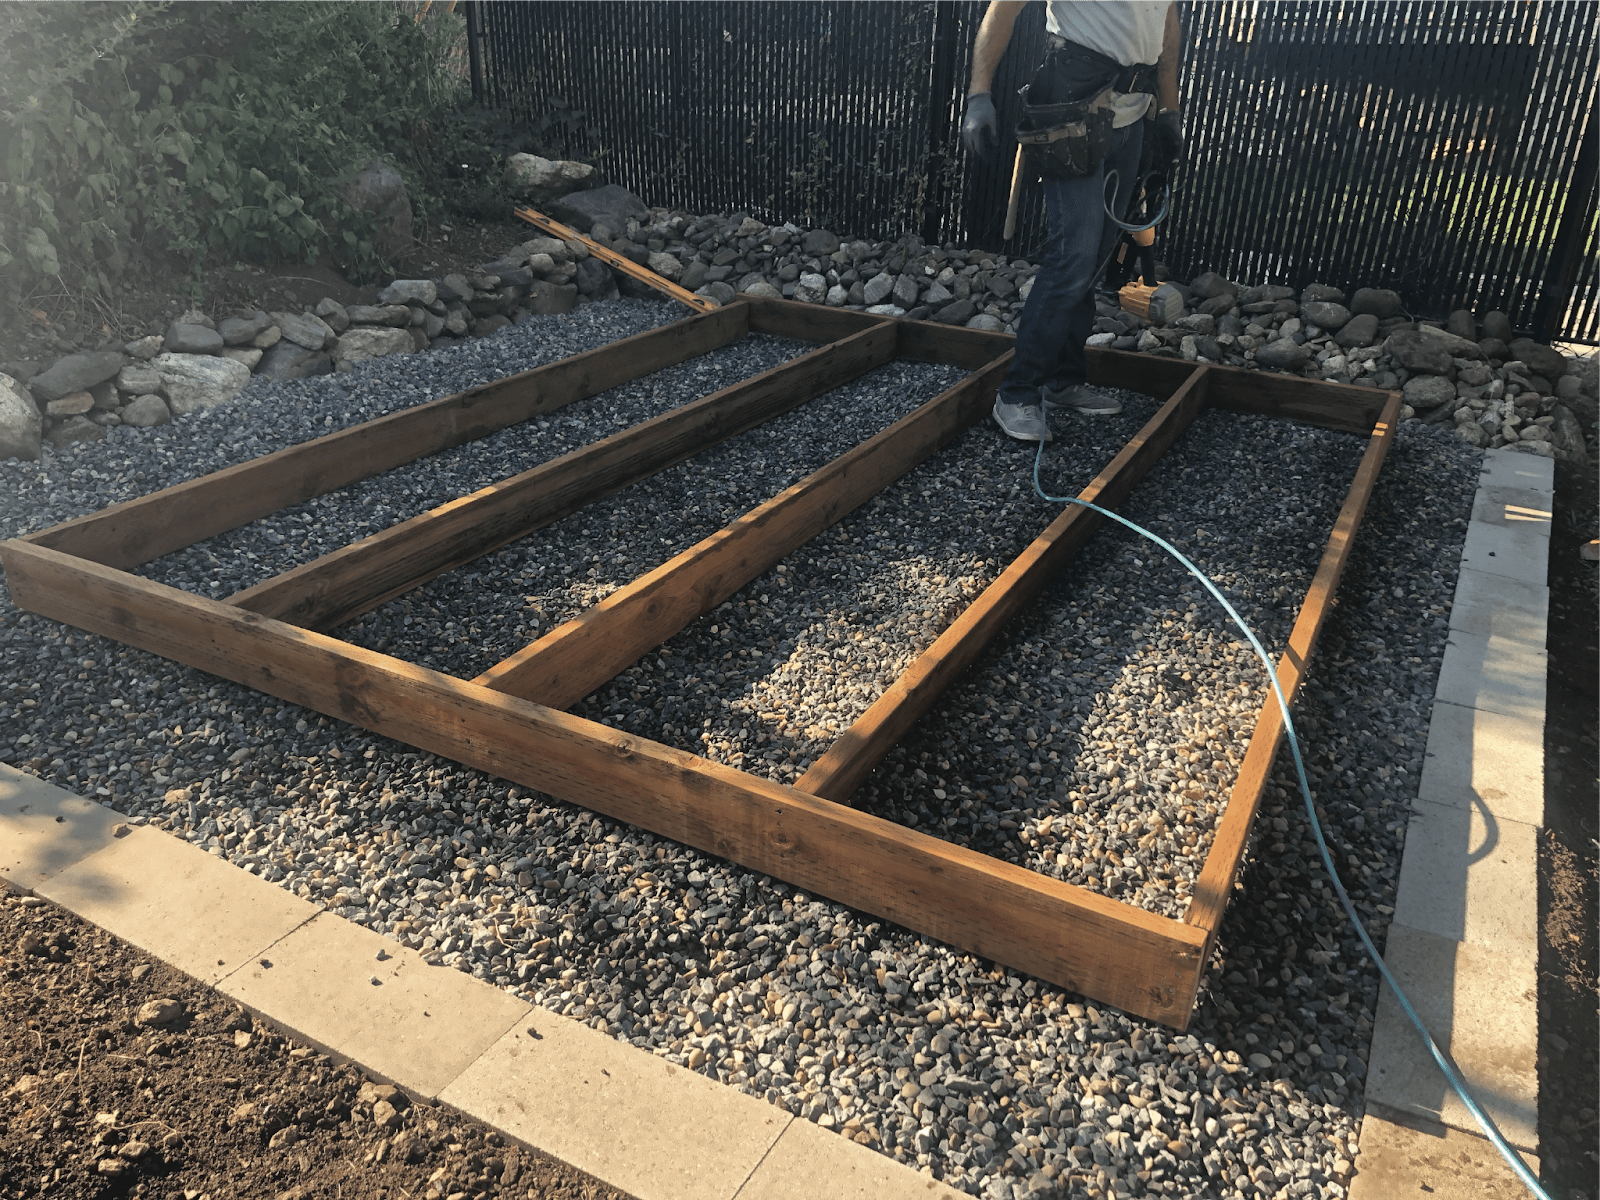
- The foundation: This is the most critical element you must provide. A level, solid foundation is essential for your shed’s longevity. We strongly recommend a gravel pad or concrete slab. Building a proper base is a project in itself, as detailed by experts at sites like This Old House.
- Floor decking: The treated wood floor frame may be included, but the decking is often sold separately, giving you material flexibility.
- Final roofing materials: Shingles or metal roofing complete the weatherproofing but aren’t part of the basic kit.
- Paint or exterior sealant: Needed to protect the wood and customize your shed’s look.
- Tools: You’ll need a circular saw, power drill, level, tape measure, and other common tools. This could be a significant added cost if you don’t own them.
- Local building permits: These may be required depending on your location and shed size. Always check with your local building department first.
Types of Shed Kits Offered by Wright’s Shed Co.
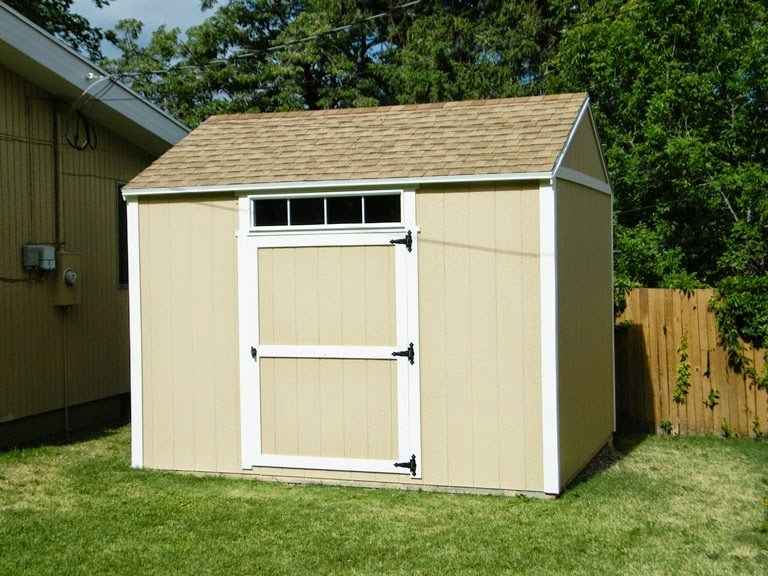
Wright’s Shed Co. offers DIY wood shed kits using LP SmartSide panel siding and premium materials. Each kit includes pre-built walls, pre-cut flooring, and trusses joined with steel plates for long-lasting durability. We focus on wood construction only, which offers the best balance of strength and classic style.
Our DIY Shed Kits are designed for straightforward assembly and long-lasting performance, giving you the satisfaction of building it yourself without compromising on quality. You can explore our DIY Shed Kits to see the full range of sizes and styles. We focus exclusively on high-quality wood because our expertise and passion lie in its enduring strength and natural beauty.
The Pros and Cons: Is a Shed Kit Worth It?
After working with thousands of homeowners across Utah, Idaho, Iowa, and Nebraska since 1997, we’ve learned that deciding is a shed kit worth it is a personal choice. Some customers love the process, while others wish they’d chosen a custom build from the start. Let’s look at both sides to help you make the right decision for your skill level and property.
The Primary Benefits of a Shed Kit
The popularity of shed kits is no surprise. For the right homeowner, the benefits are significant.
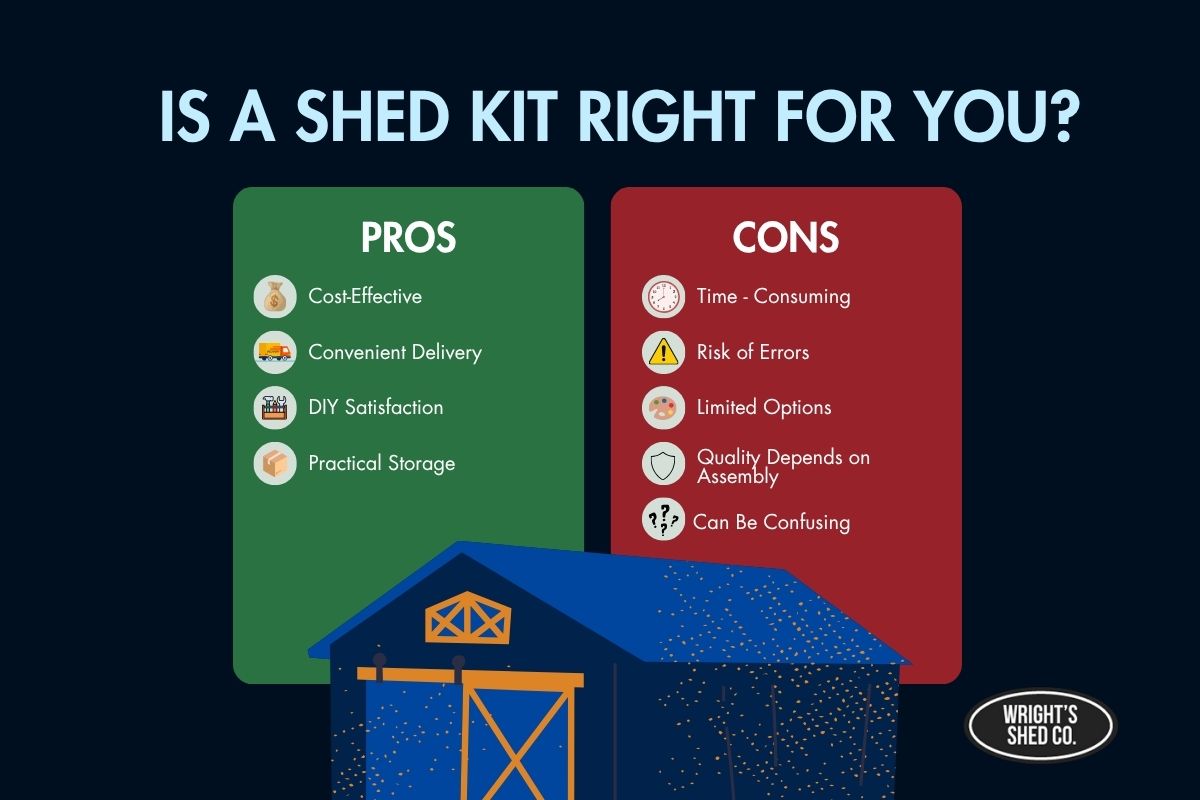
- Lower Upfront Cost: By providing the labor yourself, you can save a significant amount compared to a professionally installed shed.
- Convenience: Most materials arrive in a single delivery, saving you countless trips to the hardware store to source lumber, siding, and fasteners.
- Satisfaction of DIY: There’s immense pride in building a permanent structure on your property with your own hands.
- Perfect for Simple Needs: For storing lawn equipment, garden tools, and seasonal items, a standard shed kit is often an ideal and practical solution.
The Disadvantages and Common Problems
Now for the reality check. Understanding what is a shed kit means being honest about the potential challenges.
- Assembly is Challenging: Manufacturer estimates of a “weekend project” are often unrealistic. For most homeowners, a shed kit requires several weekends of work, especially when factoring in weather delays.
- Potential for Errors: Even with high-quality materials and pre-cut parts, small mistakes can happen during setup, like misplacing a panel or uneven alignment. Taking your time and following the instructions carefully helps ensure a smooth build and a sturdy final result.
- Limited Customization: Kits offer some flexibility, but if you want a unique layout, specific dimensions, or custom details, a kit can’t match our on-site custom builds.
- Lifespan Depends on Assembly: Even with our premium materials, a poorly assembled shed won’t last. Gaps, an uneven foundation, or improper roofing can lead to water damage and structural issues. Our kits are designed to last 15+ years when assembled correctly.
- Confusing Instructions: If you’re new to construction, even the clearest instructions can feel overwhelming. That’s why our support team is just a phone call away.
Are Shed Kits a Good Option for Beginners?
It depends on the beginner. If you have basic carpentry skillsyou’re comfortable with a power drill and circular saw and understand what “level and square” means, a shed kit can be a great learning experience.
However, be realistic about the time commitment. Plan for several weekends, not one, and expect a learning curve. Mistakes are part of the process. The good news? When you choose a Wright’s Shed Co. kit, you’re not alone. Our local experts are available to help you succeed.
If you enjoy hands-on work and have the tools, a kit can be rewarding. But if you’re short on time or uncertain about your skills, a custom on-site build might save you frustration and money in the long run.
Shed Kits vs. Custom On-Site Builds: A Full Comparison
When you imagine that perfect storage solution, the question usually comes down to this: build it yourself with a shed kit, or have our experts handle the construction? Both paths lead to extra storage, but the journey is very different.
After nearly three decades of building sheds across Utah, Idaho, Iowa, and Nebraska, we know the key is understanding what you’re signing up for. Let’s break down how a DIY shed kit stacks up against a custom on-site build.
| Feature | Shed Kit (Wright’s Shed Co. DIY) | Custom On-Site Build (Wright’s Shed Co.) |
|---|---|---|
| Total Cost | Lower upfront | Higher upfront (but often lower total cost over time) |
| Time Investment | Several weekends (or more) | Minimal (built by professionals) |
| Required Skills | Basic carpentry skills | None (built by professionals) |
| Final Quality | Varies based on assembly skill | Consistent, high quality from professional builders |
| Lifespan | 15+ years with proper assembly | 20-50 years, with long-term warranties available |
| Customization | Limited (doors/windows) | Full (size, style, features, interior) |
| Warranty | No warranty provided for DIY kits | Limited structural warranty: 5–8 years on buildings, 2 years on doors, plus LP SmartSide (5/50-year) and GAF shingles (lifetime) factory warranties |
| Local Expertise | Support and advice for our kits | Our local experts manage the process from design to professional on-site construction |
Shed Kit vs. Custom On-Site Build
When weighing what is a shed kit against a custom build, you’re choosing between rolling up your sleeves or watching skilled craftsmen do the work.
Our Custom On-Site Builds are the culmination of everything we’ve learned since 1997. Our team arrives at your property with premium materials and decades of experience to construct your shed or garage right where it will stand. The beauty of this approach is complete customization – size, style, windows, doors, and interior layouts are all built to your exact specifications. We offer warranties because we stand behind the quality we deliver. You can see our Custom Sheds to explore the possibilities.
Our DIY Shed Kits offer the satisfaction of building something with your own hands. The upfront cost is lower, and you’re still working with our quality, long-lasting materials. It’s the perfect choice for straightforward storage needs when you have the time and tools for the project.
Why Wright’s Shed Co. Only Offers Wood Shed Kits and On-Site Builds
We don’t offer metal or resin kits because we believe in the enduring quality of wood. Since 1997, our reputation has been built on doing things right. Premium wood construction, whether in a kit or a custom build, offers a level of durability and classic aesthetics that mass-produced alternatives can’t match.
All our custom sheds and garages are built on-site for a perfect fit and finish. Our expert crews construct your building on your prepared site, building the structure from the floor up and allowing us to adapt to your unique site conditions. We don’t ship pre-built units; we provide a bespoke solution crafted by local builders who take pride in their work. This commitment to on-site craftsmanship is what makes a Wright’s Shed a lasting investment.
The Building Process: From Foundation to Finished Roof
Understanding what is a shed kit also means understanding the journey from a stack of lumber to a finished structure. The success of your project hinges on a few critical steps.
Tools and Skills You’ll Need
While our kits simplify the process, you still need basic tools and skills. For a smooth assembly, you’ll need a circular saw, a power drill/driver, a hammer, a tape measure, a large carpenter’s square, a 4-foot level, and a stepladder. A framing nailer can also speed things up significantly. Don’t forget safety gear!
As for skills, you should be able to read diagrams, measure accurately, use a level, and safely operate power tools. If you’re new to construction, we suggest enlisting an experienced friend to help.
The Most Important Step: The Foundation
We tell every customer the same thing: a level, well-prepared foundation is the single most important factor for your shed’s longevity. You cannot cut corners here. An improper base can cause the frame to twist, doors to stick, and siding to gap, drastically shortening your shed’s life.
The foundation is not included in the kit because it must be specific to your site’s soil and climate. A compacted gravel pad is a popular, cost-effective choice that offers excellent drainage. A concrete slab provides maximum durability, ideal for a workshop or storing heavy equipment. We provide expert advice to help you choose the right option, and you can learn more in our guide to shed foundation options.
Installing the Floor
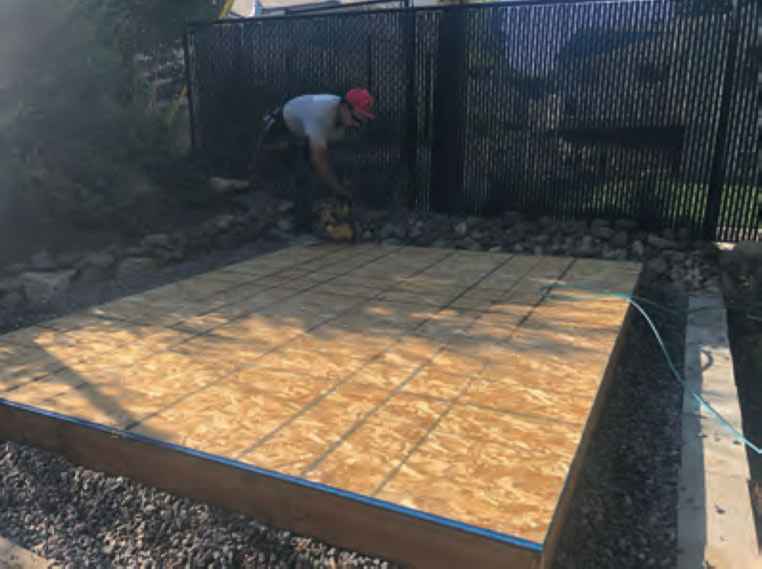
Start by laying out each 2×6 base frame, spaced 2 feet apart. Nail the frame together securely, then check that the base is level. If needed, add smaller 2×6 pieces under the base for added support. Once everything is even, nail down the ¾-inch tongue and groove OSB floor sheathing. This forms a sturdy foundation for your walls and ensures a smooth, even surface to build on.
Installing the Walls
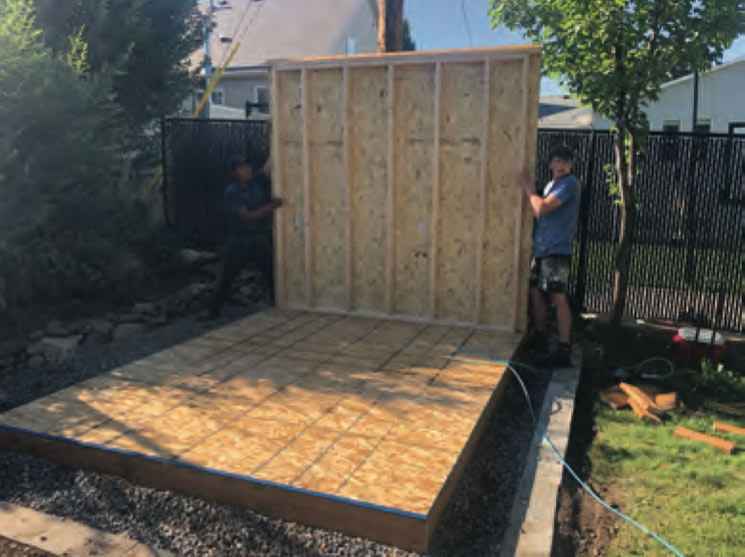
Begin with one of the gable walls, making sure it lines up evenly with the ends of the base. Nail it securely to the floor while someone holds it in place. Continue installing the other walls, saving the one with the door opening for last. Use plenty of nails along the sides, bottom, and top corners to keep the structure solid. Once all walls are up, you can cut out the 2×4 at the bottom of the door opening to create your entryway.
Installing the Roof
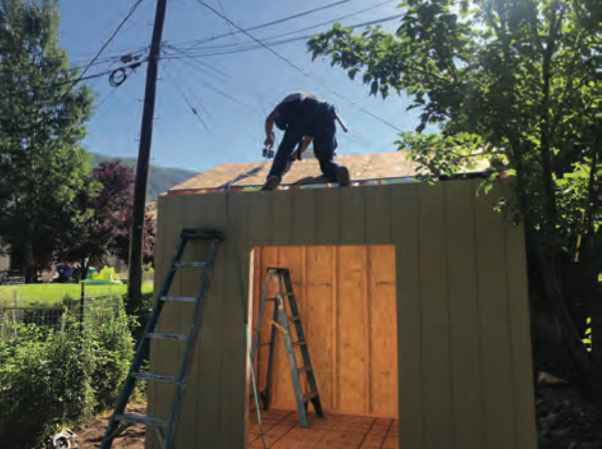
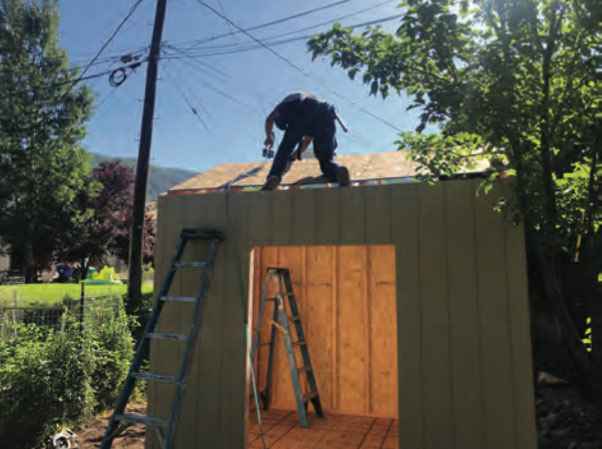
Next, move on to the roof. Space the trusses 2 feet apart and nail them to the top of the walls. Once the trusses are secure, nail the OSB roof sheets in place, starting from the top and working downward. Make sure the overhang is even on all sides before nailing to ensure a clean, symmetrical finish.
Adding the Overhang and Trim
For a standard overhang, nail the sidewall overhang trim to the bottom part of the overhang. If you are using a larger overhang, attach the trim with 2×4 supports and repeat the process on all sides. Once that’s complete, install the gable and sidewall trim, corner trim, and Z-bar trim where needed. Trim not only improves your shed’s appearance but also protects exposed edges from moisture and weather damage. Be sure to caulk any small gaps for a polished look.
Final Touches and Maintenance Tips
After the trim and overhang are complete, it’s time for the final steps that make your shed truly yours. Paint or stain all exposed exterior surfaces within 30 days of assembly. This step helps protect your shed from moisture, UV rays, and temperature changes. Wright’s Shed Co. recommends using high-quality exterior paint to ensure long-term durability.
Next, install shingles or your preferred roofing material. While shingles, underlayment, and drip edge are not included in the DIY kit, they’re essential for a watertight and long-lasting roof. Take your time to align everything neatly for a clean finish.
Once your shed is complete, plan for routine maintenance. Check for settling, repaint when needed, and inspect your roof after storms. With proper care, your DIY shed can last 15 years or more, giving you the satisfaction of building a strong, beautiful structure with your own hands.
How Long Does Assembly Really Take?
This is where expectations often clash with reality. While some manufacturers claim a shed can be built in a weekend, our experience shows that’s rarely the case for the average homeowner.
Plan for several weekends, not just one. This is especially true if you’re new to DIY projects. Weather is a major factor that can cause delays. Mistakes happen, and correcting them takes time. Many steps, like raising walls, are also safer and easier with a helper. It’s far better to budget extra time and finish early than to rush and compromise the quality of your build.
Wright’s Shed Co. makes the process simple and beginner-friendly, but again, plan for a few days to a couple of weekends to complete your shed. Since most of the cutting and framing is already done, you’ll spend less time on prep work and more on easy assembly and finishing touches.
Frequently Asked Questions about Shed Kits
As local shed experts serving Utah, Idaho, Iowa, and Nebraska since 1997, we get a lot of questions about what is a shed kit. Here are the most common ones, with our honest answers.
How do I choose the right shed kit size?
First, list everything you need to store. Then, measure your available yard space and check local regulations for any size limits or setback requirements. Our team can help you find the perfect balance between having enough space and fitting your yard.
Can I customize my shed kit?
Our kits offer some flexibility, like adjusting door and window placement. However, for truly unique dimensions, interior layouts, or architectural details, our on-site custom builds are the way to go. See our Custom Sheds to explore the possibilities.
What foundation is best for a shed kit?
We recommend a compacted gravel pad or a concrete slab. A proper foundation is crucial because it keeps the shed level, prevents moisture damage, and ensures the structure remains stable for years. We can provide expert advice on the best choice for your property.
How long will a shed kit last?
With proper assembly and maintenance, our premium wood shed kits are designed to last 15+ years. The key is proper assembly; a well-built shed will serve you for decades, while a poorly built one will not, regardless of material quality. For a 20-50 year lifespan, consider our custom on-site builds.
Do I need a permit for a shed kit?
It depends on your location and the shed’s size. Permit requirements vary widely across Utah, Idaho, Iowa, and Nebraska. We strongly recommend calling your local building department before you purchase or start building to avoid potential fines or issues.
Making the Right Choice: What is a Shed Kit and Is It Right for You?
So, after unpacking all this information, what is a shed kit and is it the right choice for you? The answer depends on your budget, your available time, your DIY skills, and your long-term storage goals.
For homeowners who enjoy a hands-on project, our DIY Shed Kits are incredibly rewarding. You work with the same premium materials we use in our custom builds and have our support team ready to help. The pride of building your own functional storage space is a huge benefit, and with proper care, it will serve you well for 15+ years.
However, if you’re short on time, tools, or the desire for a multi-weekend project, our on-site custom builds are the superior choice. Our local experts in Utah, Idaho, Iowa, and Nebraska manage the project from design to professional on-site construction, delivering a fully customized shed built to the highest standards, with craftsmanship warranties of up to 50 years. You get peace of mind and a perfect shed without lifting a finger.
There’s no wrong answer, just the answer that’s right for you. Some value the savings and satisfaction of a kit, while others prefer the guaranteed quality and convenience of a professional build.
Ready to get started? Whether you’re leaning toward the DIY route or thinking a custom build makes more sense, we’re here to help. Explore our shed kit options or contact our local experts for a free consultation. Let’s figure out the perfect shed solution for your property together.

