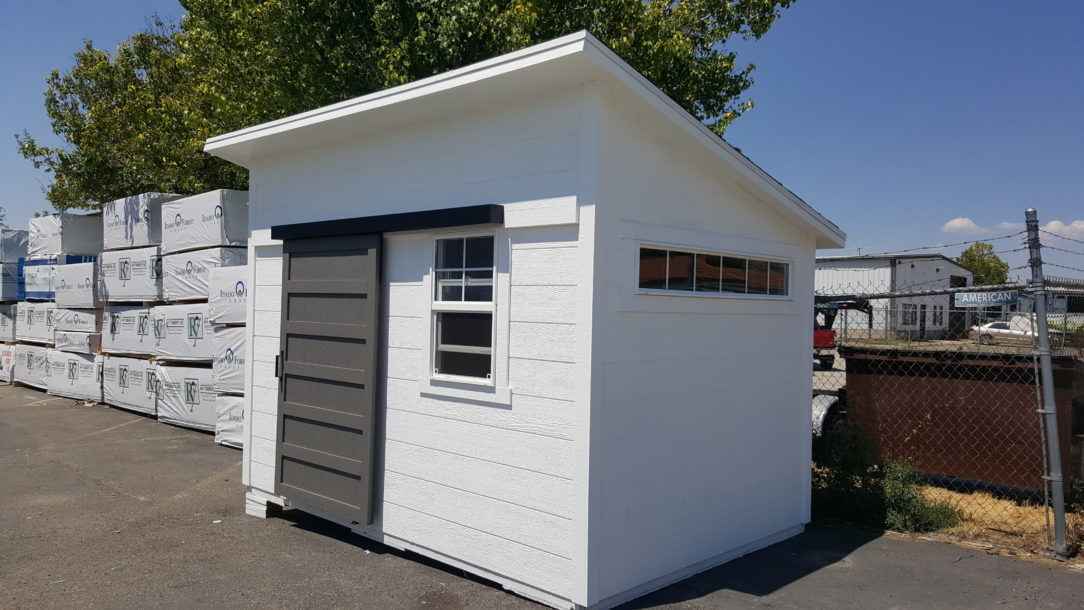
Why an Easy Lean-To Shed Is the Smart Choice for Your Property
An easy lean to shed transforms that awkward space beside your home into valuable storage that actually makes sense for your property. Picture this: you’re tired of tripping over garden tools in the garage, your bikes are rusting in the rain, and that expensive lawn mower deserves better than a tarp. That’s where the brilliance of a lean-to design shines, it nestles perfectly against your existing structures, maximizing every square foot while keeping your yard open and inviting.
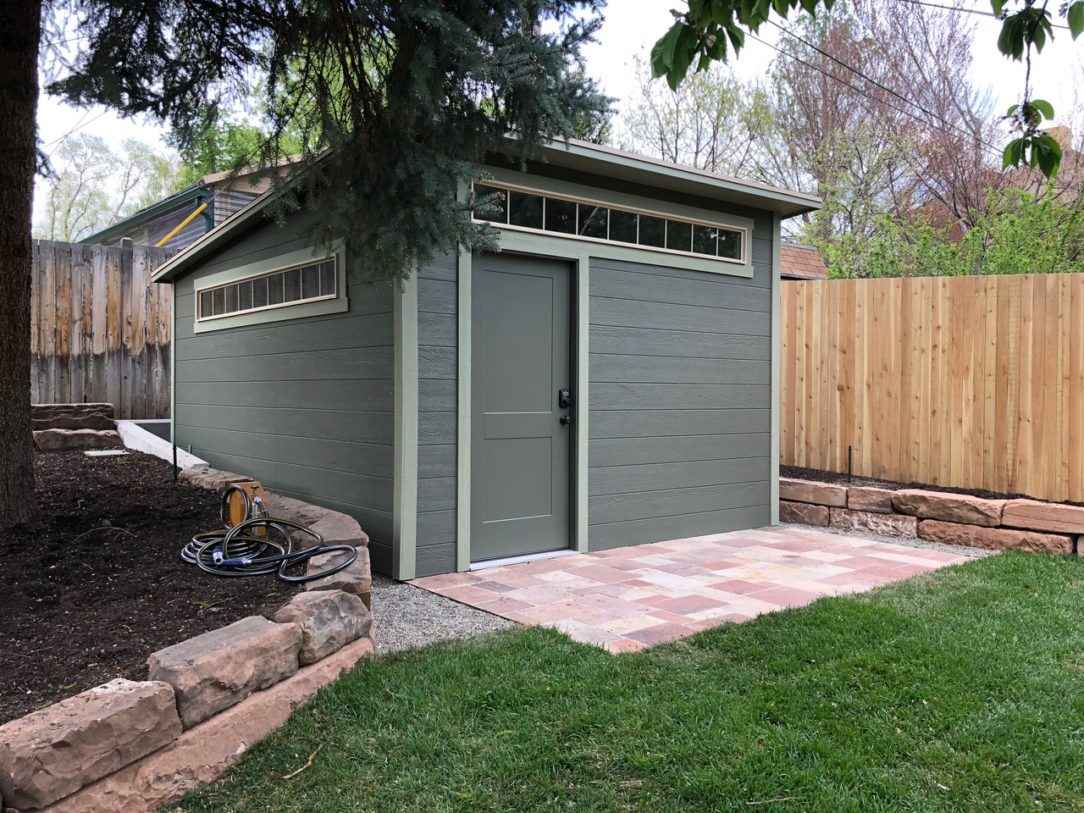
The beauty of choosing an easy lean to shed lies in its simplicity. Unlike complex multi-pitch roof designs that can overwhelm both your budget and your building skills, the single-slope roof offers clean lines, efficient water runoff, and straightforward framing that even first-time builders can master.
According to the National Association of Home Builders, adding quality outdoor storage can increase property value by up to 4%. And with a lean-to’s modest footprint and practical design, you’re making a smart investment that pays dividends in both convenience and curb appeal.
Why Choose an Easy Lean-To Shed for Your Property?
The magic of an easy lean to shed isn’t just in its simplicity, it’s in how perfectly it solves real storage problems without creating new ones. Think about your current storage situation. Maybe you’re stacking expensive power tools in a damp corner of the garage, or perhaps your kids’ bikes create an obstacle course every time you need to grab the lawnmower. A lean-to shed transforms these daily frustrations into organized, accessible storage that actually works with your lifestyle.
What sets a lean-to apart from other shed designs is its ingenious use of existing structures. By sharing a wall with your home, garage, or fence, you’re essentially getting bonus square footage without sacrificing precious yard space. This design approach resonates particularly well with our customers across Utah, Idaho, Iowa, and Nebraska, where maximizing property use while maintaining open outdoor living areas is a top priority.
The single-slope roof design offers more than aesthetic appeal, it’s a masterclass in practical engineering. Water and snow slide off efficiently, reducing the risk of leaks and structural stress that plague more complex roof designs. For regions that experience significant snowfall (averaging 40-60 inches annually in parts of Utah, according to NOAA data), this straightforward design means less maintenance and longer shed life.
The Wright’s Shed Co. Difference
When you choose Wright’s Shed Co. for your lean-to project, you’re getting more than just a storage structure. Our on-site construction approach means your shed is built specifically for your property’s unique conditions, no trying to squeeze a pre-built unit through narrow gates or dealing with uneven ground. We use premium materials, including LP SmartSide panel siding, which comes with a 50-year factory warranty from the manufacturer, ensuring your investment stands the test of time.
Real-world applications our customers love:
- Firewood storage stations that keep wood dry and pest-free while maintaining easy access
- Garden tool organizers that transform cluttered corners into efficient workspaces
- Bike and sports equipment hubs that protect valuable gear from weather damage
- Compact workshops with customized shelving and pegboard systems
- Seasonal storage solutions for holiday decorations, camping gear, and outdoor furniture
The financial aspect deserves attention too. While we customize pricing based on your specific needs and location, choosing a lean-to typically offers the best value per square foot of any shed style. You’re leveraging an existing wall, which means less material cost and faster construction time, savings we pass directly to you.
For the DIY enthusiast, an easy lean to shed represents the perfect starter project. The straightforward framing, minimal cuts, and logical assembly sequence build confidence while delivering professional results. If you’d rather skip the sawdust and have our experienced crews handle the build, we’ll construct your shed onsite with the same attention to detail we’d apply to our own properties. Either way, you’re getting a structure built to withstand decades of use in challenging weather conditions.
Pre-Build Essentials: Planning Your Easy Lean-To Shed
Smart planning makes the build smoother and the end result better. Whether you’re going DIY or hiring us to build onsite, think through size, placement, and local requirements before you lift a hammer.
Sizing, Siting, and Permits for an easy lean to shed
- Location: Choose a level spot against a sturdy wall – house, garage, or fence. Confirm water drains away from both structures. For help, see Locate the Perfect Site for Your Shed.
- Size: Measure your biggest item (mower, snowblower, bikes). Add at least two feet of maneuvering space and ensure the door opening is wide enough.
- Permits: Rules vary by city and county. Many areas have size thresholds or setback requirements for accessory structures. Always verify with your local building department. For general code resources, visit the International Code Council.
Pro tip: In areas with seasonal snow, allow extra roof overhang and plan for snow-shedding. NOAA’s climate normals offer helpful context for local snowfall patterns.
Gather the Right Tools and Materials
You don’t need a cabinetmaker’s shop to build an easy lean to shed, but having the right basics on hand saves time.
Essential tools:
- Miter saw, circular saw, drill/driver
- Tape measure, speed square, 4-foot level
- Framing nailer (optional, but speeds things up)
- Safety gear: glasses, hearing protection, gloves
Typical materials:
- Pressure-treated skids (4×4 or 6×6) for a skid foundation
- Dimensional lumber (commonly 2×6 floor joists, 2×4 wall/roof framing)
- 3/4″ tongue-and-groove plywood for flooring (if building a raised floor)
- LP SmartSide panel siding (50-year factory warranty on siding material)
- Roof sheathing (1/2″ CDX plywood or 7/16″ OSB)
- Roofing underlayment plus asphalt shingles or metal panels
- Galvanized fasteners, flashing, drip edge
Note: Wright’s Shed Co. uses high-quality materials and builds onsite. If you’re DIYing, our DIY Shed Kits can simplify your cut-list and speed up the build.
Budgeting Without Surprises
We don’t publish flat pricing in an article because every site, size, and option set is unique. DIY typically saves labor costs, while our onsite builds save you time and ensure a professional finish. For current lean-to options and a custom quote, visit our Lean-To Shed Pricing.
We’ll help you weigh trade-offs like:
- DIY vs. onsite build (time vs. convenience)
- Asphalt shingles vs. metal roofing (budget, durability, snow-shedding)
- Shelving, ramps, and door size for day-to-day usability
Foundations: What We Recommend (and What We Don’t Do)
We don’t build foundations, but we’ll guide you to the best choice for your site and soil.
Common options:
1) Gravel pad with compacted crushed rock and pressure-treated skids
2) Concrete piers with treated beams
3) Full concrete slab (more permanent and cost-intensive)
Good drainage is essential. Keep surface water moving away from structures. The EPA’s guidance on runoff and low-impact practices is a helpful reference. For how-to overviews, see our How to Build a Shed Base and Shed Foundation Types.
The Build: 5 Steps to Your Easy Lean-To Shed
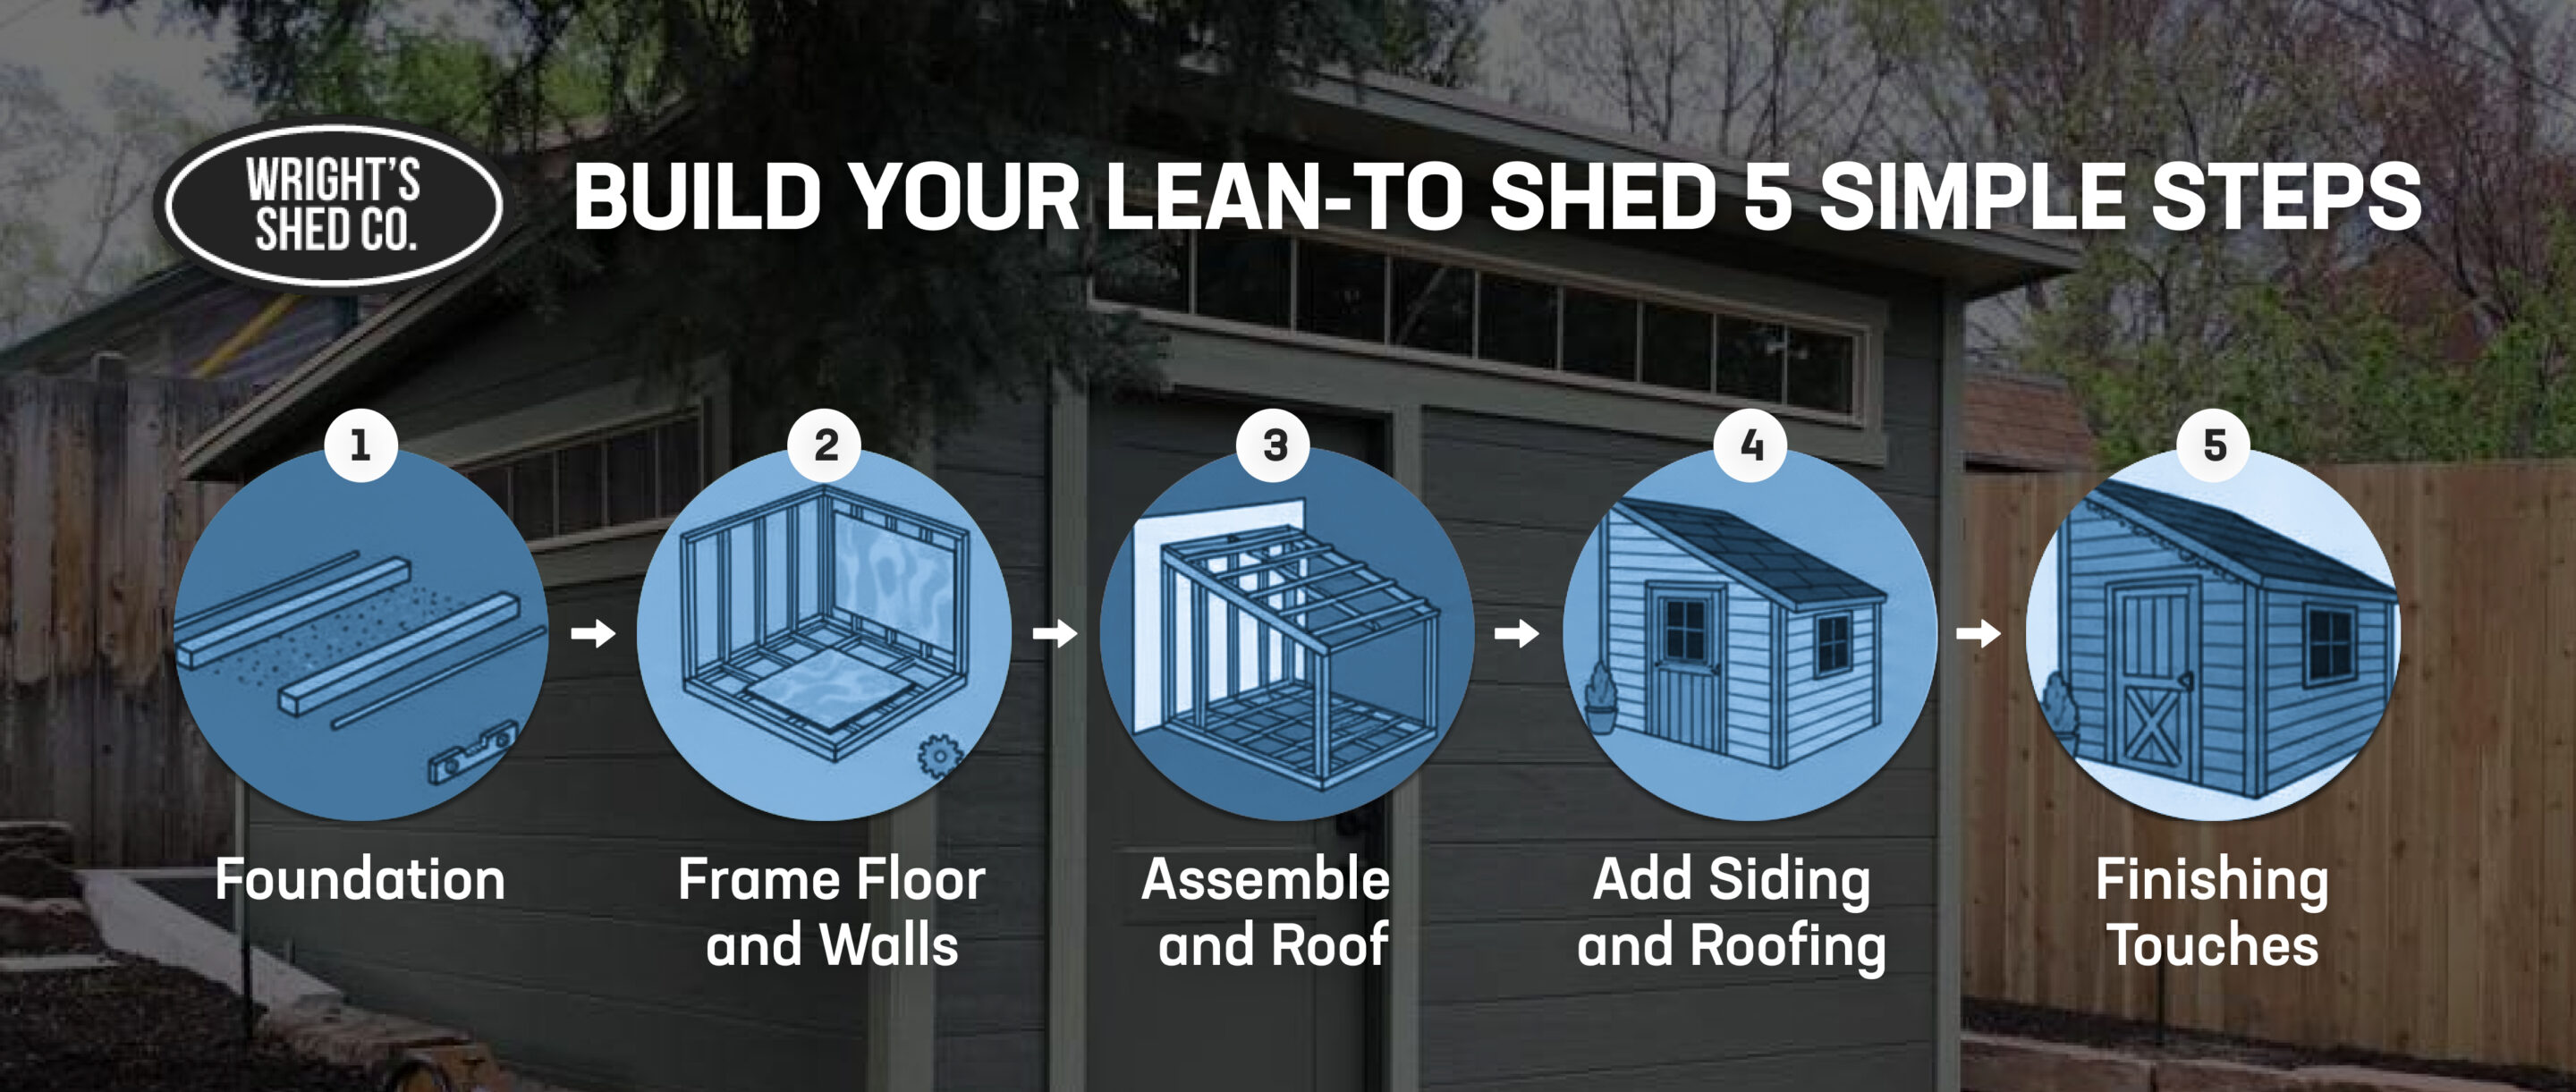
Building an easy lean to shed doesn’t require years of construction experience, just careful planning and attention to detail. Whether you’re rolling up your sleeves for a DIY project or preparing your site for our professional crew, understanding the process helps ensure success.
Step 1: Build a Solid Foundation
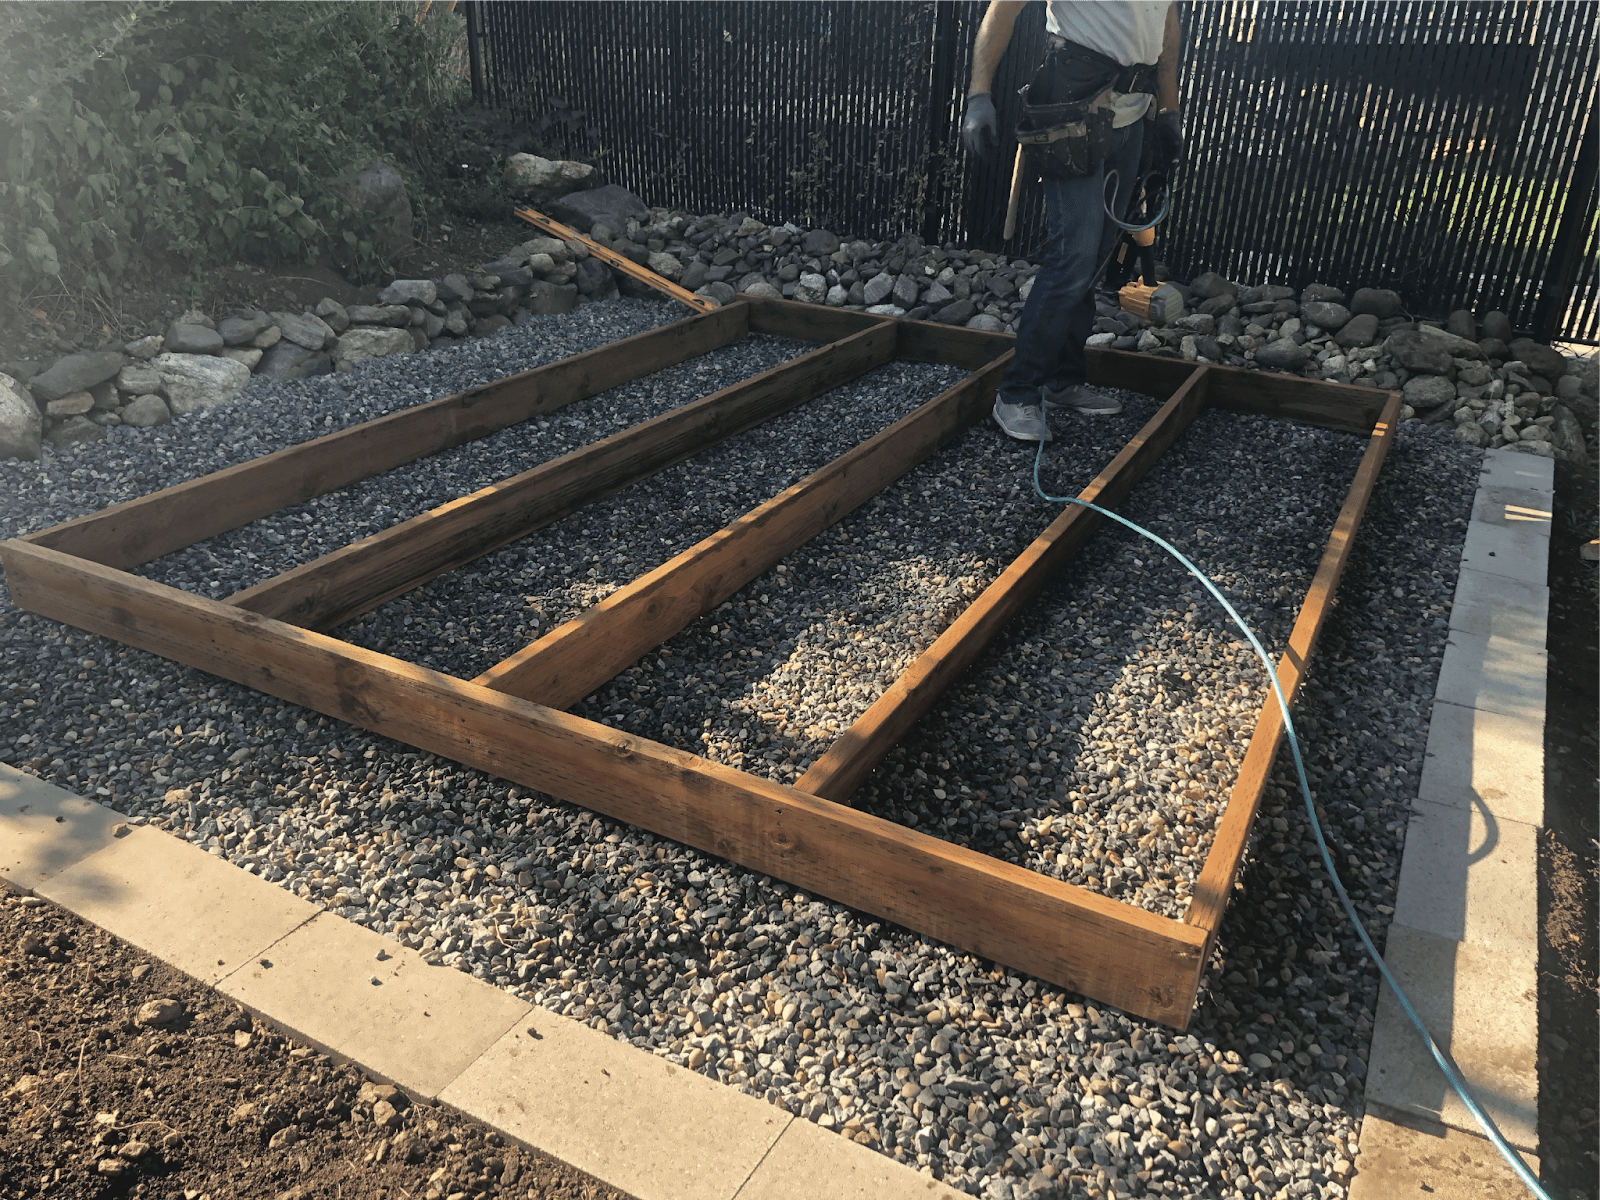
Your shed’s longevity starts with a proper foundation. While Wright’s Shed Co. doesn’t build foundations, we’ve guided thousands of customers through this critical first step.
The process is straightforward but crucial. Start by clearing and leveling an area about 2 feet larger than your shed’s footprint. This extra space provides room for water drainage and makes construction easier. Next, spread and compact 3-4 inches of crushed gravel, this layer prevents moisture problems and ensures stability. Finally, position pressure-treated skids (4×4 or 6×6 timbers) on the gravel, checking they’re level, straight, and parallel.
Pro tip: Rent a plate compactor for the gravel, it’s worth the $50-75 daily rental fee to ensure your foundation won’t settle over time.
For detailed guidance, see How to Build a Shed Base and Shed Foundation Types.
Step 2: Frame the Floor and Walls
With your foundation ready, framing begins. Use pressure-treated 2×6 lumber for the floor perimeter and joists, spacing joists 16 inches on center for maximum strength. The key to a square frame? Measure diagonally from corner to corner, when both measurements match, you’re perfectly square.
Once your floor frame is secured and decked with 3/4-inch tongue-and-groove plywood, wall framing becomes surprisingly manageable. Build all three walls flat on the deck before standing them. Remember: the front wall needs extra height for your roof slope, while the back wall stays low, and side walls angle to connect them.
Step 3: Stand Walls and Set the Single-Slope Roof
This is where your shed really takes shape. Stand the back wall first, bracing it plumb and square. Add the side walls next, then the tall front wall. The key is working methodically – rush this step, and you’ll fight alignment issues throughout the build.
Rafter installation requires precision but isn’t complicated:
- Cut bird’s-mouth notches so rafters seat firmly on wall plates
- Space rafters 16 or 24 inches on center based on your snow load
- Secure with hurricane clips for wind resistance (essential in our region)
Regarding roof pitch, don’t go too shallow. A 3:12 or 4:12 pitch effectively sheds water and snow, critical for the 40-60 inches of annual snowfall common in parts of our service area.
Step 4: Install Siding, Roofing, and Weatherproofing
This stage transforms your frame into a weatherproof structure. Start with LP SmartSide panel siding, working from bottom to top with proper overlap. This premium siding carries a 50-year factory warranty from the manufacturer (siding only, not flooring), providing peace of mind for decades.
Roofing installation follows a specific sequence for maximum protection:
- Install drip edge along all roof edges
- Roll out roofing underlayment, overlapping seams
- Apply your chosen roofing material (asphalt shingles or metal panels)
- Install flashing where the roof meets the existing wall, this is critical!
The flashing detail where your lean-to meets the existing structure deserves extra attention. Poor flashing is the number one cause of lean-to leaks. Take time to install step flashing properly, sealing all joints with quality caulk.
Step 5: Doors, Access, and Interior Organization
Your shed’s functionality depends on thoughtful finishing touches. A properly sized door makes the difference between convenient storage and daily frustration. Build a sturdy door from siding material reinforced with 1×4 framing, or install a quality pre-hung door. Either way, use three heavy-duty hinges and hardware rated for exterior use.
Consider adding a ramp if you’ll store wheeled equipment. A gentle 1:8 slope works for most mowers and wheelbarrows. Details at Build a Storage Shed Ramp.
Interior organization multiplies your shed’s usefulness. Install shelving along walls, add pegboard for tools, and consider overhead storage for seasonal items. Smart organization can double your effective storage space, see Shed Organization Hacks for proven ideas.
Easy Lean-To Shed Options from Wright’s Shed Co.
If you want the satisfaction of DIY, we’ll set you up for success. If you want it done for you, our crews build your easy lean to shed onsite with pro-grade materials and careful craftsmanship across Utah, Idaho, Iowa, and Nebraska.
Quick comparison to help you choose:
| Option | Best For | What You Handle | What We Handle |
|---|---|---|---|
| DIY Shed Kit | Confident DIYers who want to save time on cuts | Assembly, foundation coordination, finish choices | Pre-cut components, delivery, instructions |
| Custom Lean-To (Onsite) | Fast, professional results with tailored details | Foundation coordination, access clearance | Full onsite build, materials, siding/roofing, trim |
| Detached Garage (Onsite) | Vehicles, large equipment, bigger footprint | Permits, foundation, site prep | Onsite construction, materials, coordination |
Not sure which path is right? We’ll listen first, then recommend. Explore inspiration and details in our Lean-To Shed Design Ideas and Lean-To Shed Design Plans.
When a lean-to isn’t the best fit, say you need more headroom, symmetrical roof lines, or vehicle space, we’ll guide you to the right structure: a Vineyard, Orchard, or Farm Shed, a Detached Garage, or a compact Chicken Coop. We’ll help you weigh layout, access, and long-term upkeep so you’re confident in your choice.
Ready to talk specifics? View options and request a free quote: Lean-To Shed Pricing.
Frequently Asked Questions About Easy Lean To Sheds
How long does it take to build an easy lean to shed?
DIY builders typically complete a 10×10 lean-to in 1-2 weekends with a helper. Our professional crews finish most lean-tos in 1-2 days onsite.
What’s the ideal roof pitch for an easy lean to shed?
A 3:12 to 4:12 pitch works best for rain and snow shedding. Minimum 2:12 for asphalt shingles per manufacturer specifications.
Can I build an easy lean to shed myself to save money?
Yes, DIY saves on labor costs. Our DIY shed kits simplify the process with pre-cut materials while still offering significant savings.
Does Wright’s Shed Co. handle foundation work?
We don’t build foundations but provide expert guidance on the best option for your site and coordinate our build schedule accordingly.
What warranty covers the siding on my lean-to shed?
LP SmartSide panel siding includes a 50-year factory warranty from the manufacturer covering the siding material. For the craftsmanship, we offer an 8-year warranty for our custom lean-tos.
Build Your Easy Lean To Shed with Confidence
An easy lean to shed represents more than just storage, it’s a smart investment in your property’s functionality and value. Throughout this guide, we’ve shown you how this simple yet effective design maximizes space, minimizes complexity, and delivers decades of reliable service when built with quality materials.
Whether you choose our DIY Shed Kits for a rewarding weekend project or prefer our professional onsite construction service, Wright’s Shed Co. stands ready to help you create the perfect storage solution. Our local expertise across Utah, Idaho, Iowa, and Nebraska means we understand your specific climate challenges and building requirements.
The path forward is clear. Visit our 3D tool for your free custom quote and explore how an easy lean to shed can transform your property. With Wright’s Shed Co., you’re not just buying a shed, you’re investing in organization, protection for your valuable equipment, and peace of mind that comes from working with experienced local builders who stand behind their work.
Don’t let another season pass with inadequate storage. Your easy lean to shed solution is just a conversation away.

