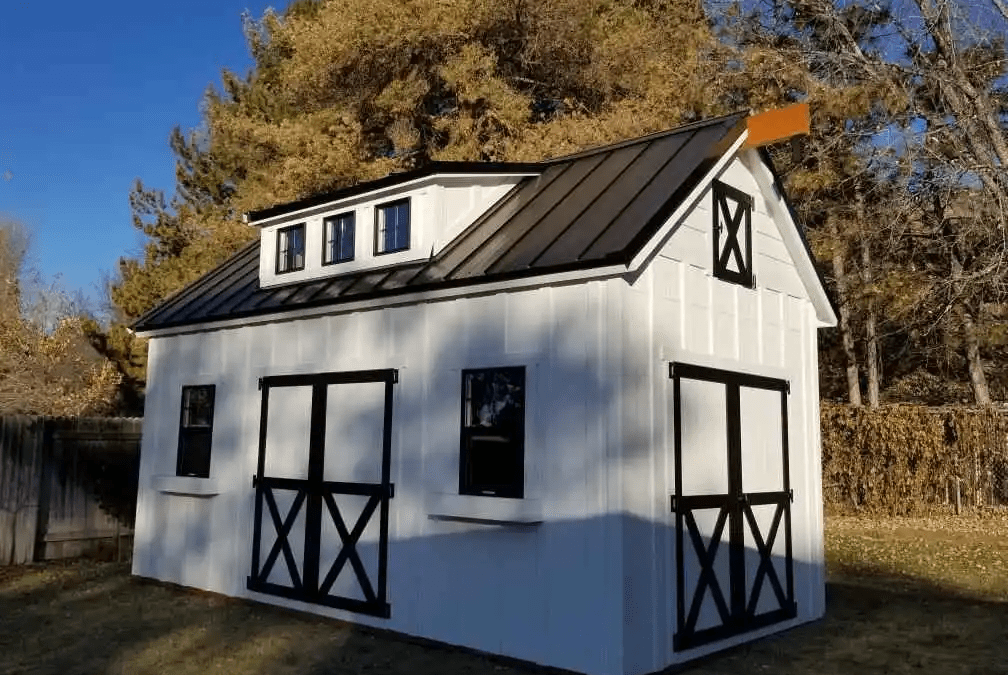
Do you feel exhausted by the mess in your backyard or garage? A shed can provide extra storage space and a place to pursue hobbies or relax. Building a shed can be a fun and rewarding project that adds value to your property and provides additional storage space. But on the other hand, it can be pretty daunting, especially for individuals not well-versed in construction projects.
In this ultimate guide, we’ll provide you with a step-by-step process on how to build a shed to make your shed-building experience as smooth and successful as possible. With our guidance, you’ll have a functional and visually appealing shed. So let’s get started!
Build: Planning and Preparation

The first step in building a shed is to plan and prepare. Before starting the construction, deciding on the appropriate dimensions and design of the shed and selecting a suitable spot for its location is essential. Consider the purpose of your shed and the items you’ll store in it when deciding on the size. For example, if you plan on using it as a workshop, you may want a larger shed to accommodate workbenches and tools.
Once you’ve decided on the size and location, ensure you acquire all necessary permits from your local government or homeowners’ association. Next, gather all the essential tools and materials, including lumber, roofing, siding, and hardware.
Build: Foundation
The foundation is a crucial aspect of any shed, as it provides the support and stability necessary to prevent it from shifting or collapsing. You have various foundation options to consider when building your sheds, such as concrete, gravel, and skids. The type of foundation you choose will depend on the size and location of your shed and your personal preference.
For example, a concrete foundation is more permanent and durable but may be more expensive and time-consuming to install. A gravel foundation is less costly and can be installed quickly, but it may provide less stability or protection from moisture. Skids are a popular choice for smaller sheds and can be easily moved if necessary.
Build: Framing
Once the foundation is in place, it’s time to start framing the walls and roof of your shed. This process involves constructing the framework of the shed using lumber, nails, and screws. The walls should be framed according to the size and design of your shed, with studs placed at regular intervals for support.
The roof framing can be a bit more complicated, as it requires cutting angles and bevels to fit the roof pitch. Consider using a framing square or a roof framing calculator to ensure accuracy.

Build: Sheathing and Siding
Finally, it’s time to add the finishing touches to your shed. This may include installing windows, doors, trim, and any necessary insulation or electrical wiring. In addition, consider painting or staining the exterior of your shed to protect it from the elements and enhance its appearance.
Final Thoughts
While building a shed may appear daunting, a well-thought-out plan and proper preparation can turn it into a fulfilling and enjoyable project. Follow these six steps to create your own shed from scratch and enjoy the extra space and functionality it provides. Whether using it as a storage shed or a workshop space, your shed will be a valuable addition to your backyard.
Remember to take your time during each step of the process and use the proper tools and materials. Feel free to seek help from a professional like Wright’s Shed or an experienced friend if you need clarification on any aspect of the construction. Safety should always be a top priority, so wear appropriate protective gear and follow all safety guidelines when using power tools or working at heights.
In addition to being a functional space, a shed can also be a decorative element in your backyard. Consider adding plants, flowers, or other landscaping elements around your shed to enhance its appearance and create a more inviting outdoor space.
Constructing a shed is an excellent means of enhancing your property’s worth and providing additional space for your hobbies, interests, or storage needs. With the proper planning, preparation, and construction, you can build a durable and attractive shed that will serve you well for years. We hope this ultimate guide on how to build a shed has been helpful, and we wish you success in your shed-building project!