Why a Paver Shed Ramp Is the Smart Choice for Your Backyard
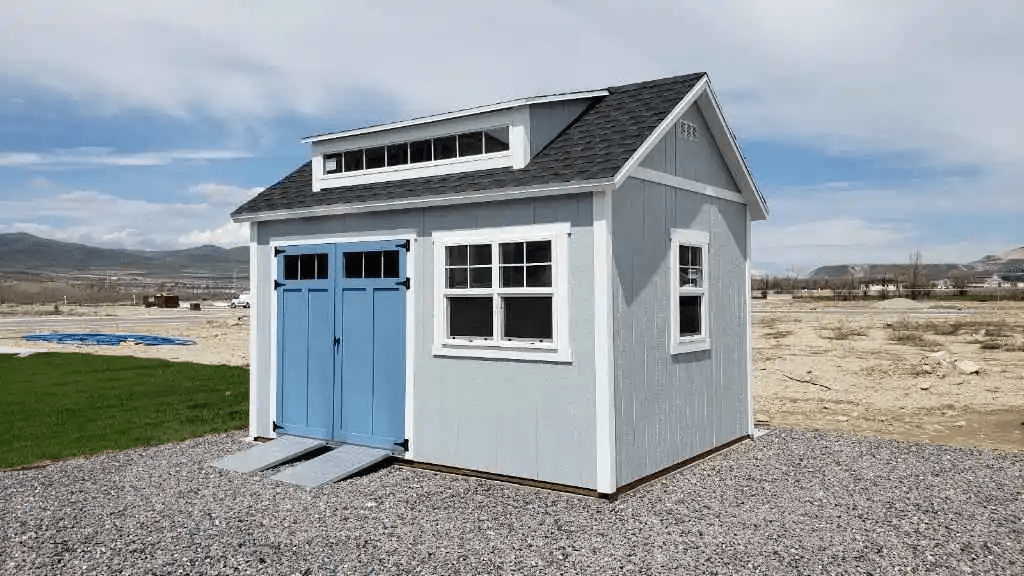
A paver shed ramp is a practical and attractive upgrade for your outdoor storage. It creates smooth access for heavy equipment, eliminating the awkward step up into your shed while adding significant curb appeal.
Quick Answer: Building a Paver Shed Ramp
- Slope: Use a 1:4 to 1:8 ratio (1 inch rise per 4-8 inches of length).
- Materials: Concrete pavers, crushed stone base, sand, edge restraints.
- Key Steps: Excavate, compact base, frame edges, lay pavers, fill joints.
- Timeline: Most homeowners complete this project in 1-2 weekends.
Pavers outperform wooden ramps in durability and maintenance. Wood rots, warps, and gets slippery, a common complaint from homeowners dealing with unsafe, makeshift ramps. Especially in places like Utah with snow, ice, and temperature swings, pavers handle the weather exceptionally well and look great for years.
While your neighbors deal with rotting wood and constant repairs, your paver ramp will remain functional and beautiful for decades.
Planning Your Perfect Paver Shed Ramp
Many people start with wood ramps because they seem cheaper, but after a few seasons of warped boards and slippery surfaces, they wish they’d chosen pavers. A paver shed ramp isn’t just about durability, it’s about performance. Pavers handle the weather swings in Utah, Idaho, Iowa, and Nebraska without warping, splintering, or becoming dangerously slick.
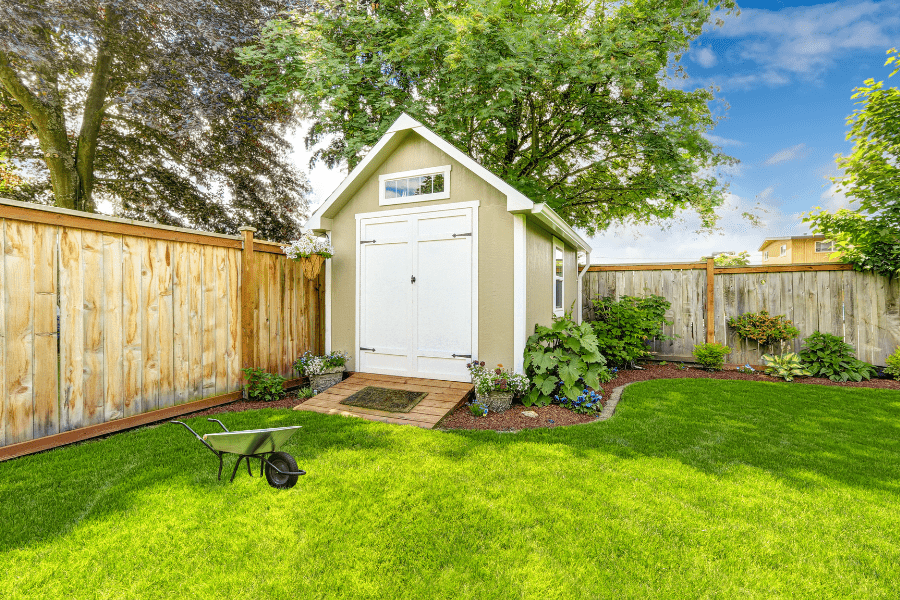
A well-designed paver ramp also integrates beautifully with your landscaping, adding genuine curb appeal. It makes your shed look like an intentional part of your property. While others are staining and replacing boards, you’ll be admiring your low-maintenance setup.
The key to a successful paver shed ramp is proper planning. You need to determine your ramp dimensions, calculate the right slope for your equipment, and ensure it can handle the load. Even on an uneven yard, good planning makes all the difference. If you’re still unsure, learn more about Why You Should Consider Adding a Shed Ramp.
Selecting the Right Pavers
Choosing the right pavers is crucial for a long-lasting project.
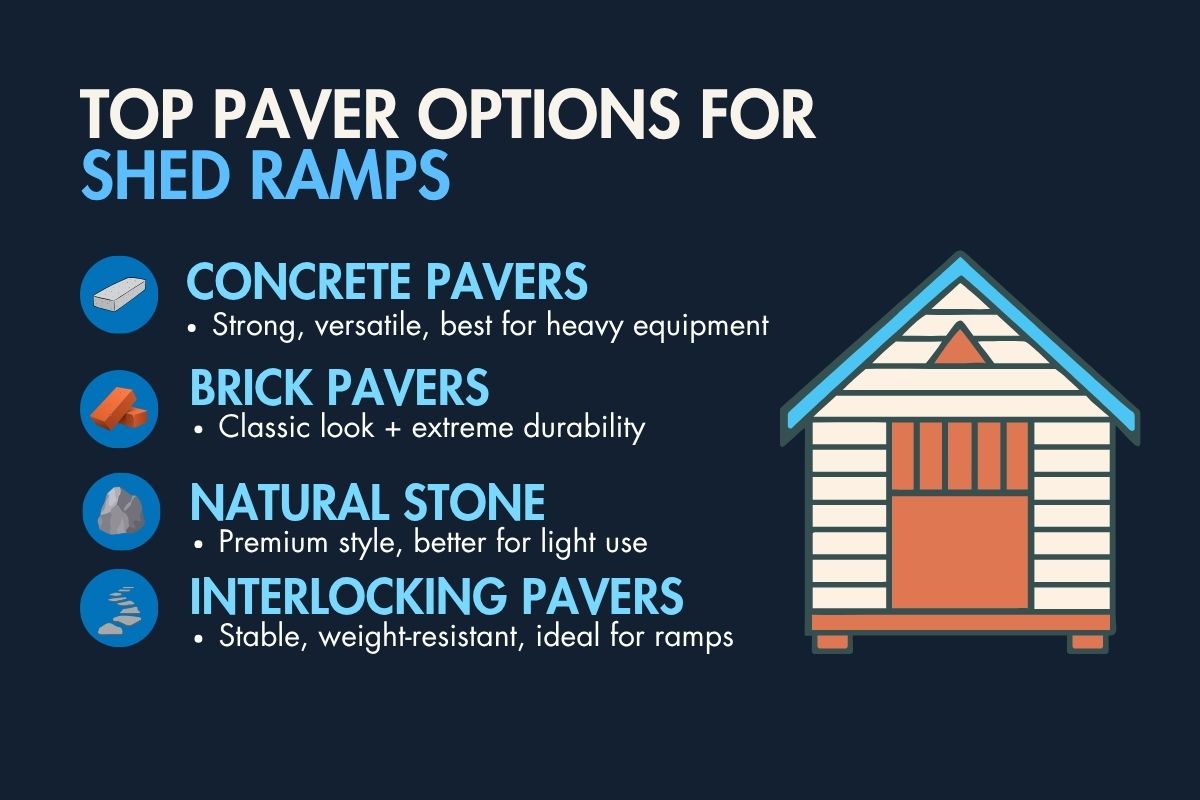
- Concrete pavers are my top recommendation for most shed ramps. They are durable, versatile, and come in countless styles and colors. They are especially good for heavy use, like with a zero-turn mower or ATV, as they resist chipping better than some natural stone.
- Brick pavers offer a classic, timeless look. They are incredibly durable and make your shed area feel like a planned part of your landscape.
- Natural stone pavers, such as slate or bluestone, create a stunning, high-end appearance. However, for utility ramps with heavy traffic, manufactured concrete may be more practical due to its consistent strength.
- Interlocking pavers are engineered to fit together, creating a very stable surface that distributes weight evenly and resists shifting, which is ideal for ramps.
Regardless of the material, paver thickness is critical. For ramps supporting riding mowers or heavy wheelbarrows, choose pavers at least 2 inches thick. Also, opt for a non-slip texture for better traction, especially in frosty or wet conditions.
Calculating Ramp Slope and Dimensions
Getting the slope right is essential. Too steep, and you’ll scrape your mower deck; too gentle, and the ramp will be excessively long.
The calculation is based on rise over run. The rise is the vertical height from the ground to your shed floor. The run is the horizontal length of the ramp.
I recommend a slope ratio between 1:4 and 1:8 (1 inch of rise for every 4 to 8 inches of run). For light use, 1:4 is acceptable, but a gentler slope of 1:6 or 1:8 is safer and more convenient for riding equipment, especially in areas with snow and ice. This ensures better lawn mower clearance and easier wheelbarrow access.
To calculate, multiply your rise by your desired run ratio. For a 14-inch rise and a 1:6 slope, you need an 84-inch (7-foot) ramp (14 x 6 = 84). For a 1:8 slope, you’d need a 112-inch (approx. 9.5-foot) ramp.
After calculating, use stakes and string to mark the layout. This helps you visualize the final paver shed ramp and make any adjustments before you start digging.
Gathering Your Tools and Materials
Proper organization is key to a smooth project. Gather all your tools and materials before you begin to avoid interruptions. Most items are available at home improvement stores, and larger tools can often be rented.
Essential Materials for the Job
Don’t skimp on foundation materials; they are critical for a ramp that lasts.
- Pavers: Order about 10% extra to account for cuts and breakage.
- Crushed stone aggregate: Also known as road base, this graded mix of stones locks together when compacted to create a solid foundation.
- Coarse sand: This is used for the bedding layer directly under the pavers. Its coarse texture provides stability and drainage. Do not use fine play sand.
- Pressure-treated lumber: Use lumber rated for ground contact (UC4A, UC4B, or UC4C) for the frame. Common sizes like 2×6 or 2×8 work well.
- Paver edge restraints: These plastic or aluminum strips are critical for preventing pavers from shifting outward over time.
- Landscape fabric: Placed between the soil and the stone base, it prevents weeds and keeps your base materials from mixing with the dirt.
- Polymeric sand: This special sand is swept into the joints and hardens when activated with water, locking pavers together and resisting weeds.
- Construction adhesive and galvanized screws: Use these for assembling your frame. Galvanized hardware prevents rust.
Tools You’ll Need
Borrow or rent larger items to save money.
- Shovel and wheelbarrow: For moving soil and materials.
- Hand tamper or plate compactor: A hand tamper works for small ramps, but renting a plate compactor is highly recommended for larger projects to ensure proper base compaction.
- Levels: You’ll need both a long and short level.
- Rubber mallet: For tapping pavers into place without damaging them.
- Measuring tape and circular saw: For cutting lumber. Use a masonry blade on the saw for cutting pavers (a wet saw provides the cleanest cuts).
- Safety gear: Safety glasses and work gloves are essential.
- Other tools: A trowel, string line and stakes, and a carpenter’s square will also be needed.
How to Build a Sturdy Paver Shed Ramp: A Step-by-Step Guide
With planning complete and materials on hand, it’s time to build your paver shed ramp. Patience during these steps is crucial for a professional, long-lasting result. We’re building a foundation that needs to be done right the first time.
Step 1: Prepare the Ground and Foundation
A rock-solid foundation is non-negotiable. Rushing this step will lead to settling and shifting pavers later.
First, excavate the marked area, clearing all vegetation. The depth depends on your materials: for 2-inch pavers, 1 inch of sand, and a 4-inch stone base, you need to dig down at least 7 inches. Go deeper for heavier loads or softer soil.
For leveling uneven ground, you may need to create terraces or use retaining blocks to build up low areas. Backfill and compact in 2-inch layers. For complex terrain, this guide to building on uneven ground offers specific advice.
Next, roll out the landscape fabric to prevent weeds and stop your base from mixing with the soil. Then, spread your crushed stone base in 2-inch lifts, compacting each layer thoroughly with a tamper or plate compactor. This is the most critical part of creating a stable foundation.
Check your grade constantly with a level and string line to maintain the consistent slope you calculated earlier. Your ramp must meet your shed’s foundation seamlessly.
Step 2: Frame the Ramp and Add Edging
The frame contains the base materials and prevents them from spreading. For the pressure-treated lumber frame, cut your 2x6s or 2x8s and seal the cut ends with a wood preservative. Assemble the frame using galvanized screws or bolts. For wider or heavy-duty ramps, add diagonal braces for extra stability. If possible, anchor the frame to your shed’s foundation.
As an alternative to lumber, retaining wall blocks are extremely durable and can be buried to the exact height needed. If your shed has a sliding door, install a solid barrier at the opening to keep the track clear of stone and sand.
Step 3: Lay the Pavers for Your Ramp
This is where the ramp takes shape. Spread 1-2 inches of coarse bedding sand over the compacted base. Use a screed board running along guide rails to create a smooth, level surface that follows your ramp’s slope.
Start laying pavers from the bottom and work your way up to the shed. Place pavers snugly against each other and tap each one gently with a rubber mallet to set it. Check for levelness frequently.
You will need to cut pavers to fit the edges. A circular saw with a masonry blade is effective, but a wet saw provides cleaner cuts and less dust. For the row against the shed, you may need to undercut the top edge for a tight fit against the threshold.
Use string lines to keep your pattern consistent for a professional look.
Step 4: Finishing Your Paver Shed Ramp
These final steps lock everything together.
First, install your edge restraints along the sides, staking them firmly into the ground. This prevents pavers from shifting outward.
Next, sweep polymeric sand over the entire surface, working it into every joint with a stiff broom. Follow the manufacturer’s instructions to activate the sand, which usually involves a light misting with water. Too much water can wash the sand out or create a haze on the pavers.
After the sand cures, make one final pass with the plate compactor to bed everything down for maximum stability.
Finally, if you have a sliding door, double-check the clearance to ensure it operates smoothly without collecting debris. You may need to trim the door bottom and add a rubber sweep to keep water out.
Maintenance and Common Mistakes to Avoid
Your new paver shed ramp is a low-maintenance investment, but a little care will keep it performing and looking its best for decades. At Wright’s Shed Co., we’ve been building Custom Sheds since 1997, and we know that preventive care is key to longevity.
Maintaining Your New Ramp
Paver ramp maintenance is straightforward compared to wood.
- Seasonal cleaning: Sweep the ramp regularly to remove leaves and dirt. This prevents organic matter from accumulating in the joints and encouraging weed growth.
- Removing weeds: If a weed appears, pull it immediately before its roots can grow deep and disturb the pavers.
- Topping up joint sand: Every few years, you may need to replenish the polymeric sand. Simply sweep fresh sand into the joints and activate it with a light mist of water.
- Checking for settled pavers: If you notice an uneven paver, lift it, add a small amount of bedding sand to level the area, and reinstall the paver.
- Pressure washing: To restore your ramp’s appearance, use a pressure washer with a wide spray pattern and moderate pressure to avoid dislodging the joint sand. Use a specialized cleaner for algae or mildew.
Common DIY Mistakes to Avoid
Learning from common pitfalls can save you time and frustration.
- Improper base compaction: This is the biggest mistake. An inadequately compacted base will cause pavers to settle unevenly over time. Compact the crushed stone in layers for a solid foundation.
- Incorrect slope: A ramp that is too steep is unsafe and can cause equipment to scrape. A ramp that is too flat won’t drain properly. Stick to the recommended 1:4 to 1:8 slope ratio.
- Skipping edge restraints: Edge restraints are essential. Without them, pavers will shift and spread, making the ramp unstable.
- Inconsistent paver gaps: Uneven spacing creates weak points and looks unprofessional. Keep gaps tight and consistent.
- Using the wrong type of sand: Use coarse bedding sand for the base layer and polymeric sand for the joints. Using play sand, masonry sand, or soil will compromise the stability and longevity of your ramp.
Frequently Asked Questions about Paver Shed Ramps
Here are answers to the most common questions homeowners have when planning a paver shed ramp.
What is the best slope for a paver shed ramp?
The ideal slope is a 1:4 to 1:8 ratio, meaning one inch of rise for every 4 to 8 inches of horizontal length. While 1:4 is acceptable, a gentler slope of 1:6 or 1:8 is much better for heavy equipment like riding mowers. It provides better traction, prevents mower decks from scraping, and is safer in wet or icy conditions. A slightly longer ramp is a worthwhile trade-off for safety and convenience.
How do I stop pavers from sliding down the ramp?
Proper installation is key to preventing pavers from sliding. This requires several critical elements: a deeply compacted gravel base, a solid buried footing (like a retaining block) at the bottom of the ramp to act as an anchor, and secure paver edge restraints staked firmly along the sides. Using interlocking pavers and polymeric sand also creates a unified, stable surface where each piece locks into the next.
Can I build a paver ramp directly against my shed?
Yes, building the ramp directly against the shed creates the smoothest and most professional transition. To achieve a seamless fit, you may need to undercut the first row of pavers (cut a slight angle on the top edge) so they sit flush against the shed’s threshold.
If your shed has sliding doors, be careful to prevent debris from jamming the track. Leave a small, clean gap or install a barrier like a pressure-treated board or aluminum edging to create a clean line. In rare cases, you might need to trim the bottom of the door for clearance, but be sure to seal any cut wood.
Wright’s Shed Co. Delivers Durable, Beautiful Paver Shed Ramps
Completing your paver shed ramp is a satisfying project that transforms a simple patch of dirt into a beautiful, functional upgrade that will serve you for decades. It’s more than just an easier way to roll out the mower; it’s a seamless connection between your storage and your yard, eliminating awkward steps and muddy approaches.
Aesthetically, a paver ramp is a long-term investment. It will look as good in twenty years as it does today, unlike wooden planks that require constant upkeep.
At Wright’s Shed Co., we’ve helped customers in Utah, Idaho, Iowa, and Nebraska create better outdoor storage solutions since 1997. We understand that details like proper ramp access are what make a storage building truly functional. Our commitment to quality craftsmanship, backed by warranties, reflects the value of building things to last.
Your new paver ramp embodies that same philosophy. It’s an investment in making your property more functional, beautiful, and valuable. If you’re considering a new storage building to match your ramp, we’d love to help. Contact us now to start!


