
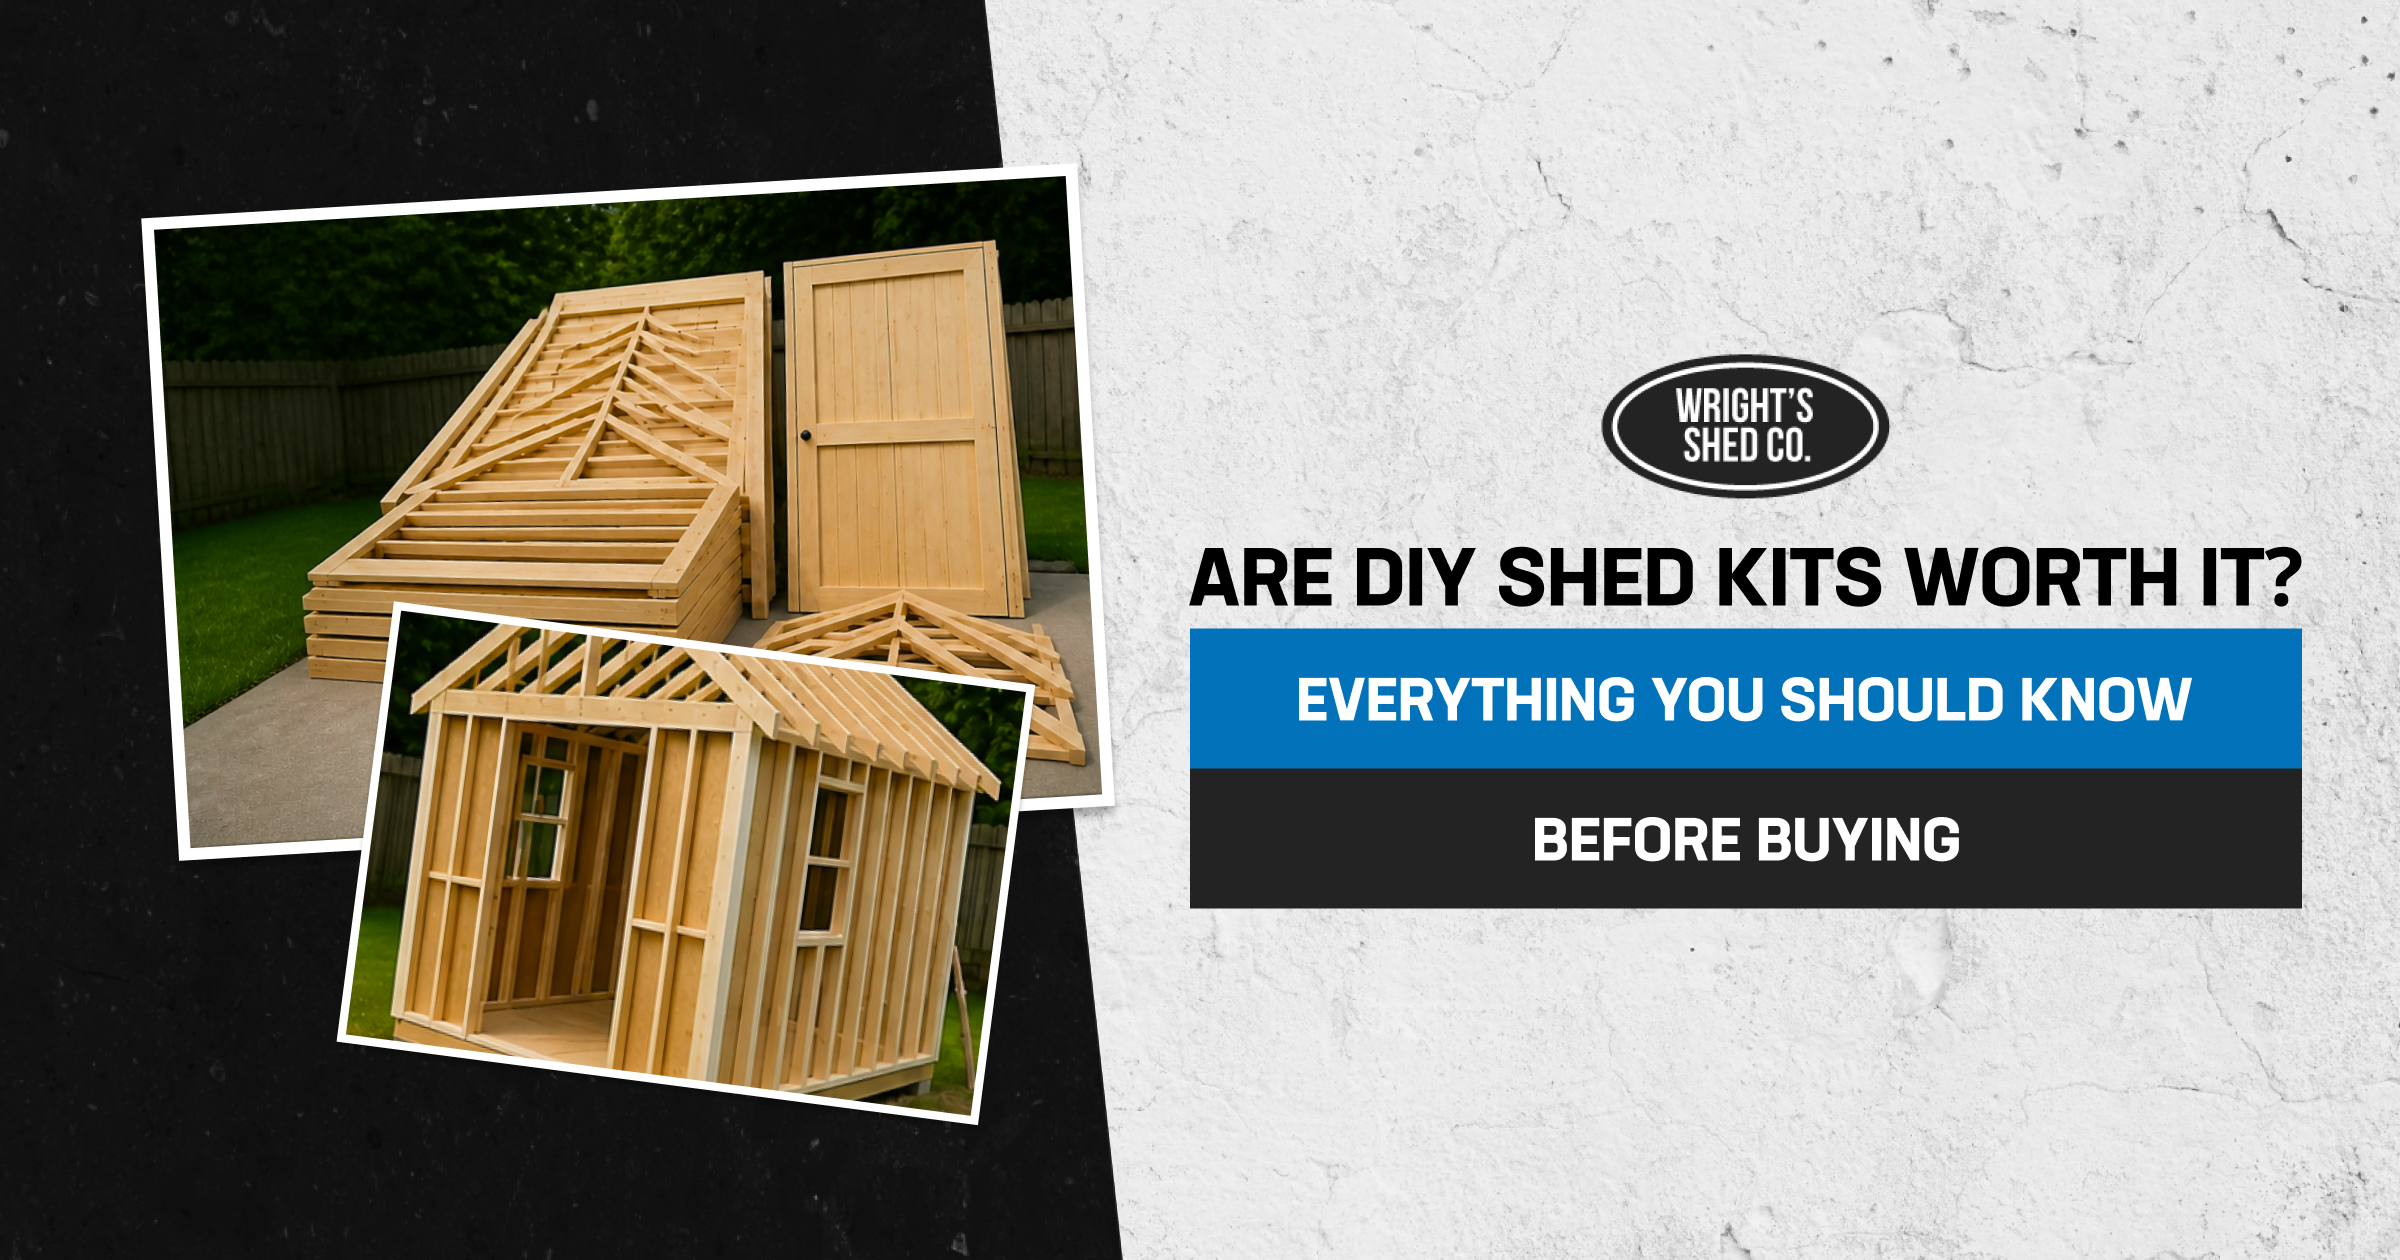
Are DIY shed kits worth it if you’re trying to save money without sacrificing quality? For many Utah and Nebraska homeowners, the biggest question isn’t just the lower upfront price; it’s whether the time, tools, and labor required to assemble the shed are worth the savings. Wright’s Shed Co. offers pre-cut, panelized DIY shed kits that cost significantly less than professionally installed models, but you’ll be responsible for assembling the building on your own foundation. This guide explains what’s included in our DIY shed kit, current Utah and Nebraska pricing, the tools and skills you’ll need, and when a professionally installed shed may be the better investment.
Quick Answer: Yes, DIY shed kits are worth it if you have basic carpentry skills, a helper, and a weekend or two to dedicate to the project. Wright’s Shed Co. kits start at $1,809 in Utah ($1,264 in Nebraska) for a 6×6 shed and include pre-cut framing and a factory-assembled door, making them an affordable option for homeowners who are comfortable handling the assembly themselves. If you’d rather avoid the labor and potential installation mistakes, a professionally installed shed is often the better long-term choice.
What Exactly Is a DIY Shed Kit?
A DIY shed kit is a pre-cut, partially assembled building package delivered to your property that you finish assembling and finishing yourself, rather than a shed our crew builds on-site from raw lumber. Instead of measuring and cutting every board, you’re following a plan and connecting components that already fit.
Who Should Buy a DIY Shed Kit?
A DIY shed kit is best suited for homeowners who enjoy hands-on projects and want to reduce installation costs. It’s a good fit if you:
- Have basic carpentry or home improvement experience
- Can dedicate a weekend or more to assembly
- Have one or two helpers available
- Already own, or can borrow, common construction tools
- Want to save money compared to a professional installation
On the other hand, homeowners with limited time, no construction experience, or challenging building sites may find a professionally installed shed to be the more practical investment.
What’s Included in a Wright’s DIY Shed Kit
Every kit we ship includes 2×4 framed and sheeted wall sections, pre-cut roof trusses, a complete flooring system, pre-cut trim, a 4.5×6 steel-framed door that arrives fully assembled, and step-by-step instructions. Kits are built to an 8-foot wall height with a 6/12 roof pitch, and every order includes a free consultation before delivery. Shingles and drip edge are not included in the kit price, so budget for roofing materials or a roofer separately.
Pre-Cut and Panelized vs. Raw Material Lists
A panelized kit like ours ships walls already framed and sheeted, so you’re standing and fastening sections instead of building stick by stick. A raw material list, by contrast, hands you lumber, a cut sheet, and a lot more sawdust. Panelized kits trade a little customization flexibility for a much faster, more error-resistant build.
DIY Shed Kits vs. Pre-Built Sheds: Which Is Right for You?
The right choice comes down to budget versus time: a kit costs less upfront and demands your labor, while a pre-built shed from us costs more but arrives finished, leveled, and installed on your site by our crew. Both start from the same standard of pre-cut, quality materials; the difference is who swings the hammer.
Cost Differences
Utah kit pricing starts at $1,809 for a 6×6. The gap widens for larger sizes because on-site installation, shingles, and craftsmanship warranty coverage are baked into the pre-built price, not the kit price.
Time and Effort Trade-Offs
A small kit can go up in a weekend with two people and basic tools, while a pre-built shed from our crew is typically installed in a single day once materials are staged. The kit route asks you to trade your own weekends and some trial and error for the savings.
How Much Do DIY Shed Kits Cost?
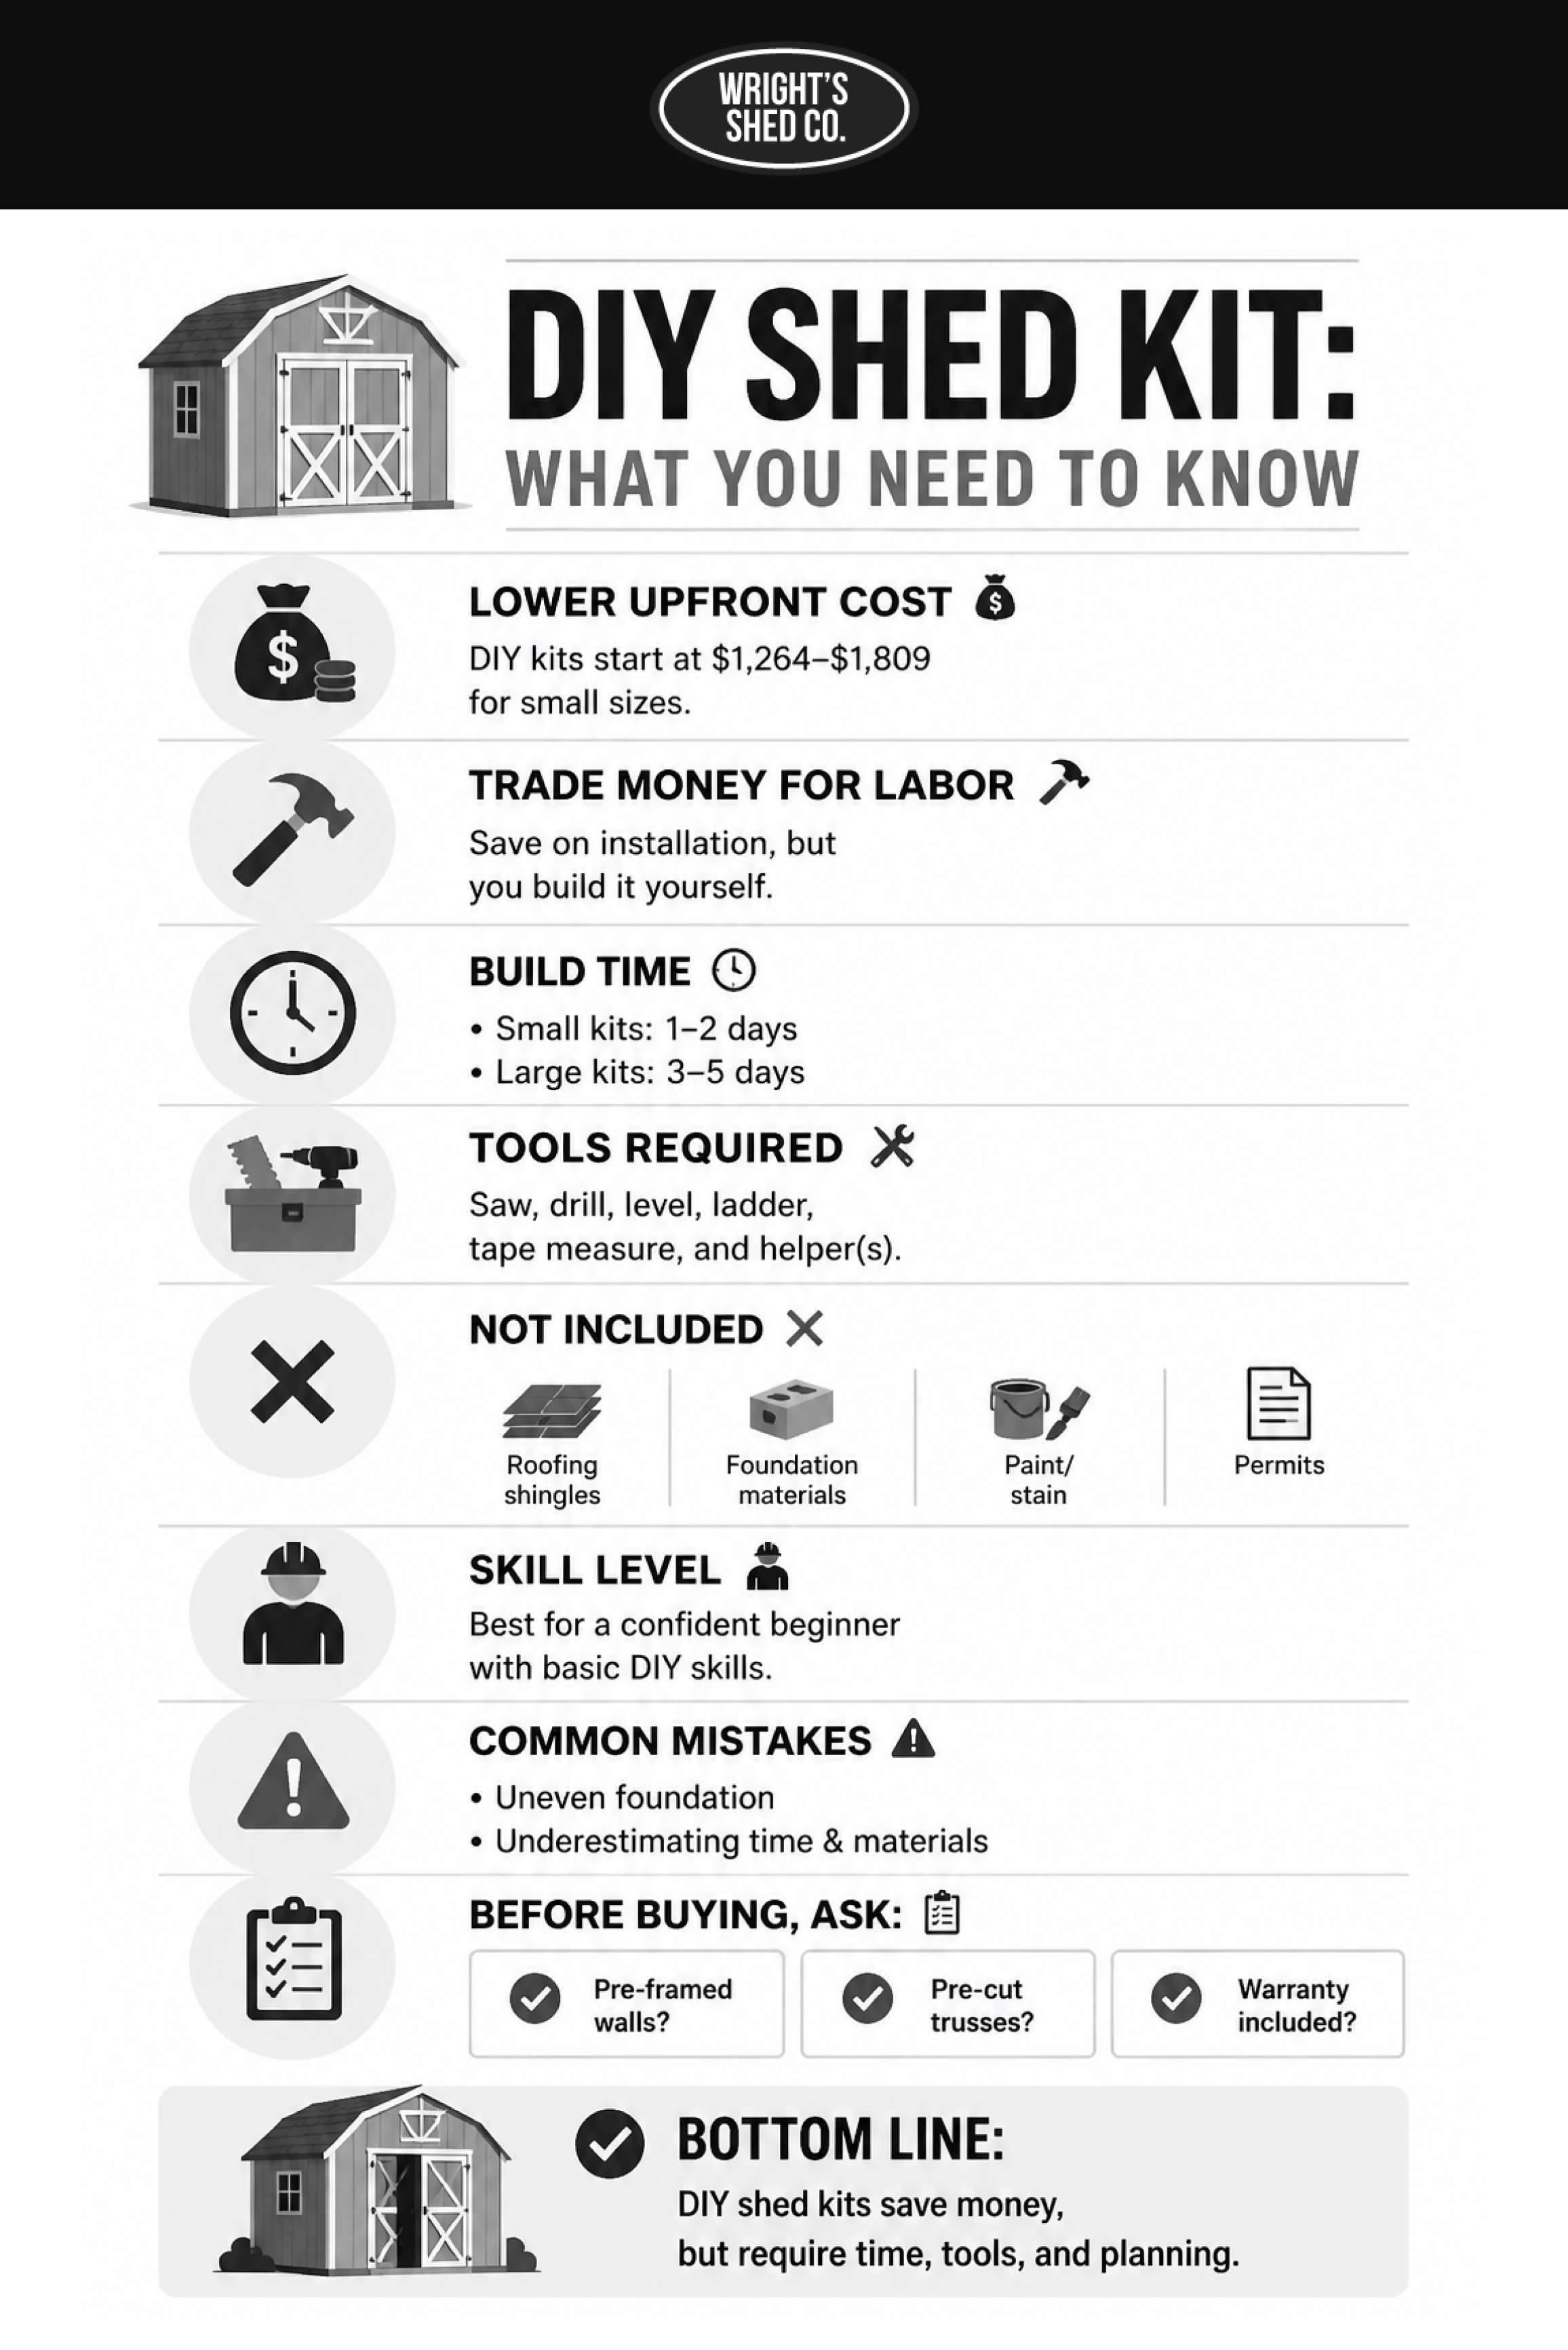
Our DIY shed kits start at $1,809 for a 6×6 in Utah and $1,264 in Nebraska, with pricing scaling by footprint up through our largest panelized sizes. Nebraska pricing runs lower than Utah on every size, so always confirm which region a figure applies to before comparing.
| Size | Utah Price | Nebraska Price |
| 6×6 | $1,809 | $1,264 |
| 6×8 | $2,043 | $1,422 |
| 6×10 | $2,422 | $1,603 |
| 6×12 | $2,519 | $1,803 |
| 8×8 | $2,236 | $1,688 |
| 8×10 | $2,703 | $1,869 |
| 8×12 | $2,808 | $2,124 |
| 8×14 | $3,121 | $2,341 |
| 8×16 | $3,306 | $2,511 |
| 10×10 | $3,114 | $2,166 |
| 10×12 | $3,302 | $2,432 |
| 10×14 | $3,675 | $2,735 |
| 10×16 | $3,812 | $2,910 |
| 10×18 | $4,355 | $3,261 |
| 10×20 | $4,670 | $3,424 |
| 12×12 | $3,645 | $2,801 |
| 12×14 | $4,382 | $3,140 |
| 12×16 | $4,915 | $3,394 |
| 12×18 | $5,296 | $3,745 |
| 12×20 | $5,904 | $3,987 |
Kit Price Ranges by Size and Style
Small chore-and-tool kits in the 6×6 to 8×8 range run under $2,700 in either market. Step up to a 12×20, and Utah pricing climbs to $5,904 while Nebraska stays lower at $3,987, still a meaningful discount against an equivalently sized pre-built shed.
Hidden Costs
Shingles and drip edge are not included in kit pricing, so add roofing material and, likely, a few hours of labor or a roofer’s invoice. A foundation, whether a gravel pad, concrete pad, or pressure-treated skids, is for you to prepare before delivery, and most buyers rent or borrow tools like a framing nailer, circular saw, and levels rather than buying them outright.
What Is Not Included in a DIY Shed Kit?
Even though our DIY shed kits include the pre-cut structural components needed to build the shed, there are still a few items you’ll need to supply yourself before construction begins.
These typically include:
- Roofing shingles and drip edge
- Foundation materials such as gravel, concrete, or treated skids
- Fasteners or sealants specified in the installation guide
- Paint or stain if you choose to customize the exterior
- Building permits, if required by your local municipality
Reviewing everything that’s included before delivery helps you avoid unexpected trips to the hardware store and keeps your project moving on schedule.
Tools and Skills You Need to Build a DIY Shed Kit
Building a DIY shed kit takes a circular saw, a drill/driver, a framing square, a level, a ladder, and at least one helper for standing wall panels and setting trusses. Our kits are pre-cut and panelized specifically to keep the tool list short and the skill curve manageable for a confident beginner.
Essential Tools Checklist
● Circular saw or miter saw for trim adjustments
● Cordless drill/driver and impact driver
● 4-foot level and a framing square
● Ladder rated for roof-height work
● Tape measure and chalk line
● Caulk gun for sealing seams and trim
● Wheelbarrow or cart for moving panels and trusses
Skill Level and How Many Helpers
Our DIY shed kits are built for a confident beginner, someone comfortable with a drill and a level, not a licensed framer. Plan on at least one extra set of hands for standing wall sections and lifting trusses into place; a two- or three-person crew moves noticeably faster and more safely than a solo builder.
Do You Need a Permit for a DIY Shed Kit?
Permit requirements depend on where you live and the size of the shed you’re building. Many cities and counties allow smaller storage sheds without permits, while larger structures or sheds placed near property lines may require approval before construction begins.
Before ordering your kit, check with your local building department to confirm:
- Maximum shed size allowed without a permit
- Required setbacks from fences and property lines
- Height restrictions
- HOA requirements, if applicable
Planning helps prevent delays and ensures your finished shed complies with local regulations.
How Long Does It Take to Build a Shed From a Kit?
Most DIY builders finish a 6×6 to 8×10 kit in one to two days, while a 12×16 or larger kit typically takes a full weekend to a week, depending on crew size and weather. Panelized construction is what keeps these timelines realistic for a first-time builder.
| Kit Size Range | Typical Build Time | Crew Notes |
| 6×6 to 6×12 | 1 day | 2 people, dry weather |
| 8×8 to 8×16 | 1 to 2 days | 2 to 3 people are recommended |
| 10×10 to 10×20 | 2 to 3 days | 3 people, plus roof prep |
| 12×12 to 12×20 | 3 to 5 days | 3+ people, staged over a weekend |
Estimated DIY assembly timelines for Wright’s shed kits; actual time varies with experience, weather, and site conditions.
Weather and Prep Considerations
Build during a stretch of dry days if possible, since sheathed wall panels and OSB flooring absorb moisture fast when left uncovered. Have your foundation fully cured and level before delivery, since a kit assembled on an uneven base will fight you at every joint.
Step-by-Step Overview of Building From a Kit
Building a DIY shed kit follows four phases: site and foundation prep, wall assembly, roof framing and sheathing, and trim, door, and shingle finishing. Working through them in order is what keeps a first-time build on schedule.
Site and Foundation Prep
● Clear and level the build area, checking diagonals so the pad is square.
● Set your gravel pad, concrete pad, or pressure-treated skids per your kit’s footprint.
● Confirm the base is fully level in both directions before the delivery truck arrives.
Why Foundation Preparation Matters
Even the highest-quality shed kit can develop problems if it’s assembled on an uneven foundation. A level base helps wall panels align correctly, allows doors to open and close smoothly, and reduces stress on the roof framing over time.
Whether you choose a gravel pad, concrete slab, or pressure-treated skid foundation, spending extra time preparing the site usually saves far more time during assembly.
Wall, Roof, and Finishing Stages
● Stand and fasten the pre-framed wall panels, bracing each section until the next is connected.
● Set the pre-cut trusses, then sheathe the roof deck.
● Add your shingles and drip edge (purchased separately), then install trim, the pre-assembled door, and any windows.
For a fuller walkthrough of each stage, see our DIY Shed Kit Guide.
Common DIY Shed Kit Mistakes to Avoid
The most common DIY shed kit mistakes are skipping a truly level foundation and underestimating how long finishing work takes, and both are avoidable with a little upfront planning. Catching these before you start saves the most frustration.
Skipping a Level Foundation
An out-of-level base telegraphs into every wall and door from the moment you start fastening panels, and doors and windows that were factory-square will bind. Check level in both directions and re-check after any excavation settles, not just once before delivery.
Underestimating Time and Materials
First-time builders consistently underestimate finishing work, trim, caulking, shingles, and hardware because the panelized walls go up fast and create a false sense of near-completion. Order roofing materials and fasteners before you start so a supply run doesn’t stall the project mid-build.
Choosing a Quality DIY Shed Kit in Utah or Nebraska
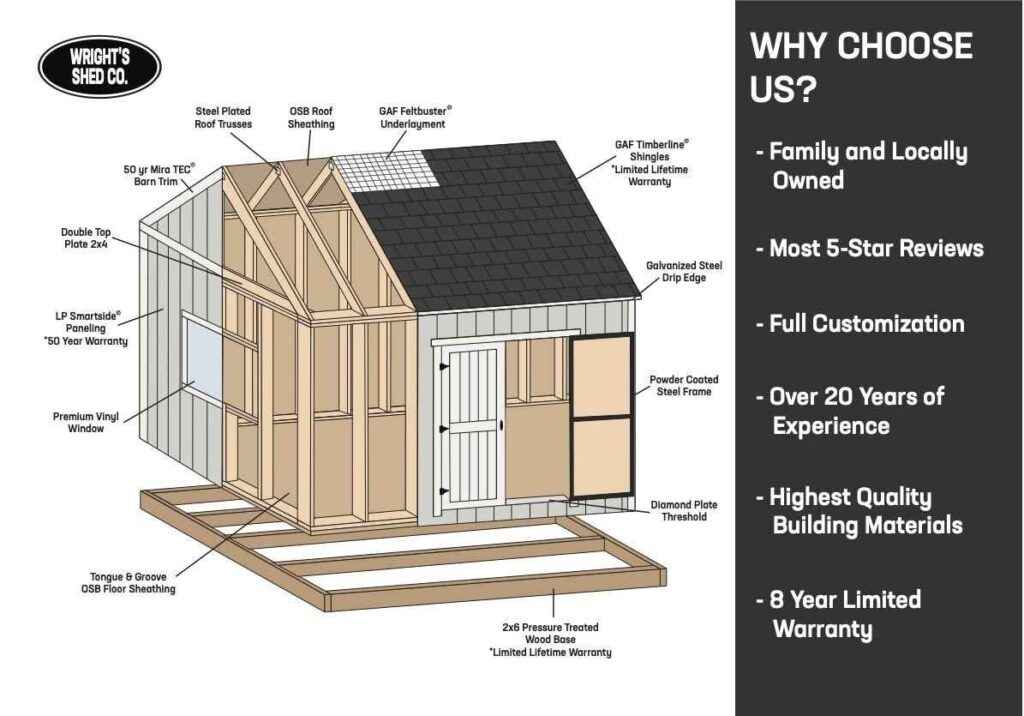
A quality DIY shed kit in Utah or Nebraska comes down to what’s actually engineered into the panels, not just the delivered price: LP SmartSide-grade siding, pre-cut trusses to real roof-pitch specs, and a factory-assembled door, not a flat-pack of loose lumber. Warranty coverage is the clearest signal of that difference.
What Separates a Durable Kit From a Cheap One
Cheap kits often substitute thin OSB panels or skip pre-cut trusses altogether, leaving you to cut roof framing from a raw lumber list. Our kits use the same LP SmartSide panel construction found on our pre-built models, engineered specifically to hold up on outbuildings, along with pre-cut trusses and a steel-framed, factory-assembled door.
Questions to Ask Before Buying Any Shed Kit
Before comparing prices, ask every manufacturer:
- Are the wall panels pre-framed or will I build them myself?
- Are roof trusses pre-cut?
- Is the door factory-assembled?
- Which siding material is included?
- What factory warranties apply to the materials?
- What isn’t included in the purchase price?
The answers quickly reveal whether you’re comparing similar products or simply comparing prices on very different levels of quality. This adds authority and buyer guidance.
Warranty and Material Quality
This is where materials and craftsmanship warranties matter, and where the two should never be confused. LP SmartSide siding carries LP’s own 5/50-Year Limited Factory Warranty on the material itself, and GAF Timberline shingles carry a GAF Limited Lifetime Factory Warranty when you use them, both manufacturer-backed and separate from installation. Our Limited Warranty, which covers structure and workmanship, applies to models we build and install on-site: five years on Vineyard and eight years on Orchard, Farm, and Lean-To. DIY Shed Kits do not carry a craftsmanship warranty, since you are the installer, not our crew. You can review the full breakdown on our warranty coverage page before you decide which route fits your project.
Frequently Asked Questions
Is it cheaper to build a shed from a kit?
Yes. A Wright’s DIY shed kit starts at $1,809 in Utah ($1,264 in Nebraska) for a 6×6, well below the equivalent pre-built, on-site installed model, because you supply the labor and shingles.
Can a beginner build a DIY shed kit?
A confident beginner comfortable with a drill, a level, and basic measuring can complete a Wright’s kit, since the panels are pre-framed and the door arrives assembled. A helper for standing walls and setting trusses is recommended.
What foundation does a DIY shed kit need?
Kits need a level gravel pad, concrete pad, or pressure-treated skid base prepared before delivery. The base must be square and level in both directions before you start assembly.
How long does it take to build a shed from a kit?
Small 6×6 to 8×10 kits typically take one to two days for two people. Larger 12×16 to 12×20 kits run three to five days, depending on crew size and weather.
Do DIY shed kits come with a warranty?
DIY Shed Kits do not carry Wright’s craftsmanship warranty, since you are the installer. LP SmartSide material used in the panels still carries LP’s own factory material warranty, separate from installation.
Can I customize a DIY shed kit?
Yes. Wright’s Shed kits are available in multiple sizes, and many homeowners personalize the finished shed with paint colors, shelving, workbenches, ramps, or interior storage systems after assembly. Review available options before ordering to determine which features are included and which can be added later.
Is a DIY shed kit better than buying lumber separately?
For most homeowners, yes. A pre-cut, panelized kit eliminates much of the measuring, cutting, and material waste involved with building entirely from scratch. It also reduces the chance of framing errors, making the project more approachable for first-time builders.
Should You Build From a Kit?
A DIY shed kit is an excellent option for homeowners who want to save money and enjoy building projects themselves. Because the framing is pre-cut and the wall panels are already assembled, the process is much faster than starting entirely from raw lumber. The trade-off is that you’ll need to prepare the foundation, complete the assembly, and install the roofing yourself.
If you’d rather skip the labor, a professionally installed shed from us gives you the same quality materials with expert installation and craftsmanship warranty coverage included. Whether you’re comparing costs, planning your foundation, or deciding which option best fits your schedule, our team can help you choose the right solution for your property.
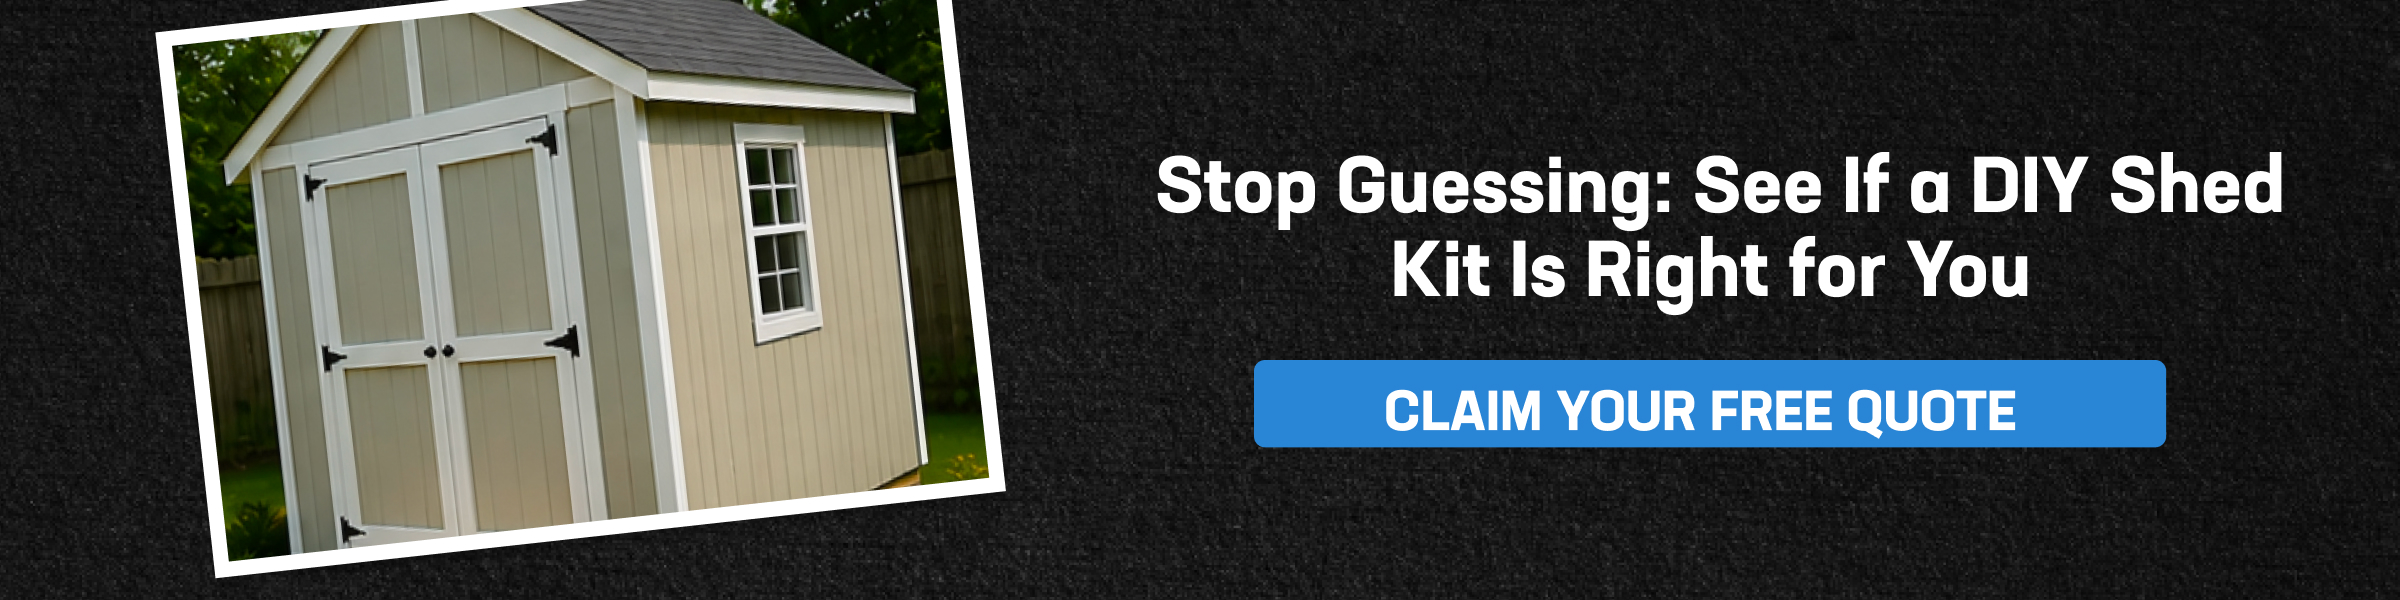
Ready to get started? Request a free quote for a DIY shed kit or a professionally installed shed, and we’ll help you compare options based on your budget, timeline, and storage needs.