
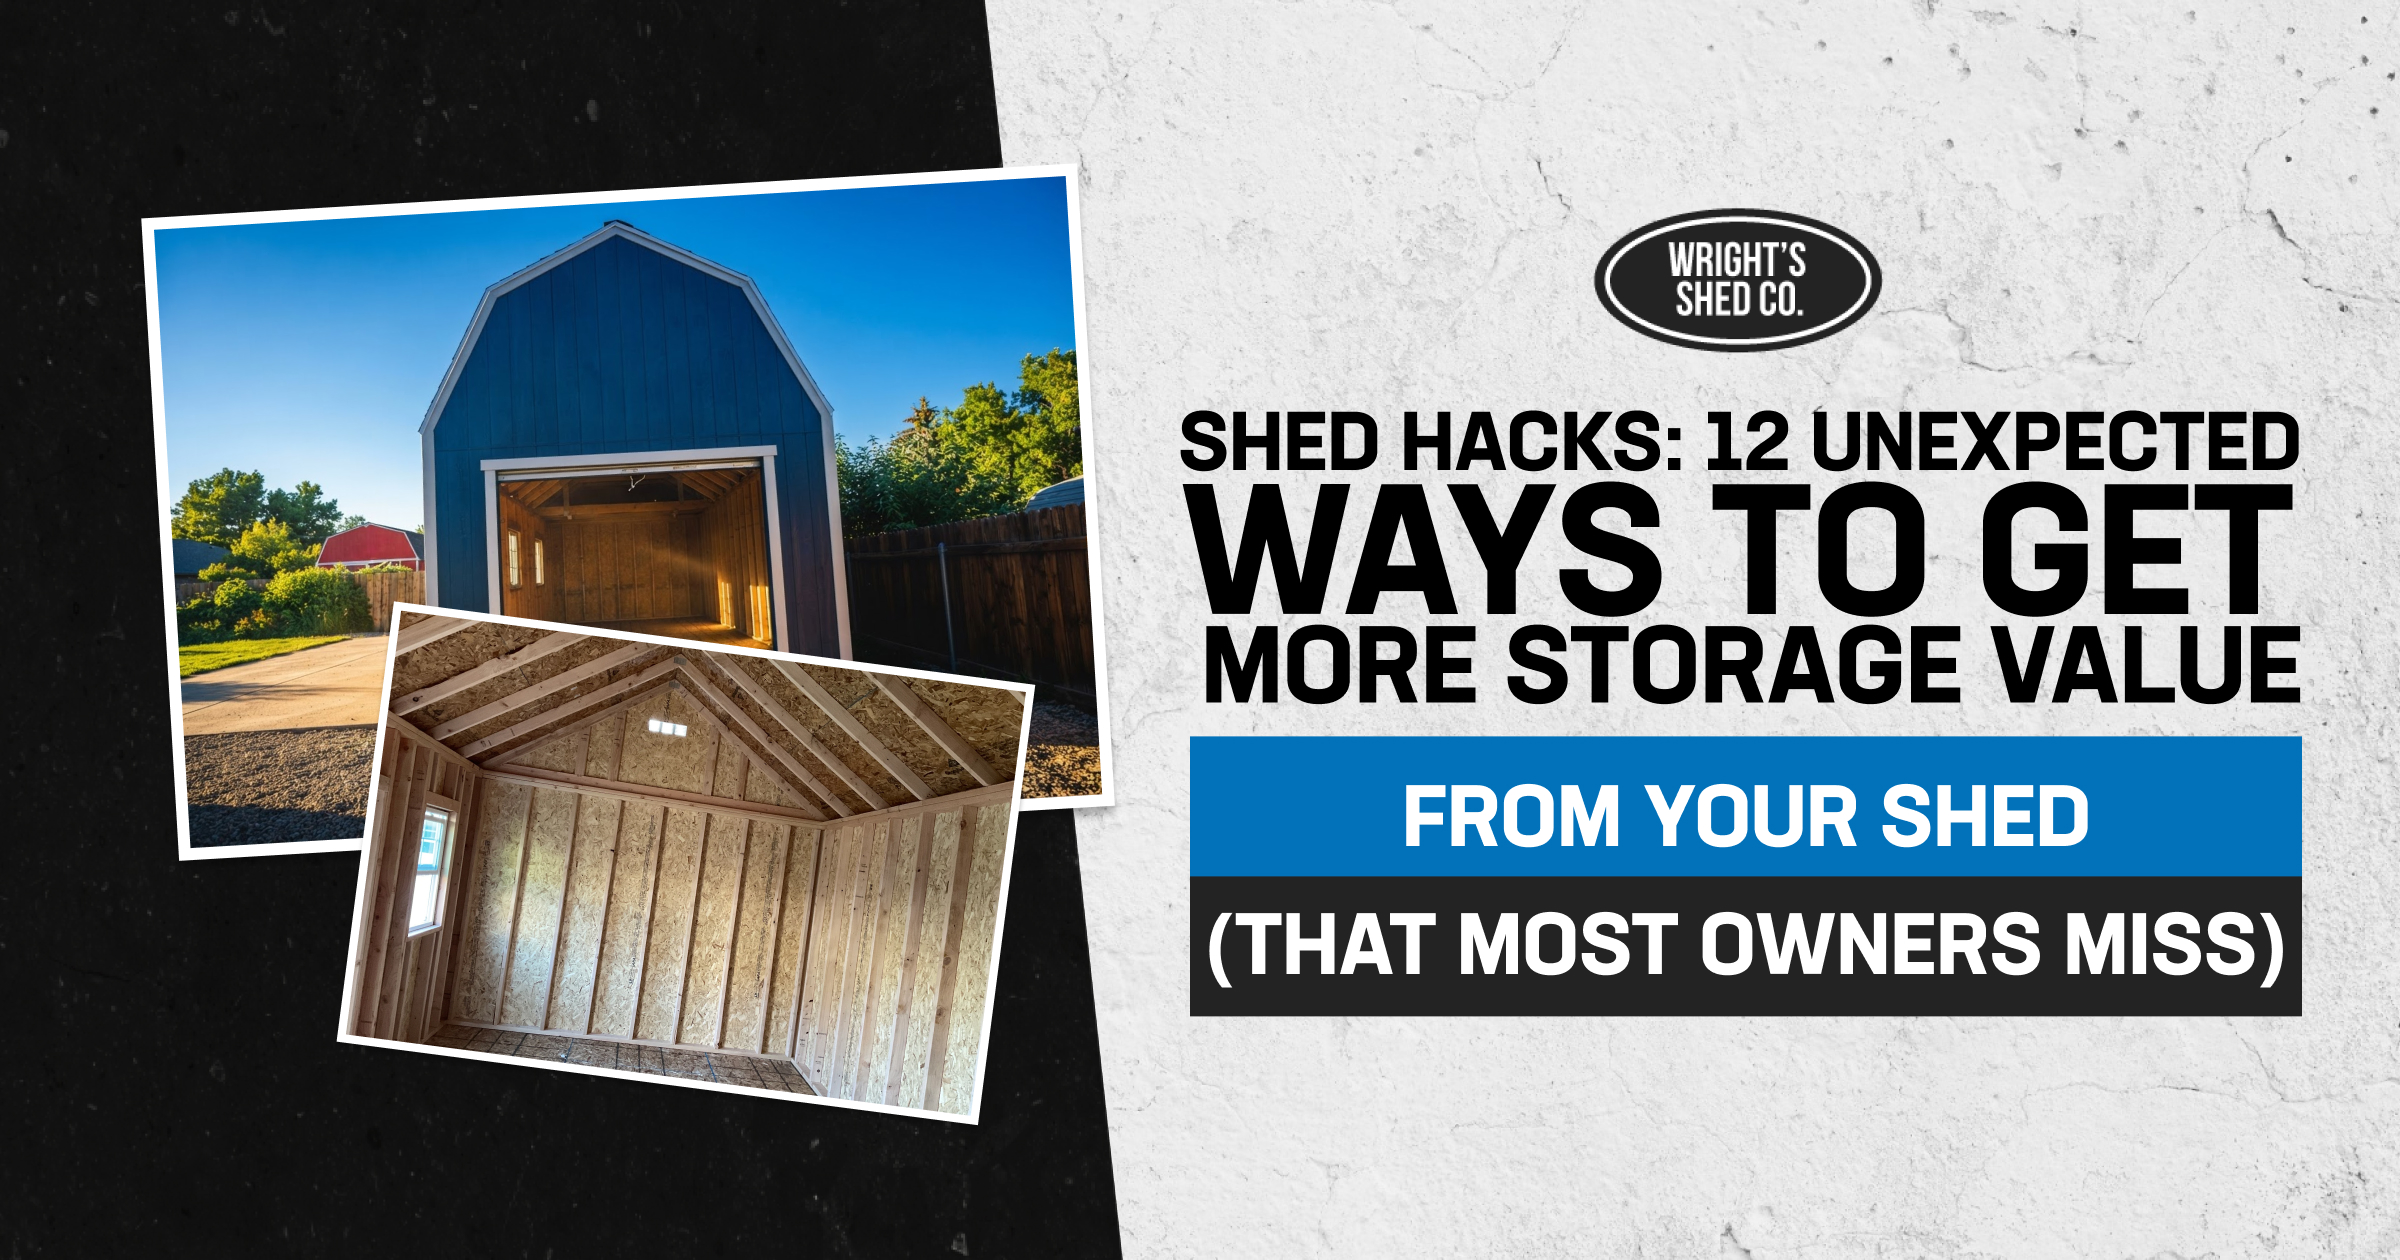
Most shed owners use only about 60 to 70 percent of the storage space they paid for. The rest sits empty, wasted on wide walkways, low stacking, or piles that could be shelves. If you want to maximize shed storage without buying a bigger building, the fix is almost never more square footage. It is better to use the footage you already have.
You maximize shed storage by moving weight off the floor and onto walls, ceilings, and organized zones. That single shift, from stacking to layering, separates a cluttered shed from one that holds twice as much. This guide covers 12 specific hacks, from pegboard walls to zone planning, including a few upgrades priced right on our shed extras page, that turn empty vertical space into usable storage.
A few things worth knowing before you start:
- A gambrel-roof shed, like our Farm shed, or a 6/12-pitch roof, like our Orchard shed, usually holds more overhead storage than a low-slope roof does.
- Weight limits on shelving and overhead racks depend on how they are fastened to studs or trusses, not on the shelf material by itself.
- A dormer or popout window brings usable daylight to a dark corner without changing the shed’s footprint.
- The cheapest hacks- pegboard, labeling, and lighting- often free up the most space, because they fix habits, not just hardware.
- Organizing what you have first can save you from buying a second shed you do not actually need.
Vertical and Overhead Storage Hacks
Vertical and overhead storage hacks turn wasted wall and ceiling space into usable square footage without adding a single foot to your shed’s footprint. These four moves cost the least and free up the most floor space, which is why we cover them first.
Hack #1: Wall-Mounted Pegboard Systems
A pegboard wall turns flat, empty wall space into adjustable tool storage. Every hook can move, so the layout changes as your tools change. Our sheds frame walls with 2×4 studs on 16-inch centers, which gives you a consistent, known stud pattern to screw pegboard directly into rather than relying on drywall anchors.
Installation is beginner-friendly: locate studs, mount furring strips, hang the pegboard, add hooks. Budget systems run cheap at any hardware store; premium steel pegboard with locking hooks costs more but holds heavier tools without sagging. Pegboard works best for hand tools, garden tools, and anything you reach for weekly. A simple trick that professional shops use: trace each tool’s outline on the board so a missing tool is obvious at a glance.
Hack #2: Overhead Racking for Seasonal and Bulky Items
Overhead racking moves bulky, infrequently used items above head height so the floor stays clear. Holiday decorations, camping gear, and off-season equipment are ideal candidates because you touch them once or twice a year.
Safety comes down to fastening. Every rack has to anchor into rafters or trusses, never drywall or thin sheathing alone. Our trusses use steel plate connections rather than nailed joints, which gives an installer a solid, known point to work from. For actual span and load numbers before you hang anything heavy, the American Wood Council publishes span tables that cover safe loading for wood framing.
Leave clearance for your head and for any garage-style door swing. Basic wire racks cost little; motorized lift systems cost far more but make heavier loads easy to bring down alone.
Hack #3: Vertical Shelving That Doubles Shed Storage Capacity
Floor-to-ceiling shelving is the single biggest capacity gain in most sheds, because most sheds only use the bottom four feet of wall. Heavy-duty industrial shelving, custom built-ins, and adjustable tension-rod systems all work. Space shelves so heavier boxes sit low and lighter bins sit high, and label shelf ends so you can find things without climbing.
If you are adding shelving or a loft during a new build, here is what it costs on our published Utah extras pricing. Confirm current figures with the Greenwood warehouse if you are building in Nebraska or Iowa, since pricing pages differ by state.
| Add-on | Price |
| 16-inch shelf | $5.50 per linear foot |
| 24-inch shelf | $6.00 per linear foot |
| Loft | $8.00 per square foot |
Hack #4: Combine Pegboard and Shelving for Mixed Storage
A hybrid layout puts pegboard up top for tools you grab often and shelving below for boxes and bins. This mixed approach handles a shed that stores both hand tools and household overflow, which describes most sheds. Keep the pegboard zone at arm height so you are not reaching over shelving to grab a hammer, and keep colors or labels consistent so the wall reads as organized rather than cluttered.
Protecting What You Store: Climate, Light, and Moisture
Protecting what you store means controlling temperature, light, and moisture before problems start, not after you find a ruined box. These three hacks cost more up front but prevent the kind of damage that shelving cannot fix.
Hack #5: Climate Control for High-Value Equipment
Temperature and humidity swings damage electronics, paint, leather, and anything with rubber seals faster than daily use does. A dehumidifier, added ventilation, or basic insulation slows that damage. Weigh the cost of climate control against the replacement value of what you are protecting. A shed storing a motorcycle, power tools, or camera gear usually justifies it. A shed storing lawn chairs usually does not.
Hack #6: Strategic Lighting Upgrades
Better lighting means you actually see what you own, which is half of the organization. LED panels cover general area lighting, task lights help at a workbench, and motion sensors are useful when your hands are full. If your shed is dark because it has few windows, a dormer ($350 standard, requires a 10/12 roof pitch) or a popout (from $600 for a 4-foot popout with one window, requires an 8/12 or 10/12 pitch) adds real daylight rather than another fixture to wire. Both are Utah extras-page prices; ask your local warehouse for Nebraska figures.
Hack #7: Moisture Prevention That Protects Your Investment
Water is the single fastest way to ruin stored items, and it is also the condition tied to your shed’s warranty. Raised storage keeps boxes off the floor during minor moisture, and better ventilation keeps humidity from building up in a sealed building.
Ventilation add-ons from the Utah extras page: wall vent $20, roof vent $50, turbine vent $90, ridge vent $12 per linear foot. These move air and reduce the condensation that damages stored goods over time.
Moisture prevention also protects your structural warranty, not just what is inside. Our warranty requires the building to be painted within 30 days of installation, with proof of paint purchase and completion, or coverage is not valid. Material defects must be reported within 30 days of installation, and coverage applies only to the original purchaser. Full terms, including exclusions, are on our warranty page. Regular maintenance, caulking seams, repainting every 3 to 5 years, and keeping irrigation and lawn equipment away from the exterior is required to keep both your shed and its contents in good shape.
Systems That Keep a Shed Organized Long-Term
Systems keep a shed organized after the initial cleanup fades, which is where most organization projects fail. These three hacks are about habits and structure more than hardware.
Hack #8: Modular Storage Systems That Adapt
Modular systems change as your needs change. Stackable labeled bins, adjustable shelf heights, mobile units on wheels, and reconfigurable wall systems all let you rearrange without rebuilding. This matters because storage needs to shift with the seasons, a move, or a new hobby, and a rigid built-in cannot follow that shift.
Hack #9: A Smart Categorization System
Categorizing by type- tools, outdoor equipment, sports gear, holiday items, vehicle supplies, household overflow- means you find things without hunting through mixed bins. Assign each category a zone based on how often you use it and how big it is, then label at both the zone level and the item level. A 15-minute monthly reset keeps the system from drifting back into a pile. The underlying rule is simple: everything needs a home.
Hack #10: Seasonal Rotation Strategy
Rotating stock by season keeps current-use items front and center while off-season gear moves to the back or up top. Winter gear swaps for garden tools in spring, pool equipment swaps for holiday storage in fall. Put frequently used items at an easy reach and seasonal items in back zones or overhead racks. A rotation schedule taped to the wall keeps the system running without you having to remember it.
Security and Zone Planning for Maximum Shed Storage
Security and zone planning protect the value of what you store and make the whole shed easier to use at a glance. These two hacks work best once the hardware from the first three sections is already in place.
Hack #11: Security Solutions for Valuable Items
A locking cabinet, reinforced door hardware, or a basic camera protects power tools and equipment worth protecting. Photograph and list valuable items for insurance purposes before anything goes missing. Balance security with convenience: a lock you avoid using because it is a hassle protects nothing.
Hack #12: Multi-Purpose Zone Planning
Zone planning divides a shed into purpose-built areas: a tool zone, a garden zone, a seasonal zone, so each item has a logical home instead of competing for the same shelf. Map zones before you buy any hardware, based on traffic flow and how often you use each category. If you regularly move lawn equipment, bikes, or bulky items in and out, explore our Custom Shed Door Styles to choose an access setup that works with your storage layout.
The shed style itself shapes how much overhead zone you have to plan around. Our Vineyard shed has 7-foot walls and no overhead storage, so all zoning happens at floor and wall level. The Orchard shed has 8-foot walls and a 6/12 pitch with ample overhead space, and the Lean-To shed slopes from 9 feet at the front to 7 feet at the rear, which favors zoning tall items near the front. If you are still choosing a style, that overhead difference is worth weighing before you finalize a floor plan.
Quick Wins vs. Bigger Projects: Where to Start
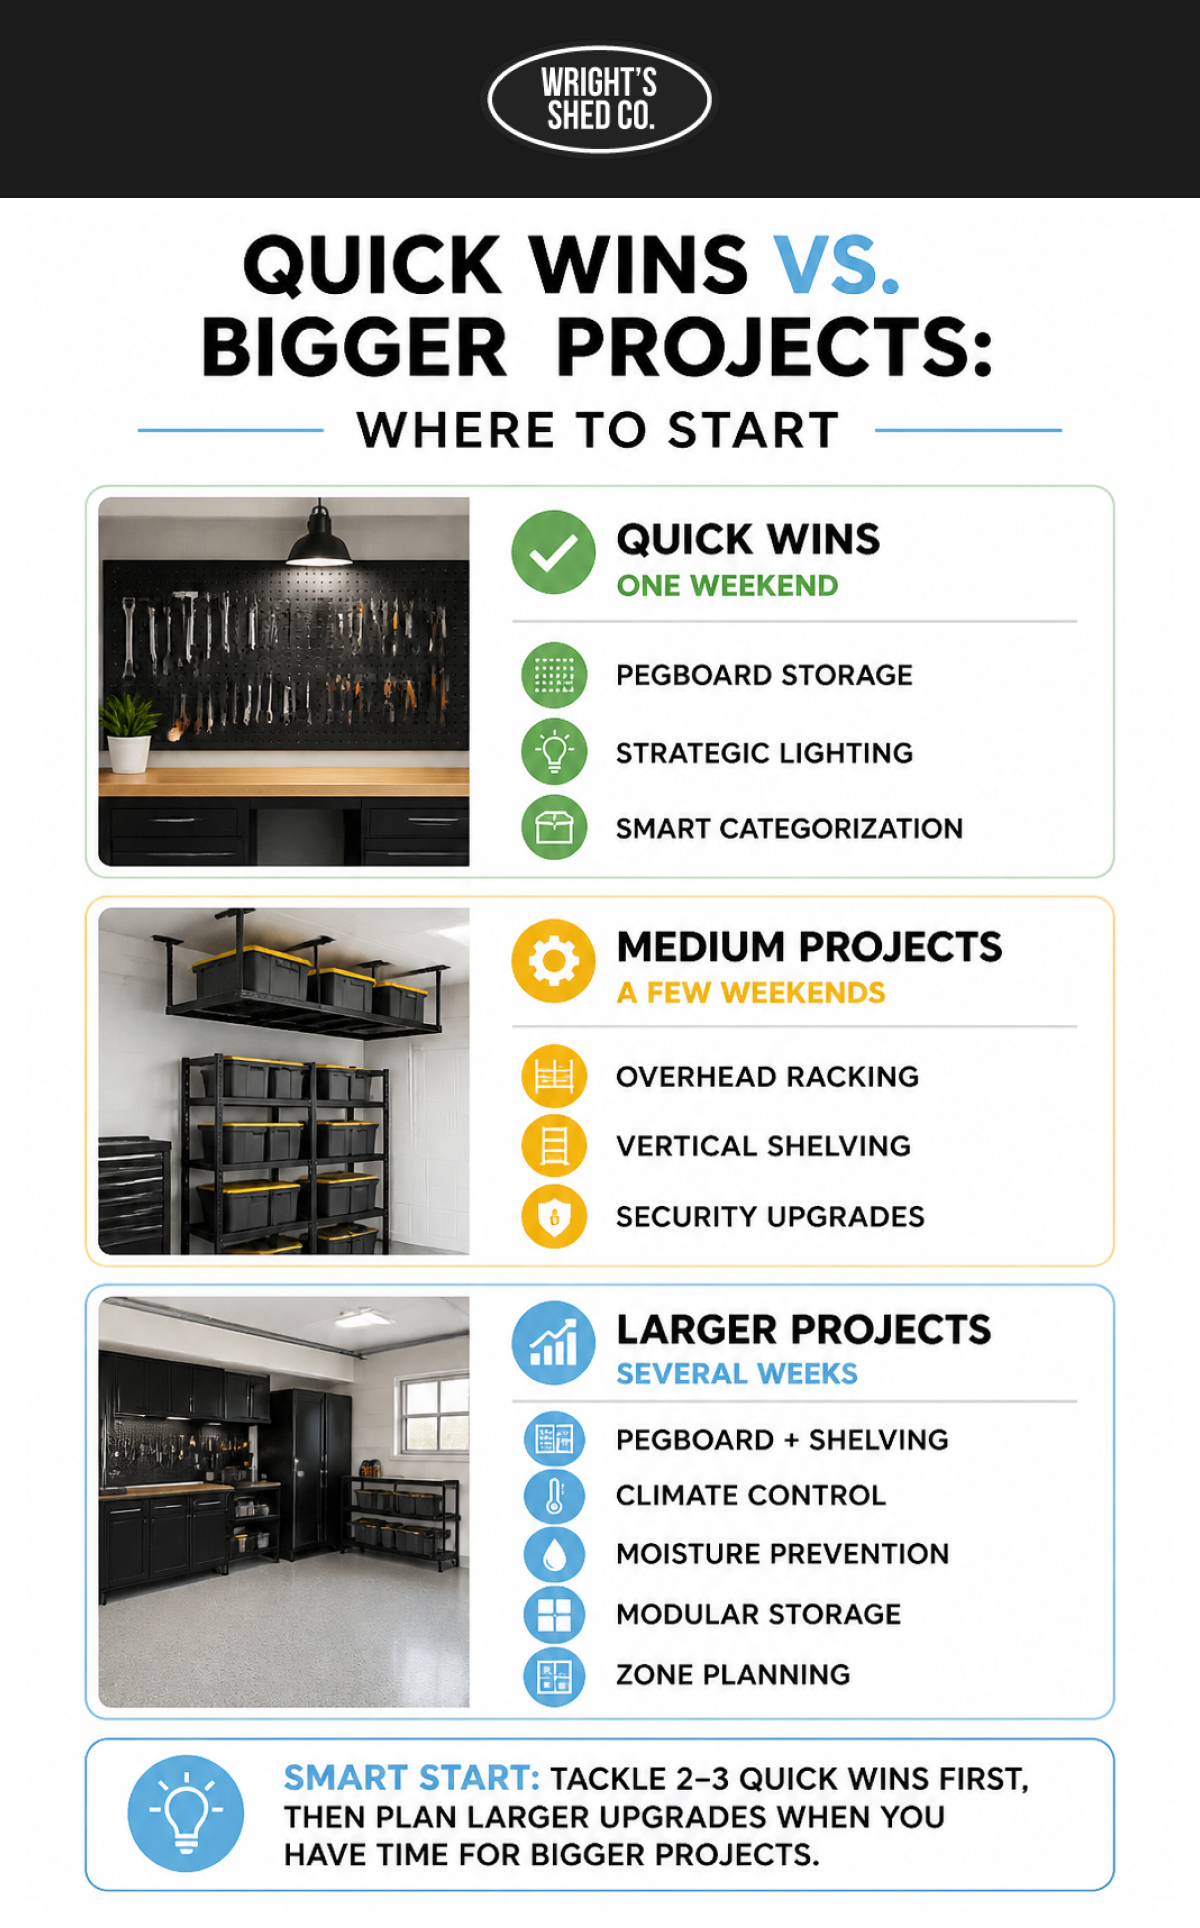
Quick wins take a single weekend, medium projects take a few weekends, and larger projects stretch over several weeks. Starting with quick wins builds momentum before you tackle anything that requires a shopping list and a Saturday off.
| Project size | Hacks included | Typical timeline |
| Quick win | Pegboard (#1), Lighting (#6), Categorization (#9) | One weekend |
| Medium project | Overhead racking (#2), Vertical shelving (#3), Security (#11) | A few weekends |
| Larger project | Pegboard + shelving combo (#4), Climate control (#5), Moisture prevention (#7), Modular systems (#8), Zone planning (#12) | Several weeks |
A practical progress strategy: knock out two or three quick wins first, then plan the larger projects around a season when you have time to finish them properly.
How to Plan Your Shed Storage Maximization Project
Planning a shed storage project starts with measuring what you have before you buy anything new. Use our Custom Shed Sizing Guide to plan your shed footprint, storage zones, and available wall and floor space. Work through these steps in order.
- Assessment: measure the shed, list what you store, and identify the actual problem areas.
- Prioritization: rank hacks by which ones solve your biggest pain point first.
- Budget: price out materials for your priority hacks before committing to all 12.
- Timeline: decide what fits into a weekend versus what needs a longer stretch.
- Shopping list: buy hardware in one trip once your plan is set.
- Installation: tackle projects in a logical order, framing and racking before cosmetic touches.
- Labeling: finish with labels at the zone and item level so the system holds.
- Maintenance: build in a short monthly reset so the shed does not slide back into clutter.
If any of this planning happens while you are still shopping for the shed itself, our design team can talk through shelving, loft, and lighting options before the build starts, which is usually cheaper than retrofitting later.
Frequently Asked Questions About Maximizing Shed Storage
How much weight can shed shelving hold?
It depends on the shelf material, the bracket spacing, and what the shelf is anchored into. Shelving fastened into wall studs or floor framing holds far more than shelving resting on unsupported panels. For general span and load guidance on wood-framed structures, see the American Wood Council, and when in doubt, keep heavier items on lower, more solidly anchored shelves.
Do I need a permit to add shelving or a loft to my shed?
Interior shelving generally does not require a permit, but adding a loft, electrical wiring, or structural changes can trigger review depending on your city or county. Permit thresholds, setback requirements, and accessory structure rules vary by municipality, so check with your local building department before starting electrical or structural work.
What’s the cheapest way to maximize shed storage?
Pegboard, labeling, and a smart categorization system cost the least and often free up the most usable space, because they fix how items are placed rather than requiring new construction. Start there before spending on overhead racking or built-in shelving.
Can I add a loft to any shed style?
Loft space depends on wall height and roof shape more than shed style alone. A Farm shed with its gambrel roof offers the most overhead volume, while a vineyard shed’s 7-foot walls leave little room for a loft. Talk through your storage goals with our team before finalizing a style if overhead space is a priority.
How do I keep humidity from ruining stored items?
Improve airflow with roof or ridge vents, keep items off the floor on raised shelving, and stay current on exterior maintenance so water is not getting in around seams or the roofline. Caulking regularly and repainting every 3 to 5 years, both required under our warranty terms, also keep moisture from reaching the structure itself.
Get More Storage from the Shed You Already Own
You can maximize shed storage in a single weekend or over a full season, depending on which of these 12 hacks you tackle first. The floor is only one surface in your shed. The walls and ceiling are the other two, and most owners never touch them.
One of our customers, Travis Allen, praised the smooth process and the quality of his shed, giving special recognition to Joshua, Daniel, and Sebastian for their hard work, attention to detail, and commitment to getting everything done right. You can read his full review, along with others, on our reviews page. Browse real builds for organization ideas in our project gallery, or compare styles on our pricing page if these hacks have you thinking about a bigger shed instead.
If you are planning a new shed and want shelving, a loft, or extra windows built in from the start rather than retrofitted later, Design Your Shed takes just a few minutes, and on-site installation is included in every base price.