Shed Floor/Base
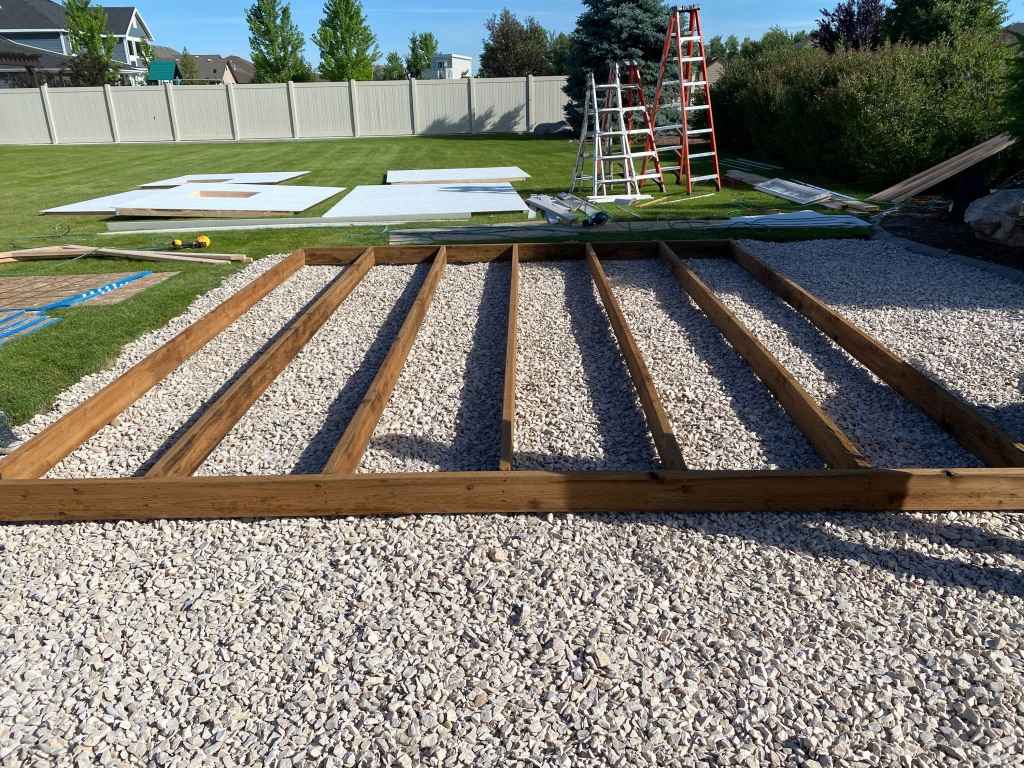
Step 1
Gather the base wood and measure it out to be a square with each beam 2ft apart, as shown in the picture. Then nail the parts together.
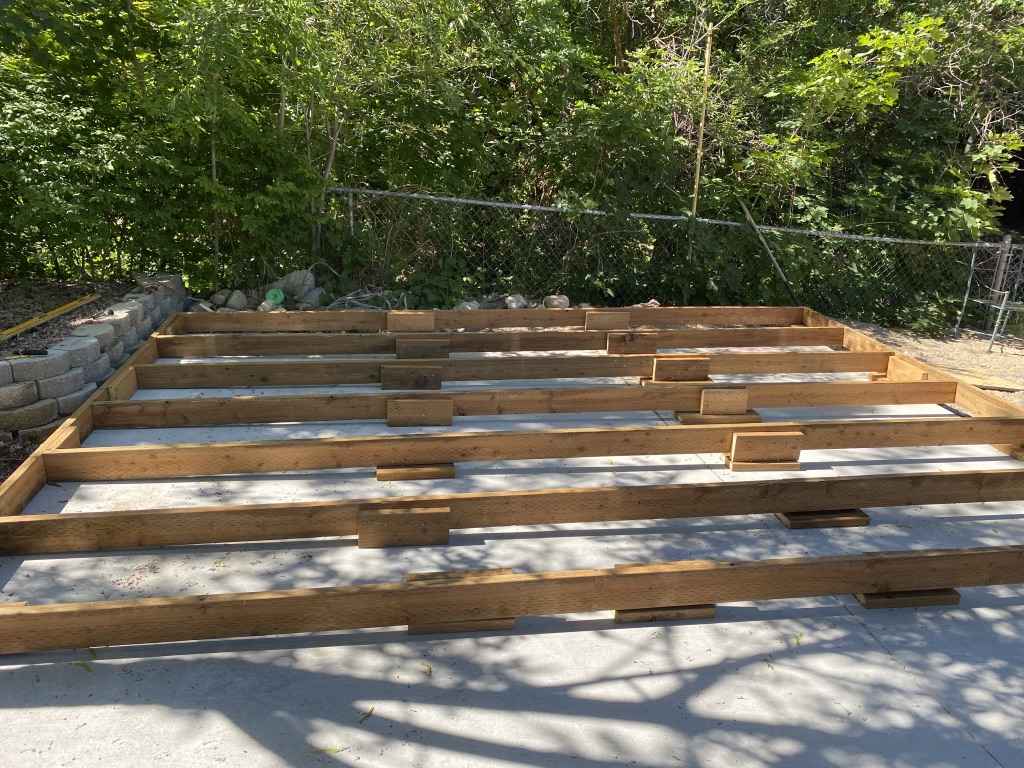
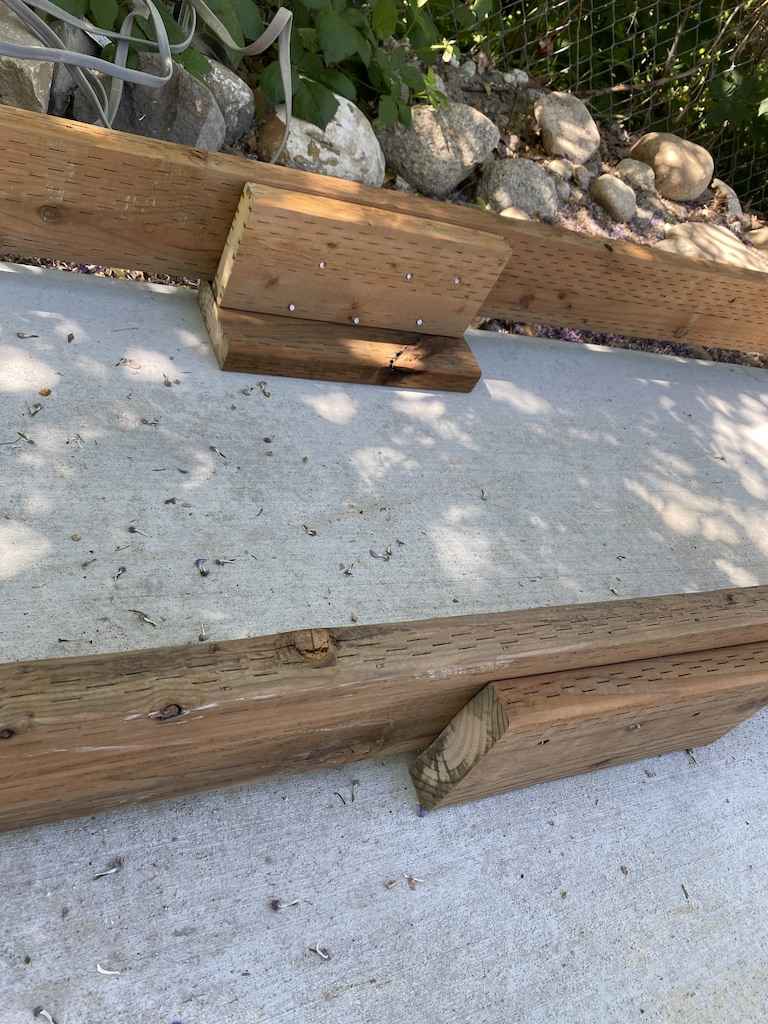
Step 2
Use a leveler to make sure the entire base is level; most of the time, it won’t be so you need to use the blocks to stable the floor structure. The picture shows how to place them. Once the base is level, you can move on to the next step.
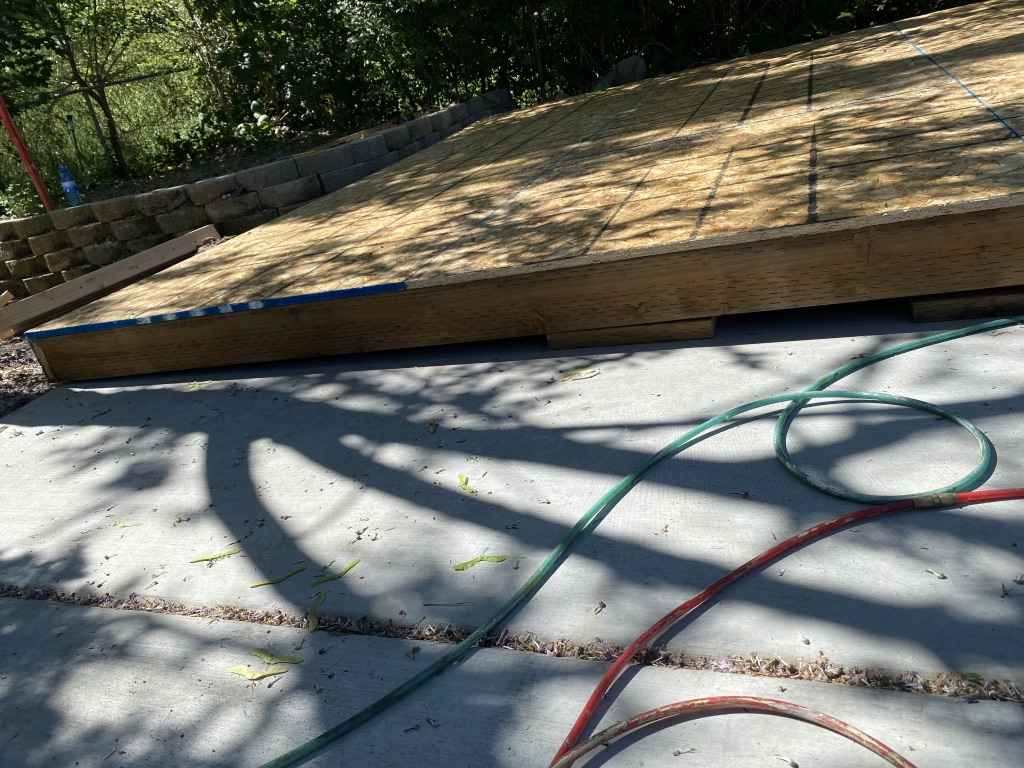
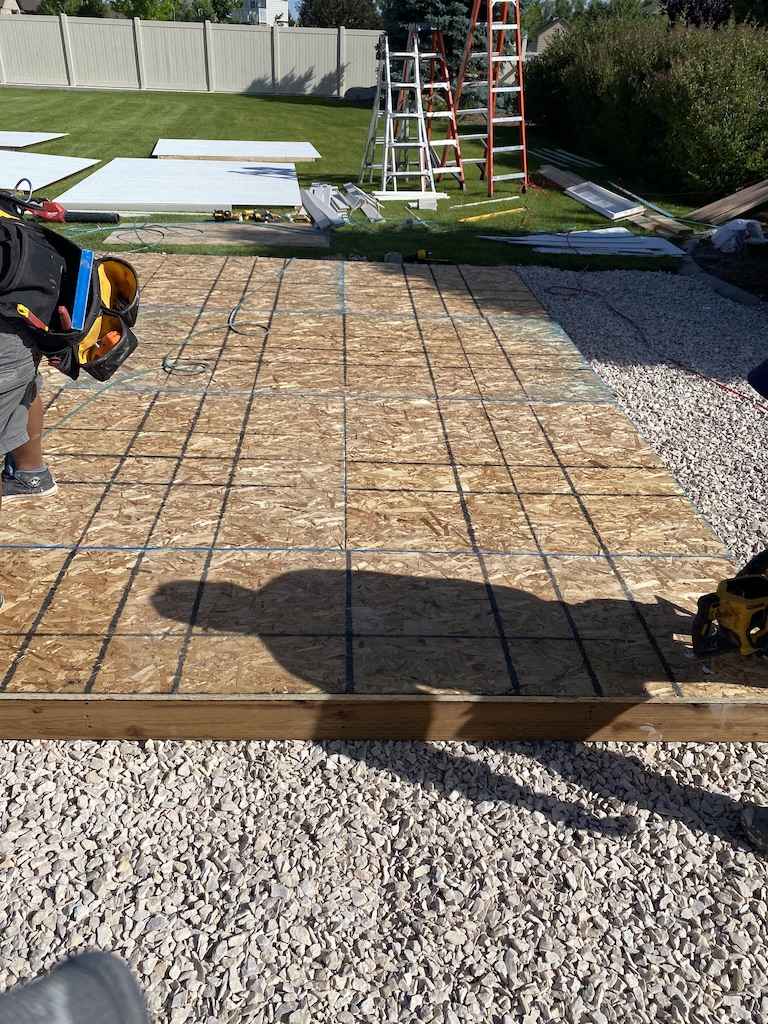
Step 3
Next, you use the flat wood pieces ( the size is varied for different sheds) to nail over the top of the base. The large flat wood pieces need to be marked on the edges every 2ft so that when it’s nailed down, you hit the wood underneath. There will be extra along the sides once nailed, and they need to be trimmed off so that the wall pieces fit in. Also, the flat pieces need to be staggered to install correctly; the photos will show how.

Step 4
Trim the edges and nail the base boards down to provide a clean and secure foundation for your shed’s design. Whether you’re looking for a traditional wooden structure, a modern metal shed, or a customized modular design, we can assist you in creating the perfect shed to meet your needs. Our expert team will work closely with you to ensure every detail is considered, from the size and layout to the materials and finishes. With our attention to detail and commitment to quality craftsmanship, your shed will not only be functional but also a visually appealing addition to your property. Let us help you bring your shed design to life and create a durable and stylish space for storage, hobbies, or even a home office.